Day 1: Prepare Your Starter
If you don’t already have a sourdough starter, you’ll need to create one. Mix equal parts of flour and water (1/2 cup each) in a jar and let it sit at room temperature. Feed it daily with the same ratio of flour and water until it’s bubbly and active (usually about 5–7 days). For this recipe, you’ll need 1/2 cup of an active starter.
Day 2: Make the Dough
1. Mix the Dough:
- In a large bowl, combine bread flour and water. Mix until no dry spots remain. Cover and let rest for 30–45 minutes (autolyse).
- Add the sourdough starter and salt to the dough. Mix thoroughly, either by hand or with a stand mixer fitted with a dough hook, until the dough forms a cohesive ball.
2. Knead and Stretch:
- Perform stretch-and-folds: Grab one side of the dough, stretch it upward, and fold it over itself. Rotate the bowl 90 degrees and repeat until you’ve stretched all four sides. Do this every 30 minutes for 2 hours.
3. Bulk Fermentation:
- Cover the bowl with a damp towel or plastic wrap and let the dough rise at room temperature for 4–6 hours or until it has doubled in size.
Day 2 Evening: Shape the Dough
- Turn the dough out onto a lightly floured surface. Shape it into a round or oval loaf, depending on your preference.
- Place the dough into a floured banneton basket or a bowl lined with a floured kitchen towel, seam-side up. Cover and refrigerate overnight (cold fermentation enhances flavor).
Day 3: Bake Your Bread
1. Preheat the Oven:
- Preheat your oven to 475°F (245°C). Place a Dutch oven or baking stone inside to heat for at least 30 minutes.
2. Score the Dough:
- Remove the dough from the refrigerator and turn it out onto a piece of parchment paper. Use a sharp knife or lame to make a few shallow cuts on the surface of the dough. This allows it to expand while baking.
3. Bake the Bread:
- Transfer the dough (on the parchment paper) into the preheated Dutch oven or onto the baking stone. Cover with a lid if using a Dutch oven.
- Bake for 20 minutes with the lid on, then remove the lid and bake for another 20–25 minutes until the crust is deep golden brown.
4. Cool the Bread:
- Remove the bread from the oven and let it cool completely on a wire rack for at least 1 hour before slicing.
Tips for Success:
- Starter Health: Ensure your starter is active and bubbly before using it. Feed it 4–6 hours before starting your dough for the best results.
- Hydration Levels: If the dough feels too sticky, lightly flour your hands and work surface. Avoid adding too much extra flour, as it can affect the texture of the bread.
- Flavor Development: The longer you let the dough ferment (up to a point), the more tangy and flavorful your sourdough will be.
Why You’ll Love This Recipe:
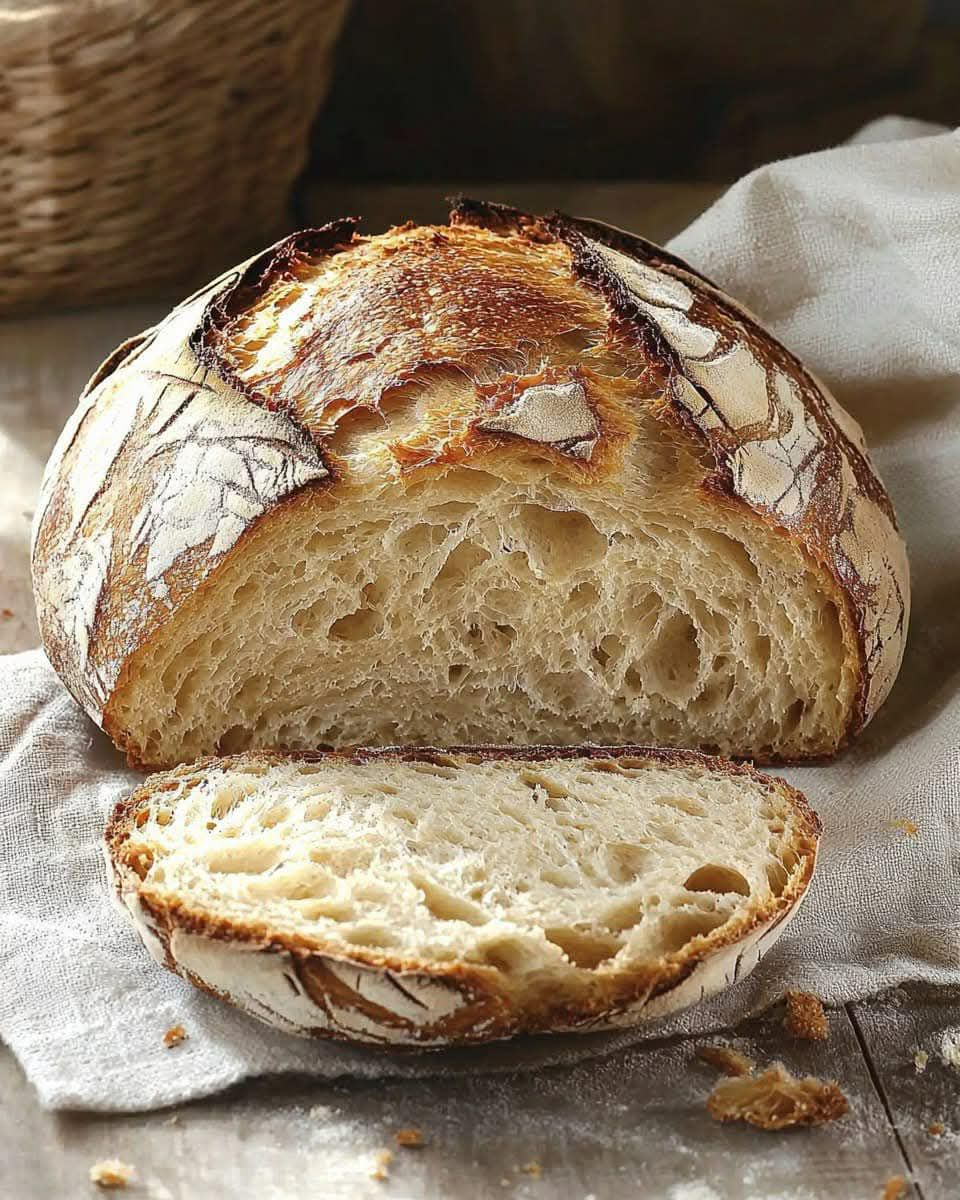
Homemade sourdough bread boasts a rich, tangy flavor and a perfectly crisp crust. It’s free of commercial yeast, relying solely on the magic of fermentation. Whether you enjoy it fresh with butter, toasted with jam, or as a base for sandwiches, this bread is sure to elevate your baking repertoire. With patience and practice, you’ll have a loaf that rivals your favorite bakery!
