Step 1: Prepare the Yeast Mixture
- Warm the Milk: In a small saucepan, gently warm 1 cup of whole milk over low heat until it reaches about 110°F (43°C). It should feel warm to the touch but not hot.
- Activate the Yeast: In a large mixing bowl, combine the warm milk with 2 ¼ teaspoons of active dry yeast and 1 tablespoon of sugar. Stir gently and let it sit for about 5-10 minutes until it becomes frothy.
Step 2: Mix the Dough
- Combine Dry Ingredients: In a separate bowl, whisk together 4 cups of all-purpose flour, 1/2 cup of sugar, and 1 teaspoon of salt.
- Add Wet Ingredients: To the yeast mixture, add 4 large eggs and mix until well combined. Gradually add the dry ingredients to the wet ingredients, mixing until a shaggy dough forms.
Step 3: Incorporate the Butter
- Add Butter: With the dough still in the bowl, add 1 cup of softened unsalted butter in small chunks. Mix until fully incorporated. The dough will be very soft and sticky at this point. If using a stand mixer, use the dough hook on low speed to mix until combined.
Step 4: Knead the Dough
- Knead: If you’re kneading by hand, turn the dough onto a floured surface and knead for about 10-15 minutesuntil smooth and elastic. If using a stand mixer, knead on medium speed for about 5-7 minutes. The dough should be soft and slightly tacky but not overly sticky.
Step 5: First Rise
- Let It Rise: Transfer the dough to a lightly greased bowl, cover it with plastic wrap or a clean kitchen towel, and let it rise in a warm, draft-free area for about 1-2 hours or until it doubles in size.
Step 6: Shape the Brioche
- Punch Down the Dough: Once the dough has risen, punch it down to release the air. Turn it out onto a lightly floured surface and divide it into equal pieces, about 10-12 pieces for individual rolls or 1-2 pieces for a loaf.
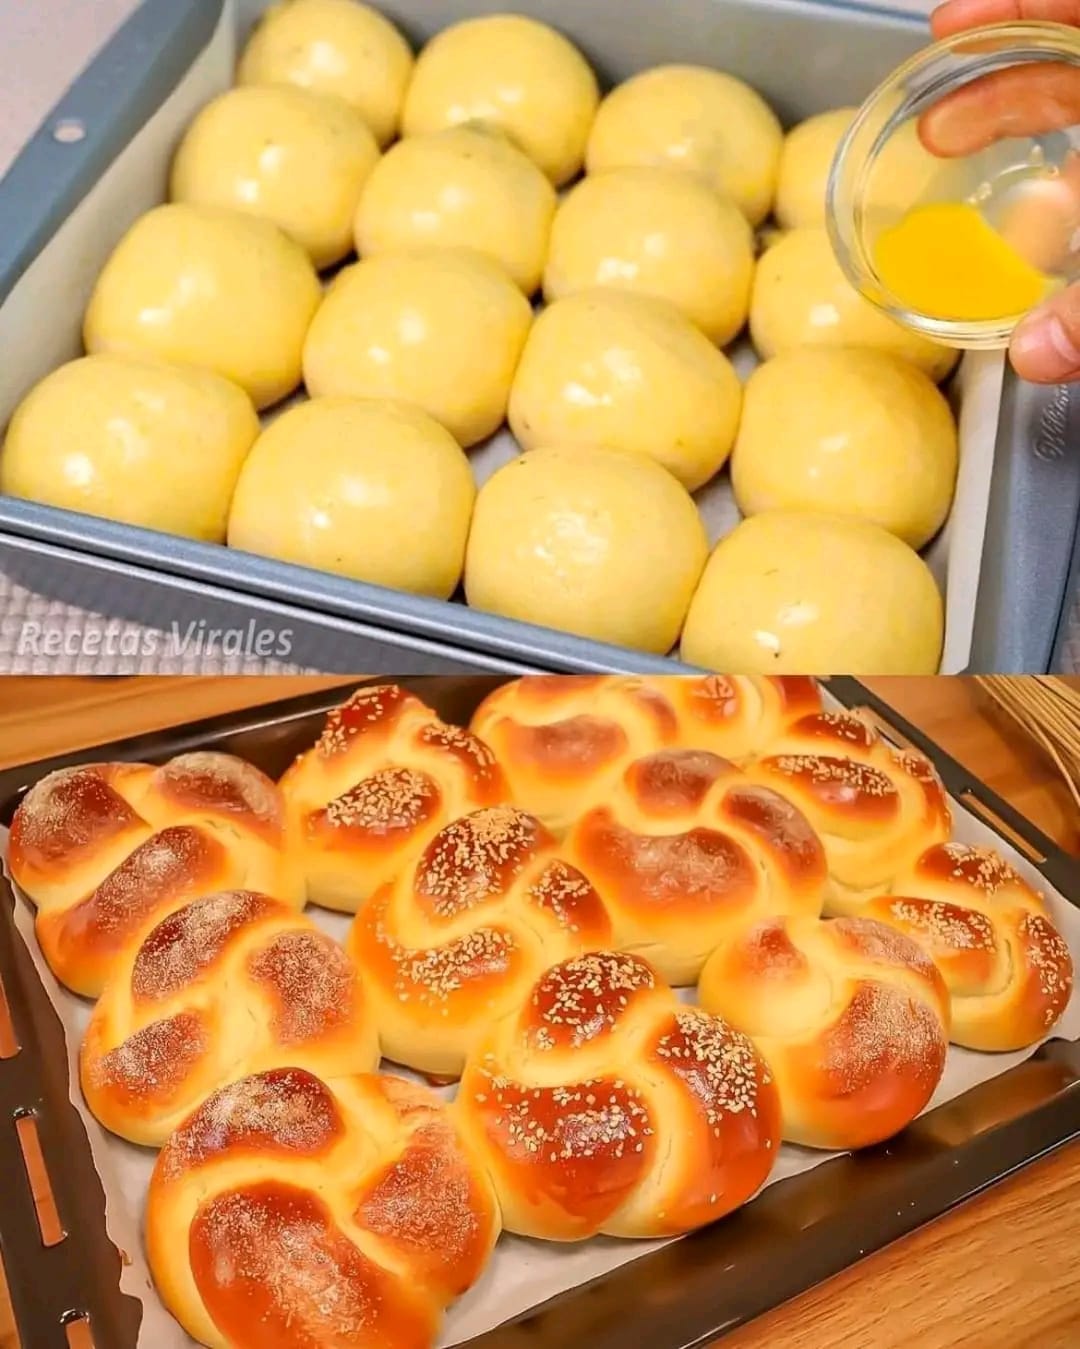
- Shape the Dough: For rolls, shape each piece into a ball. For a loaf, shape the dough into a log that fits your loaf pan. Place the shaped dough into a greased loaf pan or brioche mold.
Step 7: Second Rise
- Let It Rise Again: Cover the shaped dough with a kitchen towel and let it rise again for about 30-60 minutesuntil puffy and nearly doubled in size. Preheat your oven to 375°F (190°C) during this time.
Step 8: Egg Wash
- Prepare the Egg Wash: In a small bowl, whisk together 1 egg and a splash of milk. Gently brush the top of the risen brioche with the egg wash for a beautiful golden finish.
Step 9: Bake
- Bake: Bake in the preheated oven for 25-30 minutes or until the top is golden brown and the bread sounds hollow when tapped on the bottom. If it browns too quickly, cover it loosely with aluminum foil during the last 10 minutes of baking.
Step 10: Cool
- Cool: Remove the brioche from the oven and let it cool in the pan for about 10 minutes. Then, transfer it to a cooling rack to cool completely. This is crucial to let the bread set and make slicing easier.
Tips for Success
- Use Quality Ingredients: The flavor of your brioche is directly related to the quality of your ingredients, especially the butter and eggs.
- Don’t Rush the Rising Time: Patience is key! Allowing the dough to rise properly develops the flavor and texture of the brioche.
- Storage: Store any leftover brioche in a sealed plastic bag at room temperature for up to 3 days. You can also freeze slices for later enjoyment.
Enjoying Your Milk Brioche
Now that your milk brioche is complete, there are endless ways to enjoy it:
- Serve it warm with a pat of butter and a drizzle of honey.
- Use it to make delicious French toast topped with fresh fruits and syrup.
- Make sandwiches with your favorite fillings for a delightful twist.
Conclusion
This milk brioche recipe will undoubtedly elevate your baking game and leave you with a soft, fluffy loaf that melts in your mouth. The process may take some time, but the results are well worth the effort. As you pull that golden loaf from the oven, the joy and satisfaction you’ll feel are unparalleled. Share your creation with loved ones or savor it on your own—either way, you’re in for a treat! Happy baking!
