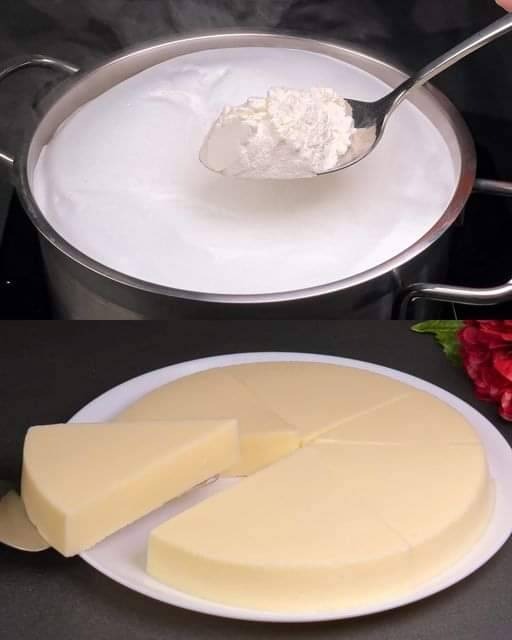
1. Heat the Milk
- Pour the milk into a large, heavy-bottomed pot and place it over medium heat.
- Heat the milk slowly, stirring occasionally to prevent it from scorching. Bring the milk to about 190°F (just below boiling), where it will be steaming and small bubbles form around the edges.
2. Add the Acid
- Once the milk reaches 190°F, remove it from the heat.
- Slowly add the vinegar or lemon juice, 1 tablespoon at a time, stirring gently after each addition. You should see the milk begin to curdle and separate into curds (solid) and whey (liquid).
- Let the mixture sit for 5–10 minutes to allow complete separation.
3. Strain the Curds
- Line a colander with cheesecloth or a clean kitchen towel and set it over a large bowl to catch the whey.
- Pour the curdled mixture into the colander, letting the whey drain out. Allow it to drain for 5–15 minutes, depending on how soft or firm you want the cheese. For softer cheese, drain for a shorter time; for firmer cheese, drain longer.
4. Season the Cheese
- Once drained, transfer the curds to a mixing bowl. Add salt to taste, and stir gently to incorporate.
- If desired, fold in herbs, pepper, or other seasonings to flavor your cheese.
5. Chill and Serve
- Transfer the cheese to an airtight container and refrigerate for at least 1 hour to allow the flavors to meld. It will keep in the fridge for up to 5 days.
Tips and Variations
- Type of Milk: Whole milk provides the best texture, but you can experiment with 2% or raw milk if available.
- Straining Time: Adjust the straining time depending on the texture you prefer. For a creamier cheese, strain for about 5 minutes; for crumbly cheese, strain up to 20 minutes.
- Whey Uses: The leftover whey is rich in protein and can be used in smoothies, soups, or baking instead of water.
Serving Suggestions
Enjoy this homemade cheese on toasted bread with a drizzle of olive oil, stirred into pasta, or crumbled over salads and roasted vegetables. It’s a deliciously fresh addition to your kitchen staples!
