Step 1: Mix the Dough
- Combine Dry Ingredients
In a large mixing bowl, whisk together the flour, salt, and instant yeast until well combined. - Add Water
Pour the warm water into the dry ingredients. Stir with a wooden spoon or spatula until a shaggy dough forms. The dough will be sticky and wet, which is perfectly normal. - Cover and Rest
Cover the bowl tightly with plastic wrap or a kitchen towel. Let the dough rise at room temperature for 12 to 18 hours. This long resting period allows the yeast to develop flavors and create a light texture.
Step 2: Shape the Dough
- Prepare the Work Surface
After the dough has rested and doubled in size, lightly flour a clean work surface. - Turn Out the Dough
Gently scrape the dough out of the bowl onto the floured surface. The dough will be sticky, so flour your hands as you handle it. - Shape the Dough
With floured hands, fold the dough over itself a couple of times to form a round shape. You don’t need to knead it—just shape it gently. - Let It Rest
Place the shaped dough on a piece of parchment paper (if using) and cover it with a kitchen towel. Let it rest for another 30 minutes to 1 hour while you preheat the oven.
Step 3: Preheat the Oven
- Preheat the Dutch Oven
About 30 minutes before you’re ready to bake, place your empty Dutch oven (with the lid) in the oven and preheat it to 450°F (232°C). Preheating the pot helps create a steam environment that leads to a crusty exterior.
Step 4: Bake the Bread
- Transfer the Dough
Carefully remove the hot Dutch oven from the oven. Use the parchment paper to lift the dough and place it into the hot pot. If not using parchment, gently place the dough into the pot. - Cover and Bake
Cover the pot with the lid and bake for 30 minutes. This covered baking helps steam the bread, allowing it to rise beautifully. - Uncover and Continue Baking
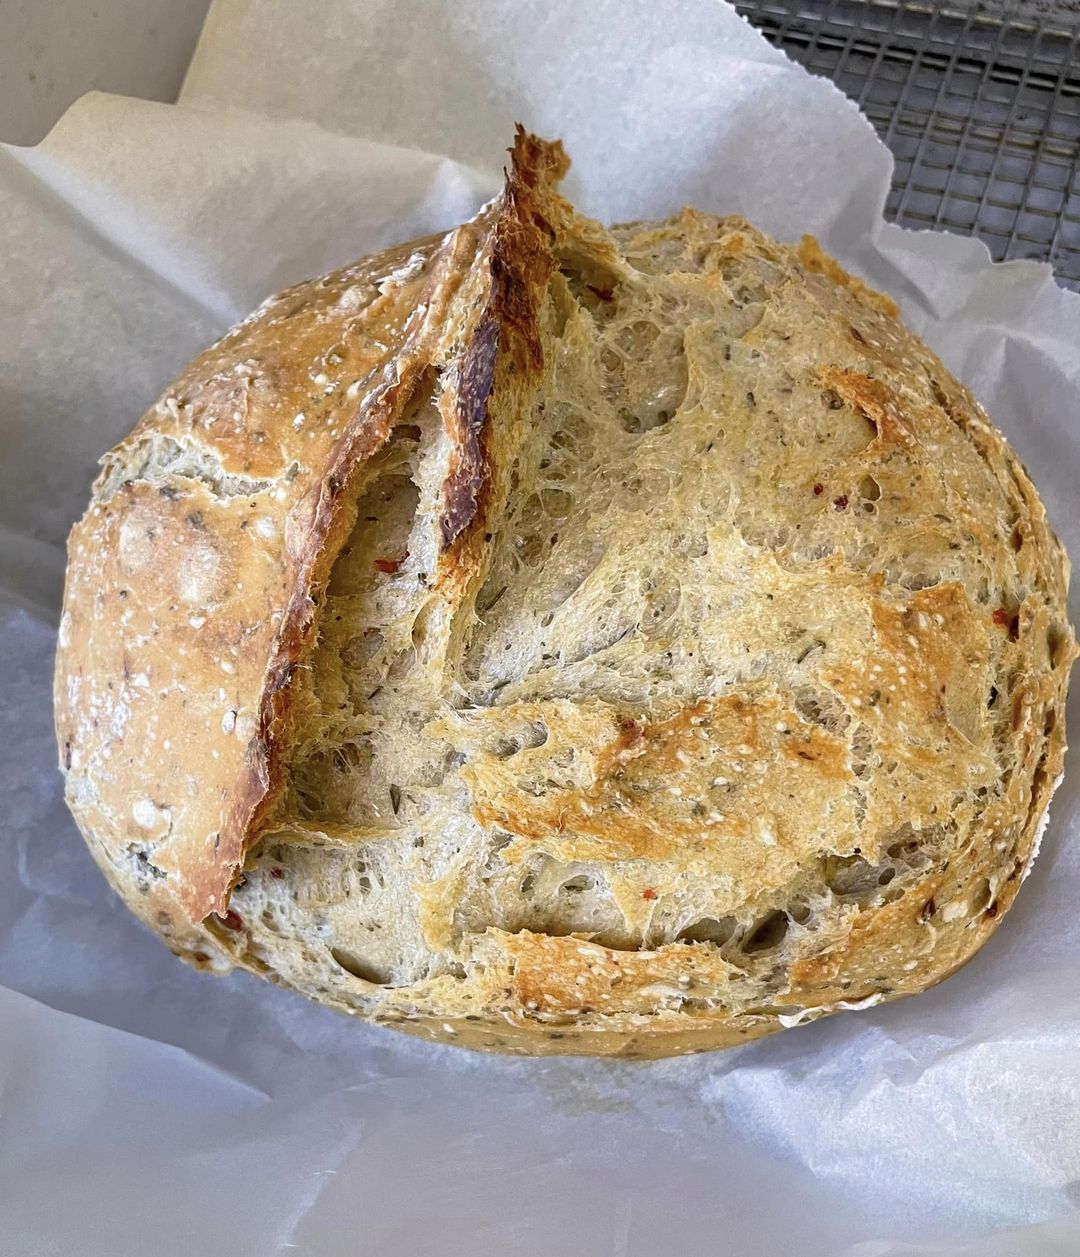
After 30 minutes, remove the lid and bake for an additional 15 to 20 minutes, or until the bread is golden brown and sounds hollow when tapped on the bottom.
Step 5: Cool and Enjoy!
- Cool the Bread
Carefully transfer the bread to a wire rack and let it cool completely before slicing. Cooling prevents the inside from becoming gummy. - Slice and Serve
Once cooled, slice the bread with a serrated knife and serve it warm with butter, use it for sandwiches, or enjoy it alongside soups and stews.
Tips for Perfect No-Knead Bread
- Flavor Variations: You can enhance the flavor by adding herbs (like rosemary or thyme), garlic powder, or cheese to the dough.
- Storage: Store leftover bread in a paper bag at room temperature for up to 3 days. For longer storage, wrap it in plastic wrap and freeze it for up to 3 months.
- Experiment with Grains: Try substituting some of the all-purpose flour with whole wheat flour or other grains for added texture and nutrition.
Conclusion
This Miracle No-Knead Bread is an easy and rewarding recipe that yields a delicious, artisanal loaf with minimal effort. Perfect for any occasion, it’s sure to impress your family and friends with its beautiful crust and tender interior. Enjoy the satisfaction of homemade bread with this simple yet flavorful recipe! Happy baking!
