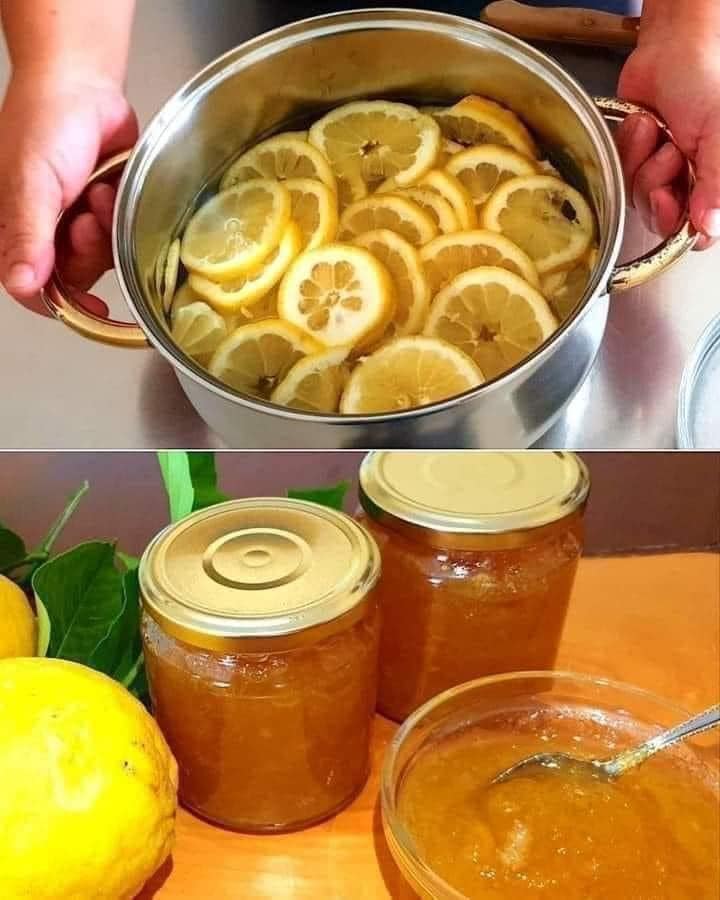
- Combine Ingredients: In a medium saucepan, combine the chopped lemon zest, lemon segments, lemon juice, and water. Bring to a boil over medium-high heat.
- Simmer: Reduce the heat to medium-low and let the mixture simmer for about 10-15 minutes, or until the lemon zest becomes tender.
- Add Sugar: Gradually add the sugar to the lemon mixture, stirring constantly until it dissolves completely. If using vanilla extract, add it now.
- Cook the Jam: Continue to cook the mixture over medium heat, stirring frequently, for about 20-30 minutes, or until the mixture thickens to a jam-like consistency. To test, place a small amount of the jam on a chilled plate; it should wrinkle slightly when pushed with your finger.
Step 3: Sterilize Jars and Lids
- Sterilize Jars: While the jam is cooking, sterilize your jars and lids by boiling them in a large pot of water for 10 minutes. Remove them carefully and let them air dry on a clean kitchen towel.
Step 4: Jar the Jam
- Fill the Jars: Once the jam has reached the desired consistency, carefully ladle it into the sterilized jars, leaving about 1/4 inch of headspace at the top. Wipe the rims of the jars with a clean, damp cloth to ensure a good seal.
- Seal the Jars: Place the lids on the jars and screw on the bands until they are fingertip tight.
- Process the Jars: If you plan to store the jam for an extended period, process the filled jars in a boiling water bath for 10 minutes. This step is optional if you plan to refrigerate and use the jam within a few weeks.
Step 5: Cool and Store
- Cool: Allow the jars to cool completely at room temperature. You should hear a popping sound as the jars seal. Check the seals by pressing down on the center of each lid; it should not flex up and down.
- Store: Store the sealed jars in a cool, dark place for up to one year. Refrigerate any jars that did not seal properly and use them within a few weeks.
Tips for Perfect Lemon Jam
- Zest Variations: For added flavor, you can mix in the zest of other citrus fruits like oranges or limes.
- Consistency Check: If the jam is too runny, continue to cook it for a few more minutes. If it’s too thick, add a little water and cook until the desired consistency is reached.
- Sweetness Adjustment: Adjust the amount of sugar to your taste preference. You can add more if you prefer a sweeter jam.
Final Thoughts
Homemade lemon jam is a delightful and versatile spread that captures the bright, tangy flavor of fresh lemons. This simple and quick recipe will have you enjoying your own batch of lemon jam in no time. Perfect for spreading on toast, filling pastries, or even stirring into yogurt, this jam is sure to become a favorite. Enjoy making and savoring this zesty treat!
