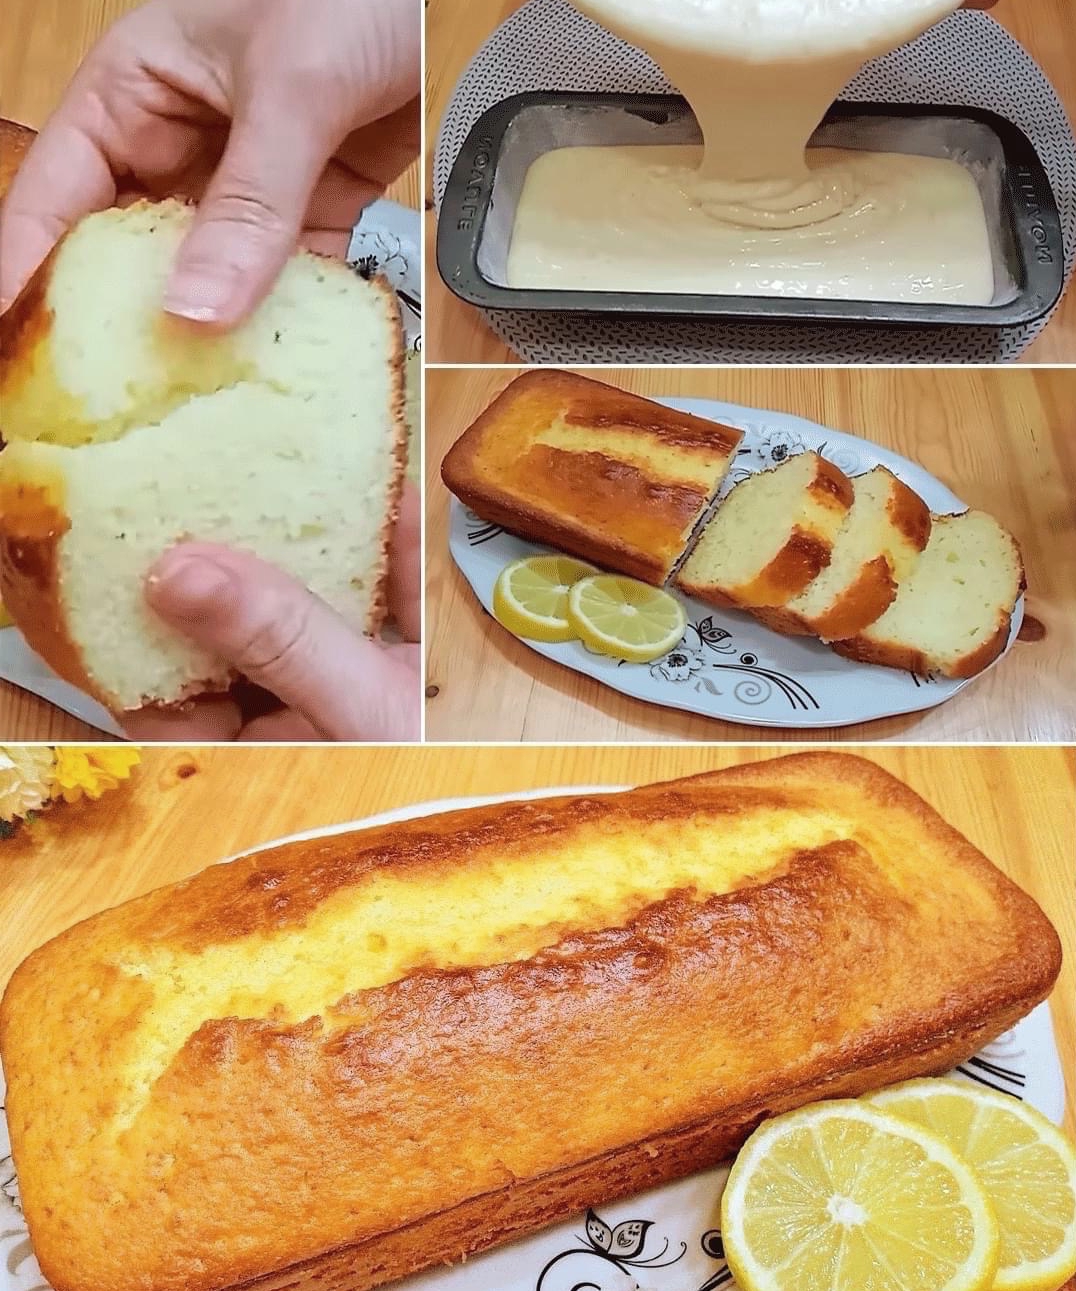
Step 1: Prepare the Cake Batter
- Preheat Oven:
- Preheat your oven to 350°F (175°C). Grease and flour two 9-inch round cake pans, and line the bottoms with parchment paper.
- Mix Dry Ingredients:
- In a medium bowl, sift together the cake flour, baking powder, and salt. Set aside.
- Cream Butter and Sugar:
- In a large mixing bowl, using an electric mixer, beat the softened butter on medium speed until creamy, about 1-2 minutes. Gradually add the granulated sugar and continue to beat until light and fluffy, about 3-4 minutes.
- Add Eggs:
- Add the eggs, one at a time, beating well after each addition. Scrape down the sides of the bowl as needed. Mix in the vanilla extract.
- Alternate Adding Dry Ingredients and Milk:
- With the mixer on low speed, add the flour mixture in three additions, alternating with the milk, beginning and ending with the flour mixture. Mix just until combined. Do not overmix.
Step 2: Bake the Cakes
- Divide and Bake:
- Divide the batter evenly between the prepared cake pans. Smooth the tops with a spatula.
- Bake:
- Bake in the preheated oven for 25-30 minutes, or until a toothpick inserted into the center of the cakes comes out clean.
- Cool:
- Allow the cakes to cool in the pans for 10 minutes, then turn them out onto a wire rack to cool completely. Remove the parchment paper.
Step 3: Prepare the Filling and Frosting
- Whip the Cream:
- In a large mixing bowl, beat the chilled heavy cream on medium-high speed until it begins to thicken. Gradually add the powdered sugar and vanilla extract, and continue to beat until stiff peaks form.
- Optional Fruit Filling:
- If desired, slice fresh fruits or prepare a layer of your favorite jam to add between the cake layers.
Step 4: Assemble the Cake
- Layer the Cake:
- Place one cake layer on a serving plate. Spread a generous layer of whipped cream over the top. Add a layer of fresh fruits or jam if desired.
- Top Layer:
- Place the second cake layer on top. Spread the remaining whipped cream over the top and sides of the cake, smoothing it out with a spatula.
- Optional Decoration:
- Dust the top of the cake with powdered sugar or garnish with additional fresh fruits for an elegant touch.
Step 5: Serve
- Slice and Enjoy:
- Slice the cake and serve. Enjoy the light, fluffy texture and rich, buttery flavor of this classic yellow sponge cake.
Tips and Variations
- Flour Substitution:
- If you don’t have cake flour, you can make your own by measuring 2 1/4 cups of all-purpose flour, removing 4 1/2 tablespoons, and replacing it with 4 1/2 tablespoons of cornstarch. Sift together several times to combine.
- Flavor Variations:
- Add lemon or orange zest to the batter for a citrus twist. You can also fold in mini chocolate chips or sprinkles for a fun variation.
- Frosting Options:
- For a richer frosting, you can use buttercream or cream cheese frosting instead of whipped cream.
- Storage:
- Store any leftover cake in an airtight container in the refrigerator for up to 3 days.
Conclusion
This Yellow Sponge Cake recipe provides a delightful, classic cake that is perfect for any celebration. The light, airy texture and rich flavor make it a favorite for all ages. Follow this detailed guide to create a cake that not only tastes delicious but also looks stunning. Enjoy every bite of this homemade masterpiece!
By following this detailed recipe, you’ll be able to create a delicious and satisfying yellow sponge cake that will impress everyone. Enjoy the process and the delightful taste of this classic dessert!
