Stage 1: Make the Cookie Dough
- Combine Dry Ingredients: In a medium bowl, whisk together the flour, baking powder, and salt. Set aside.
- Cream the Butter and Sugar: In a large mixing bowl, cream together the butter and granulated sugar using an electric mixer until light and fluffy (about 2-3 minutes).
- Add the Wet Ingredients: Beat in the egg, vanilla extract, and almond extract (if using) until fully incorporated. Add the milk and mix until smooth.
- Combine Wet and Dry Ingredients: Gradually add the dry ingredients to the wet ingredients and mix until the dough comes together.
- Chill the Dough: Divide the dough into two portions, flatten into discs, and wrap in plastic wrap. Refrigerate for at least 30 minutes to allow the dough to firm up.
Stage 2: Roll and Cut the Cookies
- Preheat the Oven: Preheat your oven to 350°F (175°C). Line baking sheets with parchment paper or silicone baking mats.
- Roll the Dough: Roll the chilled dough out on a floured surface to about 1/4-inch thickness. Using a round cookie cutter or a glass, cut out circles for the cookie bases. You can use any size you prefer for your Santa suit cookies.
- Bake the Cookies: Place the cut-out cookies on the prepared baking sheets and bake for 8-10 minutes, or until the edges are lightly golden. Allow them to cool completely on a wire rack before decorating.
Stage 3: Make the Frosting and Decorate the Cookies
- Make the Red Frosting: In a medium bowl, beat together butter, powdered sugar, heavy cream, and vanilla extract until smooth. Add a few drops of red food coloring and mix until the frosting reaches a bright red color.
- Make the White Frosting: If you don’t have store-bought white frosting, you can use the same frosting base and leave it uncolored. Use it for the white parts of Santa’s suit.
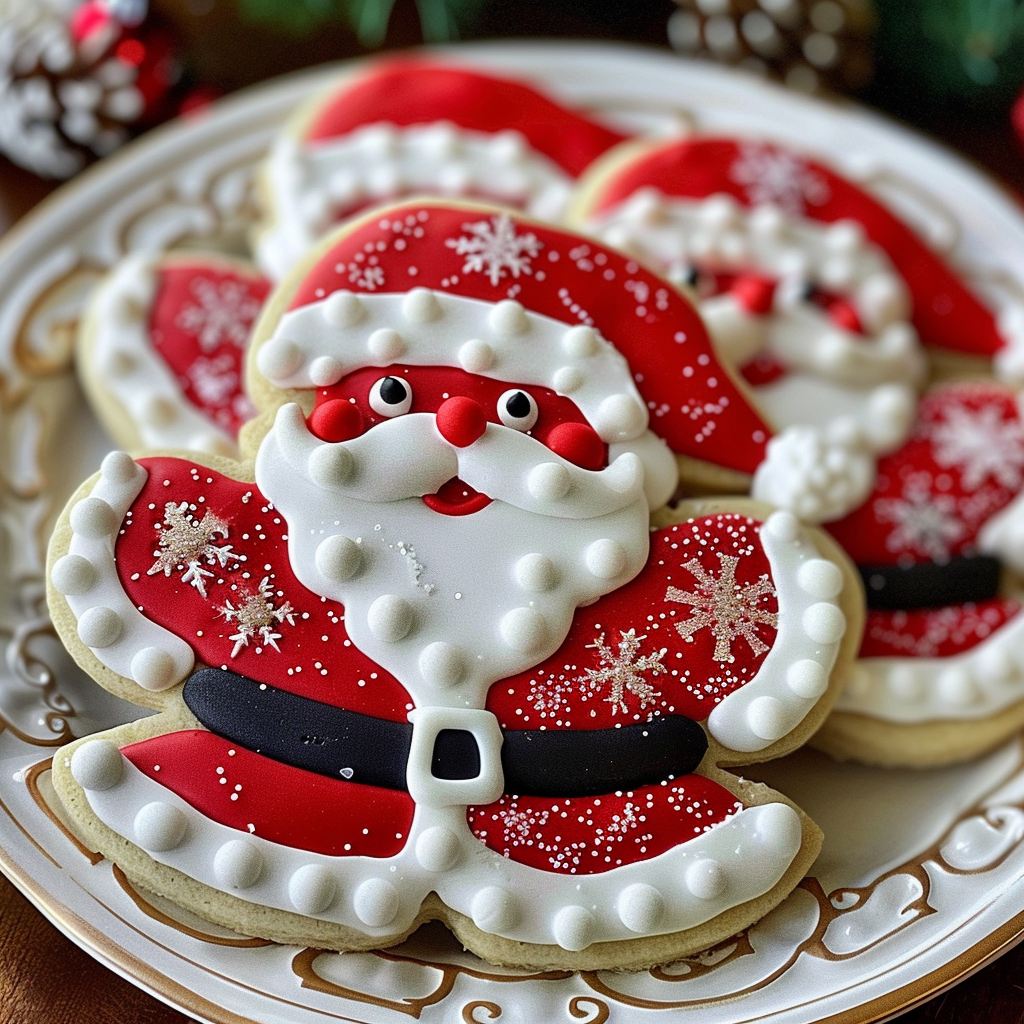
- Decorate the Cookies:
- Spread a layer of red frosting over the top of each cooled cookie, leaving a small border for the belt.
- Use white frosting to pipe a thick band around the middle of the cookie, creating the “belt” part of Santa’s suit.
- For the “belt buckle,” use mini chocolate chips to form small round buttons or place a small piece of yellow sprinkles for a golden buckle in the middle of the belt.
- If desired, pipe small buttons down the front of the suit using white frosting or mini chocolate chips.
- Set and Enjoy: Let the decorated cookies set for about 30 minutes so the frosting hardens slightly before serving or packaging them for gifts.
Stage 4: Serve and Enjoy
- Serve: These Santa Suit Cookies are the perfect festive treat to share with family and friends. Serve them at holiday parties, or add them to a cookie exchange tray!
- Storage: Store any leftover cookies in an airtight container at room temperature for up to 1 week. You can also freeze the cookies for longer storage, just make sure they are well-wrapped.
Additional Tips and Variations:
- Cookie Cutters: If you prefer to make cookies in the shape of Santa’s suit rather than circles, you can find specific cookie cutters for that, or use a rectangular cutter for a more traditional Santa outfit look.
- Different Frosting Colors: Feel free to experiment with other colors, such as adding green for a Christmas tree decoration or even white frosting for a snowy effect.
- Candy Garnishes: In addition to chocolate chips and sprinkles, you can use small candies like M&Ms or red hots to create a more festive look on your cookies.
Conclusion
Santa Suit Christmas Cookies are not only fun to make, but they are also a delightful and festive treat to share with loved ones during the holiday season. The combination of soft, chewy cookies with rich, colorful frosting and crunchy toppings makes them a perfect addition to your holiday dessert table. Whether you’re baking with kids or gifting them to friends, these cookies are sure to bring joy and smiles all around! Enjoy this fun, creative holiday treat!
