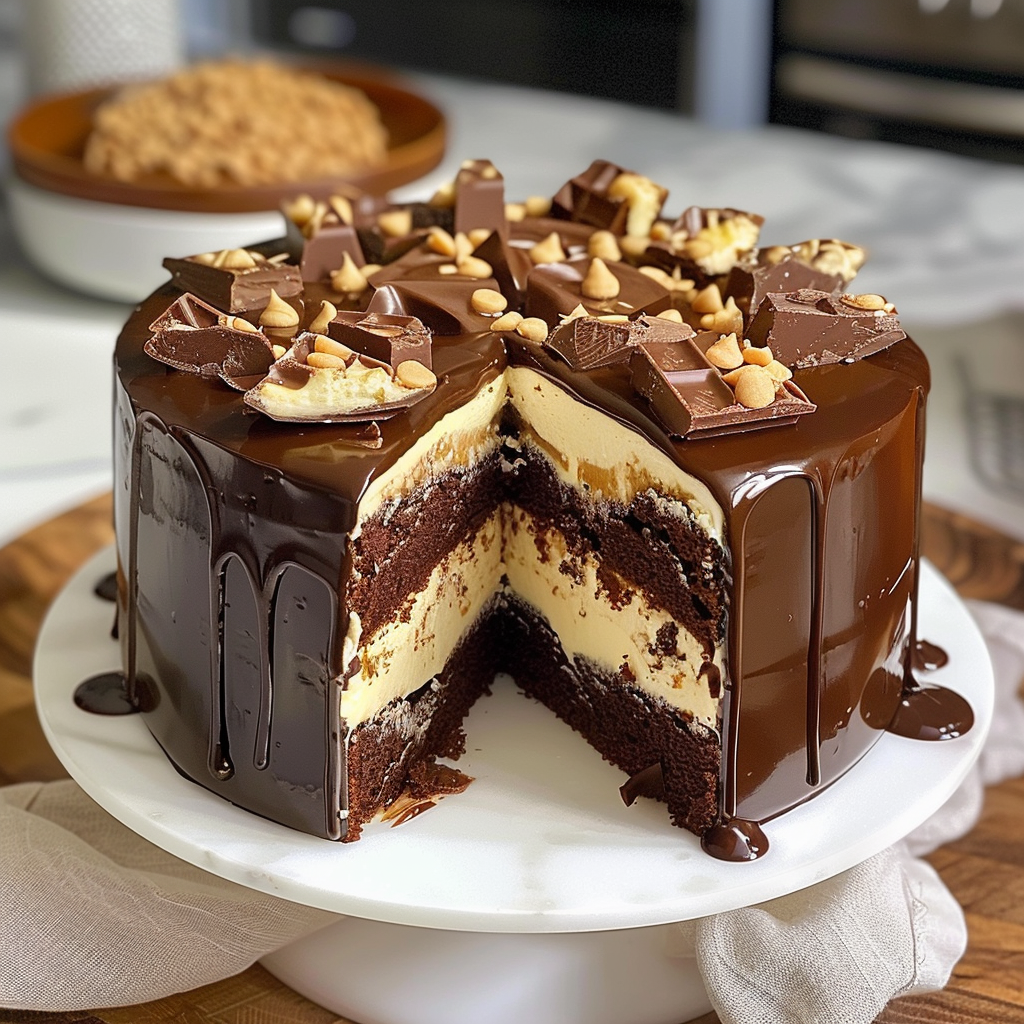
Stage 1: Make the Chocolate Cake
- Preheat the Oven: Preheat your oven to 350°F (175°C). Grease and flour two 8-inch round cake pans or line them with parchment paper.
- Mix the Dry Ingredients: In a large bowl, whisk together the flour, baking powder, baking soda, cocoa powder, and salt. Set aside.
- Mix the Wet Ingredients: In another bowl, beat together the sugar, brown sugar, eggs, buttermilk, oil, and vanilla extract until smooth and well combined.
- Combine Wet and Dry Ingredients: Gradually add the wet ingredients to the dry ingredients and mix until just combined. Be careful not to overmix.
- Add Boiling Water: Stir in the boiling water. The batter will be thin, but that’s perfectly fine, as it ensures the cake will be moist.
- Bake the Cakes: Pour the batter evenly into the prepared cake pans. Bake for 25-30 minutes, or until a toothpick inserted into the center of the cakes comes out clean. Let the cakes cool in the pans for 10 minutes, then turn them out onto a wire rack to cool completely.
Stage 2: Prepare the Cheesecake Filling
- Mix the Cheesecake Filling: In a medium bowl, beat the cream cheese, sugar, and vanilla extract together until smooth. Add the egg and beat until combined. Stir in the sour cream until the mixture is fully incorporated.
- Assemble and Bake the Cheesecake Filling: Once the cakes are cooled, carefully cut each cake in half horizontally, so you have four layers in total. Place the first layer of cake into the bottom of a 9-inch springform pan or a cake pan lined with parchment paper. Pour the cheesecake filling over the cake layer, spreading it evenly.
- Bake the Cheesecake Layer: Bake at 325°F (160°C) for about 30-35 minutes, or until the cheesecake is set (it should have a slight jiggle in the center but not be liquid). Let the cheesecake cool completely before removing it from the pan.
Stage 3: Make the Chocolate Ganache
- Melt the Chocolate: In a heatproof bowl, add the chocolate chips and heavy cream. Microwave in 30-second intervals, stirring after each, until the chocolate is completely melted and smooth.
- Add Butter: Stir in the unsalted butter for a glossy finish. Let the ganache cool slightly before pouring it over the cake.
Stage 4: Assemble the Cake
- Layer the Cake: Once the cheesecake filling has cooled, place the first layer of chocolate cake on a serving platter. Spread a layer of the cheesecake filling on top. Repeat this process, layering the cake and cheesecake filling, until all the layers are stacked.
- Pour the Ganache: Once your layers are assembled, pour the cooled chocolate ganache over the top of the cake, allowing it to drip down the sides. Use a spatula to smooth the ganache over the top for an even coating.
- Chill the Cake: Refrigerate the cake for at least 1-2 hours to allow the ganache to set and the flavors to meld together.
Stage 5: Serve and Enjoy
- Slice and Serve: Once the ganache has set, slice the cake and serve. The creamy cheesecake filling pairs perfectly with the rich chocolate cake and smooth ganache for an indulgent dessert experience.
- Optional Garnish: You can garnish the cake with whipped cream, chocolate shavings, or fresh berries for extra flair.
Additional Tips and Variations:
- Different Cheesecake Flavors: You can add different flavors to the cheesecake filling, such as lemon zest, chocolate chips, or even fruit purée, for a unique twist.
- For Extra Moisture: Brush each layer of chocolate cake with a simple syrup or a little bit of milk before adding the cheesecake filling for added moisture.
- Frosting Variation: If you prefer a thicker layer of frosting, increase the amount of chocolate ganache and pour it generously over the cake.
Conclusion
This Chocolate Cake with Cheesecake Filling and Chocolate Ganache is a decadent and impressive dessert that combines the best of chocolate cake and cheesecake. The layers of moist cake, creamy cheesecake, and rich ganache make it a perfect dessert for special occasions or when you just want to indulge in something truly luxurious. With its melt-in-your-mouth texture and rich flavors, this cake will undoubtedly be a favorite in your recipe collection!
