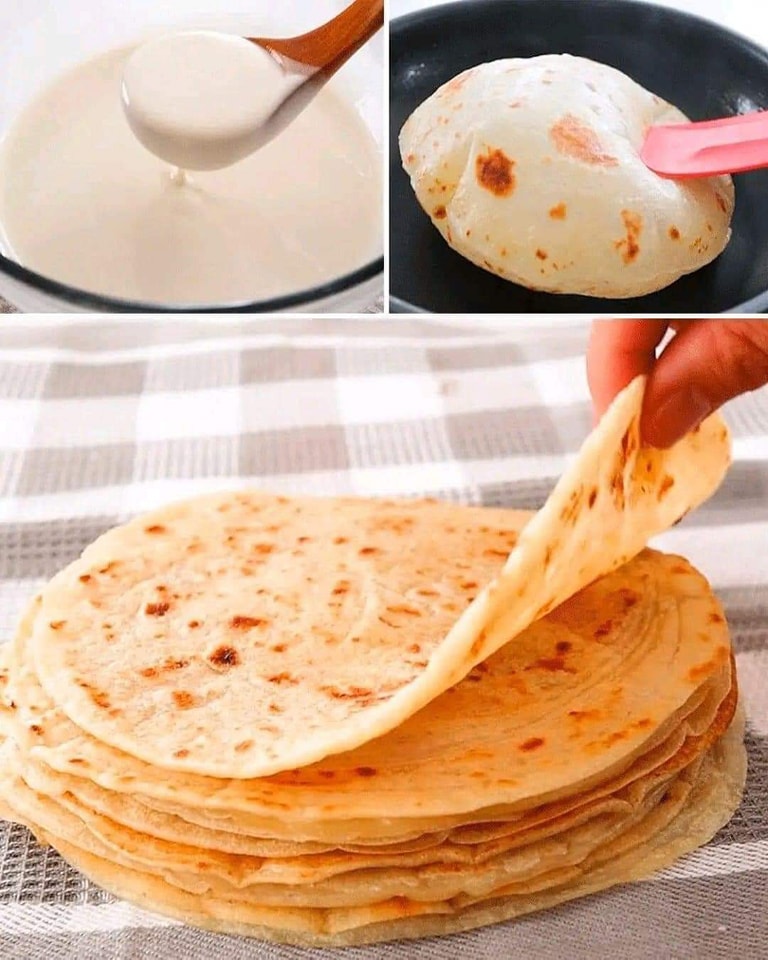
Stage 1: Prepare the Dough
- Combine Dry Ingredients: In a large mixing bowl, whisk together the flour, baking powder, and salt. If you prefer a slightly sweet flatbread, add 1 tablespoon of honey or sugar at this stage.
- Add Olive Oil: Add the olive oil to the dry ingredients and stir to combine. The oil helps to create a tender, soft texture in the bread.
- Add Warm Water: Slowly pour in the warm water, stirring continuously. Mix until a dough forms. If the dough is too sticky, add a little more flour, a tablespoon at a time. If it’s too dry, add more water, a teaspoon at a time, until the dough comes together.
- Knead the Dough: Once the dough is formed, turn it out onto a lightly floured surface and knead it for about 2-3 minutes until it becomes smooth and elastic. This doesn’t take long, as the dough is quick to come together.
Stage 2: Roll Out the Dou
- Divide the Dough: Divide the dough into 4-6 equal portions, depending on how large you want your flatbreads to be. Roll each portion into a ball.
- Roll Out the Dough: Using a rolling pin, roll each ball of dough into a thin circle (or oval shape). Aim for about 1/8-inch thickness. If the dough sticks to the rolling pin, dust it lightly with flour.
Stage 3: Cook the Flatbread in the Skillet
- Preheat the Skillet: Heat a large skillet or griddle over medium-high heat. Add a little olive oil to the skillet and swirl it around to coat the bottom. You can also use a non-stick skillet if you prefer.
- Cook the Flatbread: Place one rolled-out dough circle into the hot skillet. Cook for 2-3 minutes, or until small bubbles begin to form on the surface. Flip the flatbread and cook for another 1-2 minutes on the other side until golden brown. The flatbread should puff up slightly.
- Repeat for Remaining Dough: Remove the cooked flatbread from the skillet and place it on a plate. Optionally, brush it with a little melted butter to add flavor and a golden sheen. Continue cooking the remaining flatbreads, adding more oil to the skillet as needed.
Stage 4: Serve and Enjoy
- Serve Warm: These no-yeast flatbreads are best enjoyed fresh and warm. Serve them with dips like hummus, tzatziki, or a side of curry. They also make great wraps for sandwiches, fajitas, or any fillings of your choice.
- Optional Garnish: For an added touch of flavor, brush the warm flatbreads with melted butter and sprinkle with fresh herbs like parsley or rosemary.
Additional Tips and Variations:
- Flavor Variations:
- Garlic Flatbread: Add finely minced garlic to the dough or brush the cooked flatbread with garlic butter.
- Herb Flatbread: Add dried herbs like oregano, thyme, or rosemary to the dry ingredients to infuse extra flavor.
- Cheese Flatbread: Incorporate a little shredded cheese into the dough for cheesy flatbreads.
- Storage: If you have any leftovers, store them in an airtight container or ziplock bag at room temperature for up to 2 days. You can also freeze the flatbreads for up to 1 month. To reheat, simply warm them in a dry skillet or microwave.
- Make-Ahead Option: You can prepare the dough ahead of time and store it in the refrigerator for up to 24 hours. Just let it come to room temperature before rolling it out and cooking.
Conclusion
This no-yeast flatbread in a skillet is a quick, easy, and delightful way to enjoy freshly baked bread without any complicated steps. The dough comes together in minutes, and with just a few ingredients, you can have warm, soft flatbreads ready to complement any meal. Whether you’re enjoying them with your favorite dips or using them as a wrap, this recipe is sure to become a staple in your kitchen. Enjoy the delicious simplicity of homemade flatbread!
