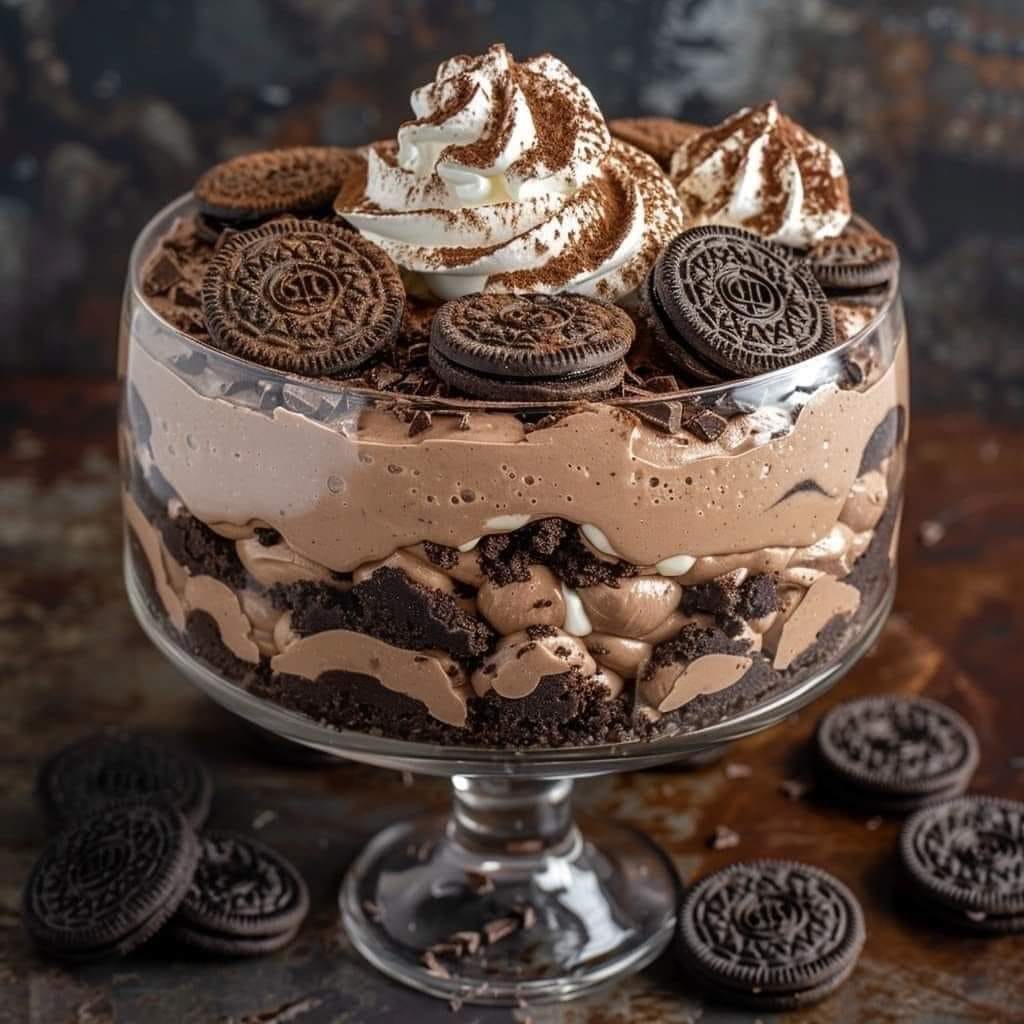
1. Prepare the Crust (Optional):
If you want a crunchy, chocolatey base for your cheesecake ice cream, start by making the crust. In a medium-sized bowl, mix the crushed chocolate graham crackers (or Oreos) with melted butter and granulated sugar. Stir until everything is well combined and the mixture holds together when pressed.
Press the mixture into the bottom of a pie dish, tart pan, or a 9×9-inch square baking pan to form an even layer. Place the crust in the freezer for about 15-20 minutes to set while you make the cheesecake filling.
2. Make the Chocolate Cheesecake Ice Cream Base:
In a large mixing bowl, beat the softened cream cheese with the powdered sugar until smooth and fluffy. This will create a rich, creamy texture that forms the base of your ice cream.
Add the heavy whipping cream and vanilla extract to the mixture, and beat until stiff peaks form. This may take a few minutes, so be patient! The whipped cream adds the necessary lightness and fluffiness to the mixture.
Once the whipped cream is incorporated, sift in the unsweetened cocoa powder and add the melted semi-sweet chocolate (or dark chocolate if you prefer a more intense flavor). Mix gently until everything is fully combined. If you want an extra creamy touch, add the sour cream at this stage and stir it in.
3. Assemble the Ice Cream:
Take the prepared crust (or skip this step if you prefer your ice cream without a base) and spoon the cheesecake ice cream filling over the crust, smoothing it out into an even layer with a spatula. The filling should be thick and creamy, and it will spread easily across the crust.
Once the filling is in place, swirl the melted chocolate mixture into the top of the cheesecake ice cream base. Simply drizzle the melted chocolate over the top, then use a knife or toothpick to gently swirl it into the mixture, creating beautiful marbled patterns. This adds a delightful chocolatey depth to every bite!
4. Freeze Until Firm:
Cover the dish tightly with plastic wrap or aluminum foil and place it in the freezer. Allow the ice cream to freeze for at least 4 hours or overnight. The texture will firm up beautifully into a rich, smooth, and creamy treat.
If you’re in a hurry, you can also transfer the mixture to individual containers or silicone molds for single-serving portions, which can freeze more quickly.
5. Serve and Enjoy:
Once the ice cream is firm and set, it’s time to scoop and enjoy! For an extra touch, you can garnish the dessert with whipped cream, chocolate shavings, or even fresh berries for contrast.
This no-bake chocolate chocolate cheesecake ice cream is perfect for warm weather or when you’re craving something cool and indulgent without the fuss of baking.
Tips for the Best No-Bake Chocolate Chocolate Cheesecake Ice Cream:
- Texture Tip: For an extra smooth texture, make sure the cream cheese is softened before you start mixing. This will help it blend seamlessly into the whipped cream.
- Flavor Variations: Feel free to experiment with different types of chocolate! White chocolate, milk chocolate, or even flavored chocolate can add a new twist to the recipe. You could also add chocolate chunks or candy pieces for added texture and flavor.
- Make Ahead: This dessert can be made well in advance and stored in the freezer for up to 2 weeks. Just be sure to cover it well to prevent freezer burn.
- No Crust Option: If you prefer to skip the crust altogether, you can simply freeze the cheesecake mixture in a dish for a no-bake cheesecake ice cream. Just swirl the chocolate in before freezing for a similar marbled effect.
- Serving Tip: If the ice cream is a little too firm when you first take it out of the freezer, allow it to sit at room temperature for a few minutes to soften slightly before scooping.
Why You’ll Love This Dessert:
This No-Bake Chocolate Chocolate Cheesecake Ice Cream combines the smooth, velvety texture of cheesecake with the rich, indulgent flavor of chocolate ice cream, making it the ultimate chocolate lover’s dream. It’s easy to make with minimal prep time and can be prepared in advance, making it perfect for busy evenings or gatherings.
The addition of the optional chocolate crust gives it a nice crunch, while the chocolate swirl creates layers of intense flavor with every bite. Whether served as a family treat or a show-stopping dessert at a dinner party, this dessert will leave everyone asking for seconds.
Enjoy the perfect combination of creamy, chocolatey, and refreshing goodness in one luxurious dessert.
[adinserter name=”Block 6″
