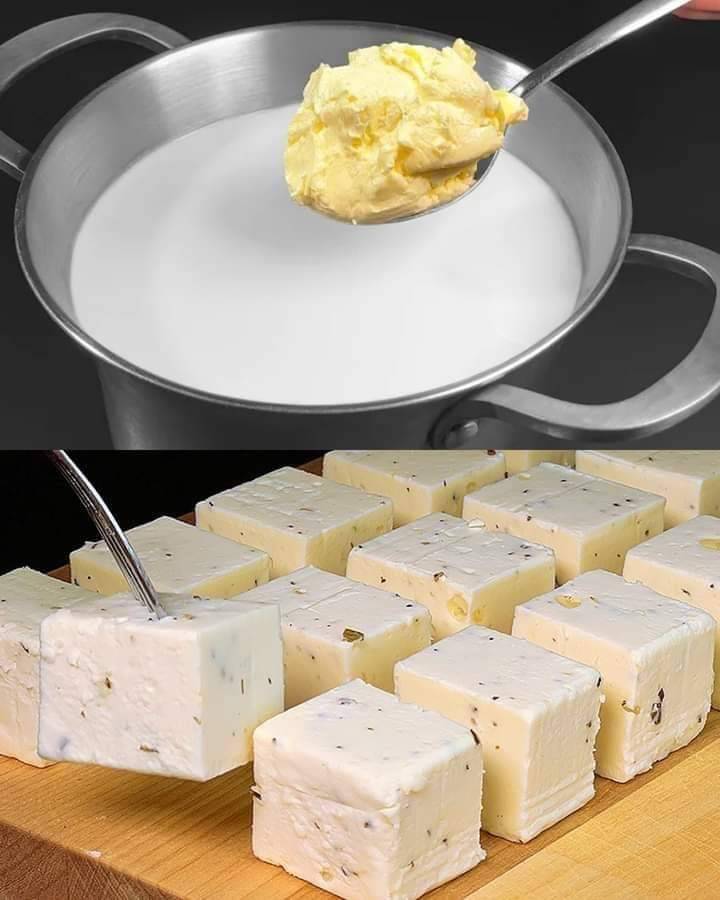
Step 1: Heat the Milk
- Pour the whole milk into a heavy-bottomed pot and heat it over medium heat. Stir occasionally to prevent the milk from sticking to the bottom or burning.
- Bring the milk to a gentle boil. Be careful not to let it boil over, and watch it closely as it heats.
Step 2: Add the Acid
- Once the milk begins to bubble, reduce the heat to low. Slowly add the lemon juice or vinegar, one tablespoon at a time, and gently stir with a spoon or ladle.
- The milk will start to curdle almost immediately, with white curds forming and separating from the yellowish whey. If the milk doesn’t curdle fully, add another tablespoon of acid until it does.
Step 3: Strain the Curdled Milk
- Once the curds have completely separated from the whey, turn off the heat. Let it sit for a minute or two.
- Place a cheesecloth or clean kitchen towel over a colander or fine-mesh strainer. Carefully pour the curdled milk into the cloth to separate the curds from the whey.
- Gather the corners of the cloth and lift to let the liquid drain. If you want firmer cheese, you can twist the cloth to squeeze out more whey.
Step 4: Rinse and Press the Cheese
- Rinse the curds with cool water to remove the taste of the acid.
- To shape the paneer into a block, gather the cheesecloth into a tight bundle and press down. You can set a heavy pan or pot on top and leave it for 30-60 minutes. This will help remove any excess moisture and create a firmer texture.
Step 5: Cut and Use the Paneer
- Once pressed, unwrap the cheese. You can cut it into cubes or slices, depending on your preference.
- It’s now ready to use! You can enjoy it as is, pan-fry it, or add it to your favorite dishes.
Tips for the Perfect Homemade Cheese
- Use fresh, whole milk for the best results. Low-fat milk won’t yield as much cheese and won’t have the same creamy texture.
- Adjust firmness: For softer cheese, press it for a shorter time; for firmer cheese, press longer or use more weight.
- Save the whey: Whey is rich in nutrients and can be used in smoothies, soups, or as a liquid for baking bread.
How to Enjoy Homemade Paneer
- In curries: Paneer works beautifully in spiced curries like Paneer Butter Masala or Saag Paneer.
- Grilled or sautéed: Pan-fry cubes in a little oil or butter until golden brown and serve as a protein-packed snack or salad topping.
- Salads or sandwiches: Add fresh or grilled paneer to a vegetable salad, or use it in sandwiches for a unique twist.
Storage
- Refrigerate: Place the cheese in an airtight container and refrigerate for up to 4 days.
- Freeze: You can freeze paneer, but the texture may change slightly. Wrap it tightly in plastic wrap or foil before freezing.
Final Thoughts
This homemade cheese recipe is perfect for anyone looking to try their hand at fresh, simple cheese-making. Once you taste homemade paneer, you’ll appreciate its freshness and versatility in countless dishes. Enjoy your cheese adventure!
