Step 1: Prepare Your Baking Dish
Start by lining your baking dish with parchment paper, leaving some overhang on the sides. This will make it easy to lift the bars out later for cutting. If you prefer, you can lightly grease the dish with cooking spray or butter to prevent sticking.
Step 2: Make the Base Mixture
In a large mixing bowl, combine the graham cracker crumbs, unsweetened cocoa powder, and powdered sugar. Mix well until all the dry ingredients are evenly incorporated.
Next, add the melted butter and peanut butter to the dry mixture. Use a rubber spatula to stir until the mixture is well combined and has a thick, cohesive texture. It should be slightly crumbly but hold together when pressed.
Step 3: Press the Base into the Baking Dish
Transfer the mixture to the prepared baking dish. Using your hands or the back of a spatula, firmly press the mixture into an even layer, ensuring it covers the entire bottom of the dish. The firmer you press it down, the better the base will hold together once set.
Step 4: Prepare the Chocolate Topping
In a medium saucepan, melt the semi-sweet chocolate chips and unsalted butter over low heat. Stir continuously until the chocolate is completely melted and smooth. Be careful not to overheat the chocolate, as it can burn easily.
Alternatively, you can melt the chocolate and butter together in a microwave-safe bowl. Heat in 30-second intervals, stirring in between, until melted and smooth.
Step 5: Pour the Chocolate Over the Base
Once the chocolate mixture is ready, pour it evenly over the pressed peanut butter base in the baking dish. Using a spatula, spread the chocolate topping into an even layer, covering the entire base.
Step 6: Chill to Set
Cover the baking dish with plastic wrap or aluminum foil and refrigerate for at least 2 hours, or until the chocolate topping has set completely. This chilling time helps the bars firm up and makes them easier to cut.
Step 7: Cut and Serve
Once set, remove the bars from the baking dish by lifting them out using the parchment paper overhang. Place them on a cutting board and cut into squares or rectangles, depending on your preferred size.
Step 8: Store Leftovers
If you have any leftovers (though we doubt that!), store them in an airtight container in the refrigerator for up to one week. You can also freeze them for longer storage; just make sure to separate layers with parchment paper.
Conclusion:
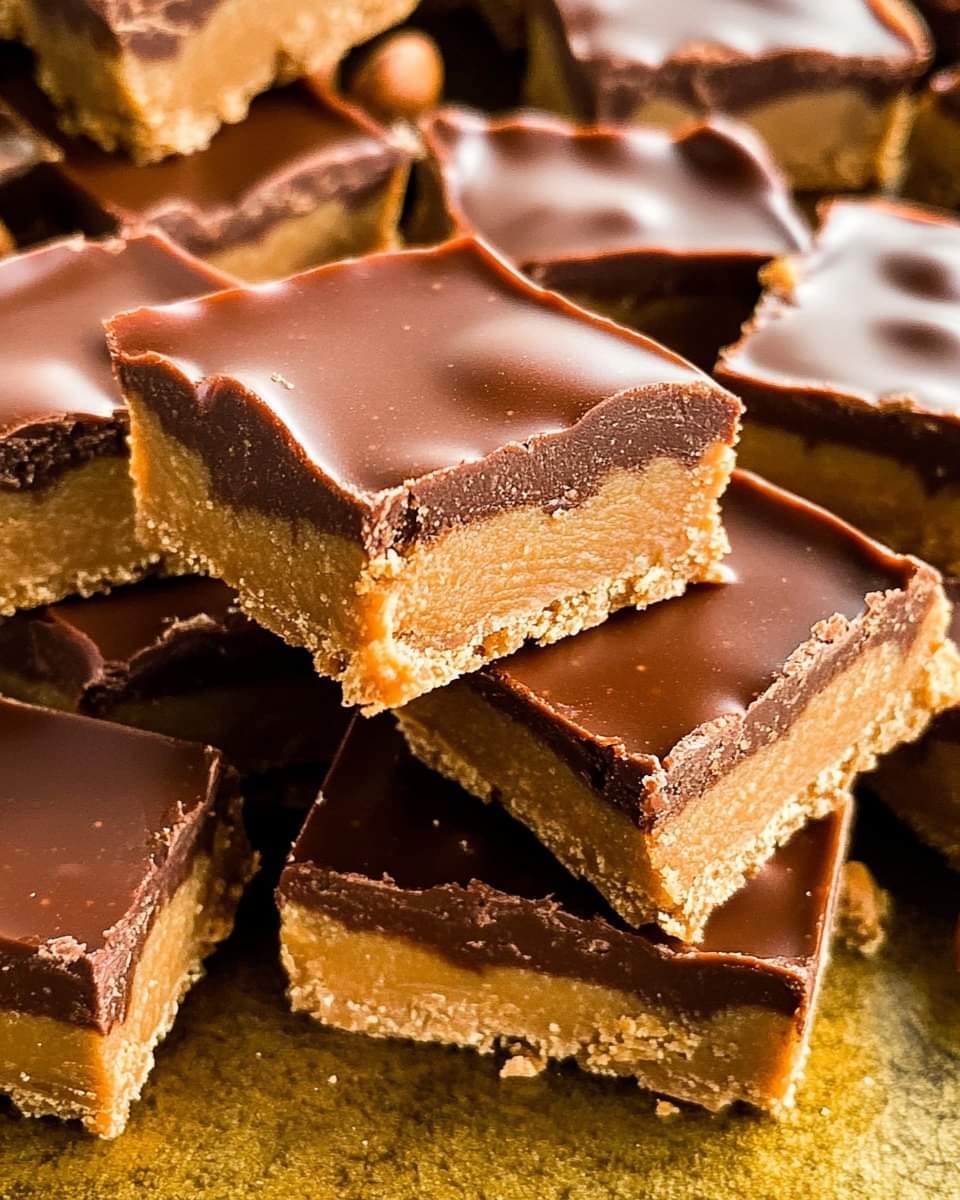
These No-Bake Chocolate Peanut Butter Bars are the ultimate combination of creamy, crunchy, and chocolaty goodness. Easy to make and perfect for sharing, they’ll quickly become a favorite treat for all occasions. Whether enjoyed at a gathering or as a sweet snack at home, they are sure to satisfy your cravings and impress your family and friends. Enjoy making and sharing this delightful recipe!
