Step 1: Activate the Yeast
- Combine Yeast and Sugar: In a small bowl, mix the warm water with the sugar. Sprinkle the yeast over the top and stir gently. Let it sit for 5-10 minutes until frothy and bubbly. This indicates that the yeast is active.
Step 2: Prepare the Dough
- Mix Dry Ingredients: In a large mixing bowl, combine 3 1/2 cups of flour with the salt. Make a well in the center.
- Add Wet Ingredients: Pour the yeast mixture into the well, followed by the olive oil if using.
- Form the Dough: Stir the mixture with a wooden spoon or spatula until a dough starts to form. If the dough is too sticky, gradually add more flour until it comes together and is easy to handle.
Step 3: Knead and Rise
- Knead the Dough: Transfer the dough to a floured surface and knead for about 5-7 minutes until smooth and elastic. The dough should be slightly tacky but not sticky.
- First Rise: Place the dough in a lightly oiled bowl, cover with a damp cloth or plastic wrap, and let it rise in a warm place for 1-1.5 hours, or until doubled in size.
Step 4: Shape and Preheat
- Shape the Dough: Punch down the dough to release the air. Shape it into a loaf or divide it into smaller pieces if preferred.
- Preheat the Air Fryer: Set your air fryer to 350°F (175°C) and let it preheat for about 3 minutes.
Step 5: Air Fry the Bread
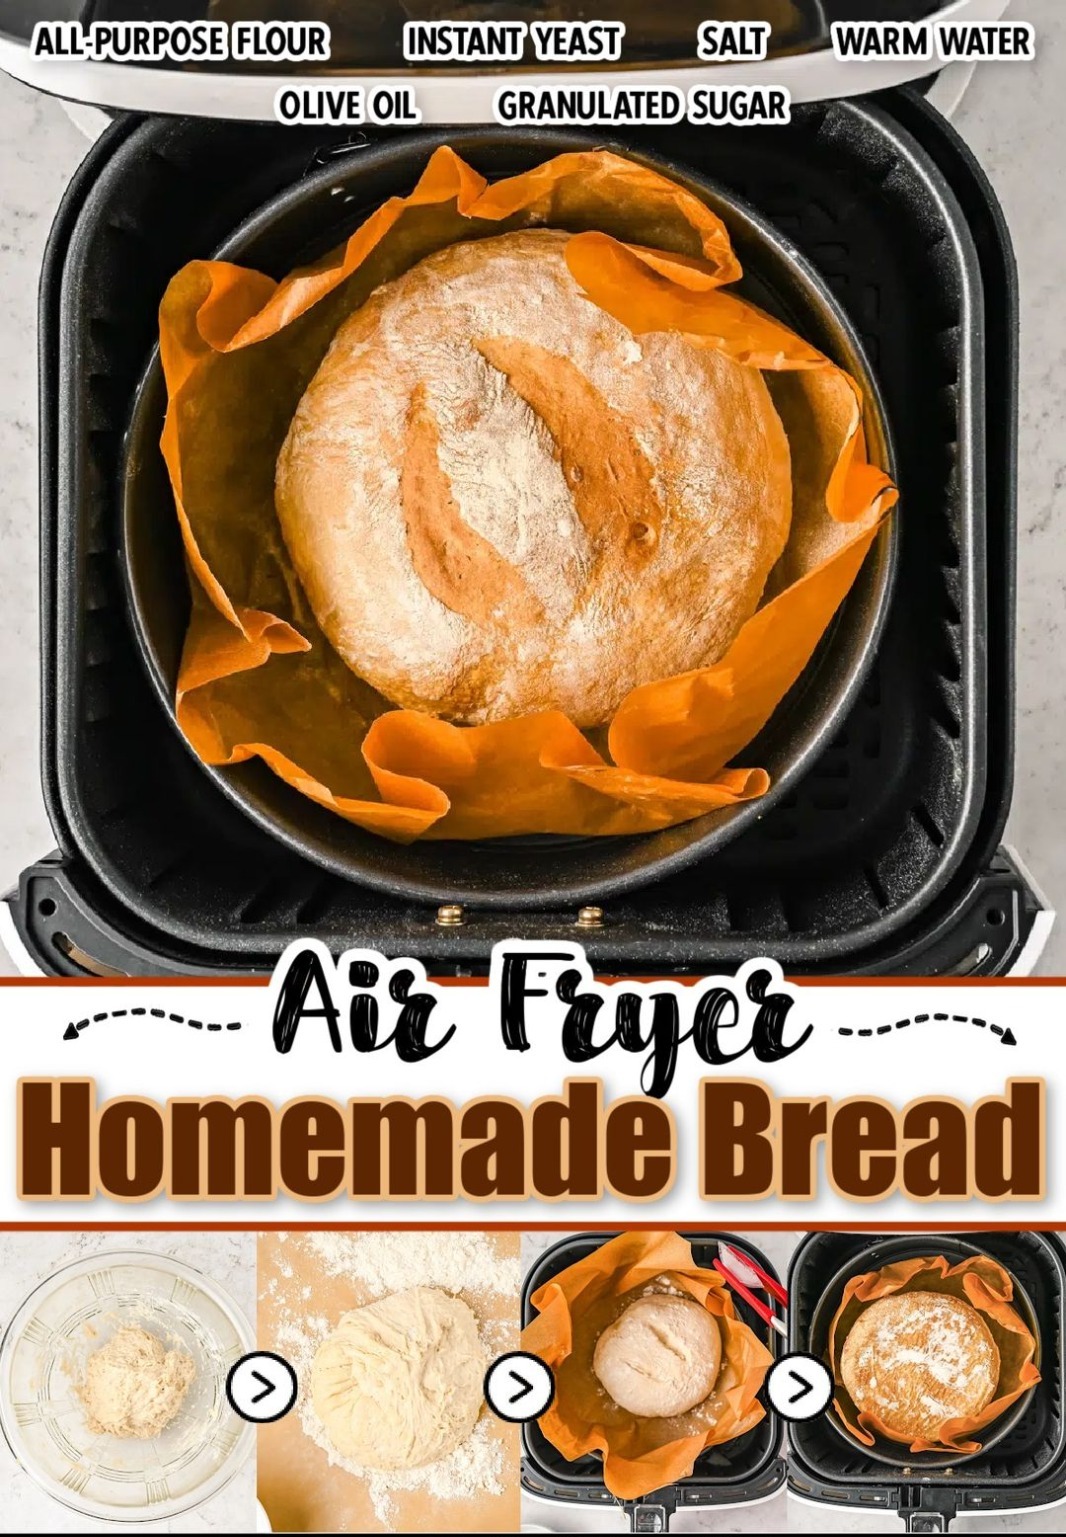
- Prepare for Air Frying: Place the shaped dough in the air fryer basket. If necessary, line the basket with parchment paper or use a baking pan that fits in the air fryer.
- Brush with Milk: Brush the top of the dough with milk to create a golden crust.
- Cook: Air fry the bread at 350°F (175°C) for 20-25 minutes, or until the bread is golden brown and sounds hollow when tapped on the bottom. The exact cooking time may vary based on the size and shape of your bread and the model of your air fryer.
Step 6: Cool and Serve
- Cool the Bread: Once cooked, carefully remove the bread from the air fryer and let it cool on a wire rack. This helps prevent the crust from becoming soggy.
- Slice and Enjoy: Slice the bread once it’s cooled slightly and enjoy with your favorite spreads or as a side to a meal.
Tips for Perfect Air Fryer Bread
- Measure Flour Accurately: Use a kitchen scale if possible to measure the flour accurately. Too much flour can make the dough dry and dense.
- Check Dough Consistency: The dough should be slightly tacky but manageable. Adjust flour or water as needed to achieve the right texture.
- Monitor Cooking Time: Since air fryers vary in temperature and airflow, keep an eye on the bread as it cooks. Check for doneness a few minutes before the suggested cooking time.
- Avoid Overcrowding: Ensure the dough has enough space in the air fryer to expand and cook evenly. If necessary, cook in batches.
Why Air Fryer Bread?
The air fryer provides a quick and efficient way to bake bread, offering a crispy crust and tender crumb without heating up your kitchen. The convection heat circulates around the bread, ensuring even cooking and a perfect texture every time. This method is ideal for those who want fresh, homemade bread without the hassle of a traditional oven.
Whether you’re making a loaf for sandwiches, toasting for breakfast, or just enjoying fresh bread with a meal, this air fryer recipe is sure to become a favorite. Enjoy the delightful aroma and taste of homemade bread with ease and convenience!