- Prepare the Strawberries:
- Start by preparing the strawberries. Using a paring knife, carefully cut off the tops of each strawberry. Create a small cavity in each strawberry by coring out a bit of the center with a small spoon or knife. Be careful not to cut through the bottom of the strawberry.
- Make the Cheesecake Filling:
- In a mixing bowl, beat the softened cream cheese until smooth and creamy.
- Add the powdered sugar and vanilla extract to the cream cheese, and continue to beat until well combined and smooth. Adjust the sweetness to your taste preference.
- Fill the Strawberries:
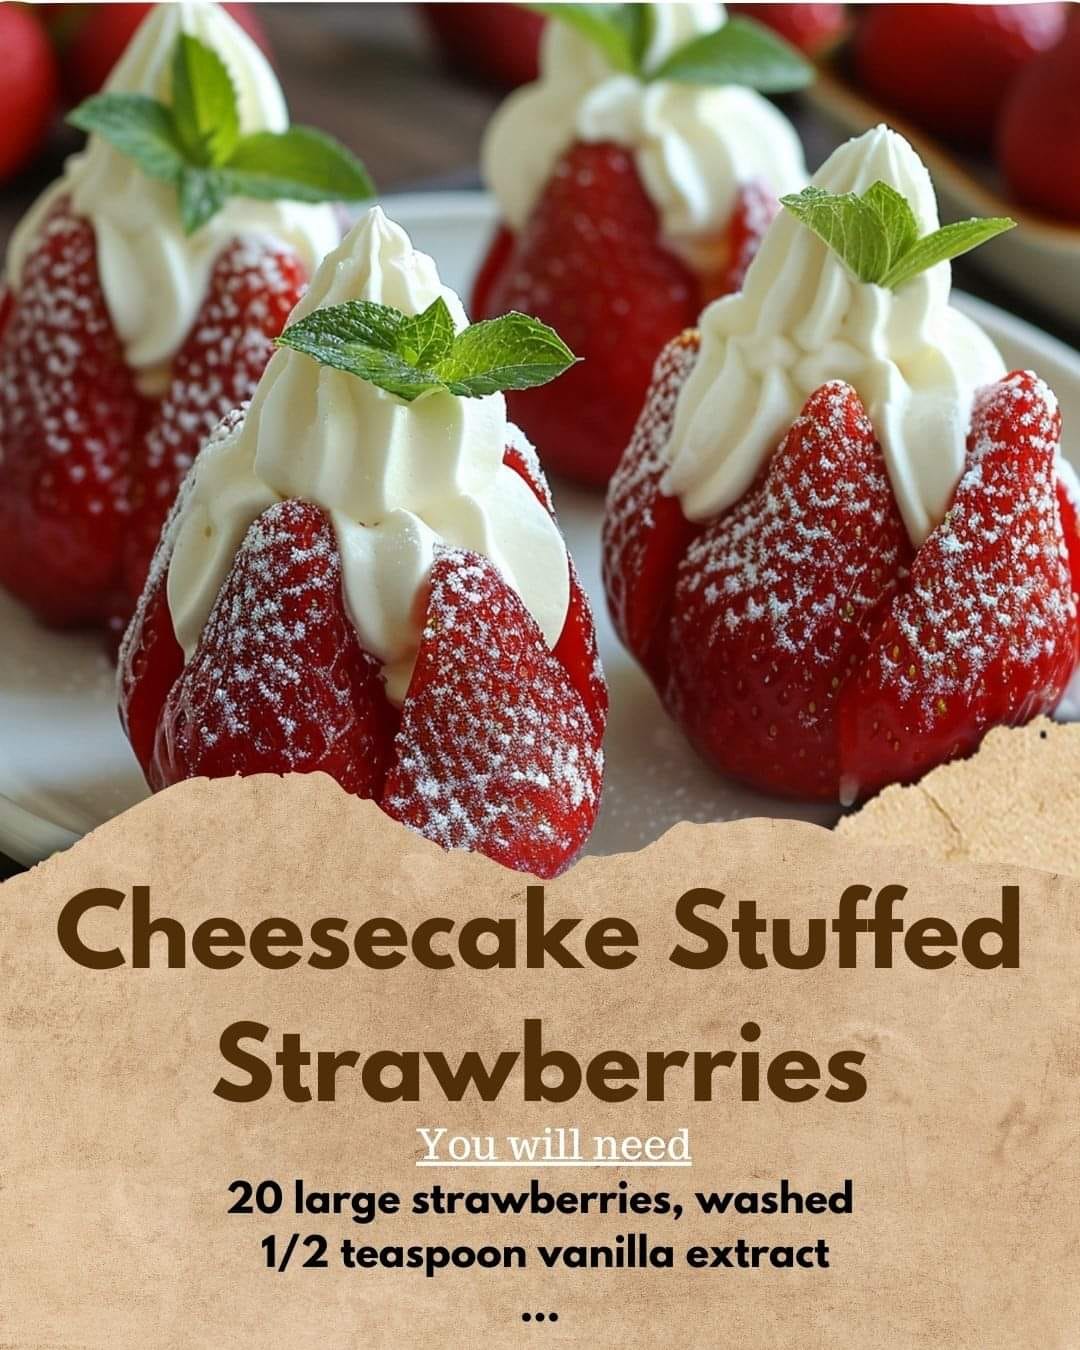
- If you have a piping bag, transfer the cheesecake filling into the bag. Alternatively, you can use a small spoon to carefully fill each strawberry cavity with the cheesecake mixture, mounding it slightly on top.
- Garnish:
- Optionally, sprinkle graham cracker crumbs over the filled strawberries for added texture and flavor. This step mimics the crust of traditional cheesecake.
- Chill and Serve:
- Arrange the stuffed strawberries on a serving platter or tray.
- Chill the cheesecake stuffed strawberries in the refrigerator for at least 30 minutes to allow the filling to set.
- Serve:
- Serve the chilled cheesecake stuffed strawberries as a delightful dessert or snack. They are perfect for parties, gatherings, or simply as a sweet treat after a meal.
Tips:
- Variations: Experiment with different toppings such as chocolate shavings, chopped nuts, or a drizzle of melted chocolate over the stuffed strawberries.
- Make-Ahead: You can prepare the cheesecake filling and strawberries ahead of time, but assemble them closer to serving to ensure the strawberries stay fresh and firm.
- Storage: Store any leftovers covered in the refrigerator. They are best enjoyed within a day or two of assembly.
These cheesecake stuffed strawberries are not only delicious but also make for an elegant and impressive dessert that will surely be a hit with family and friends. Enjoy making and savoring this delightful treat!