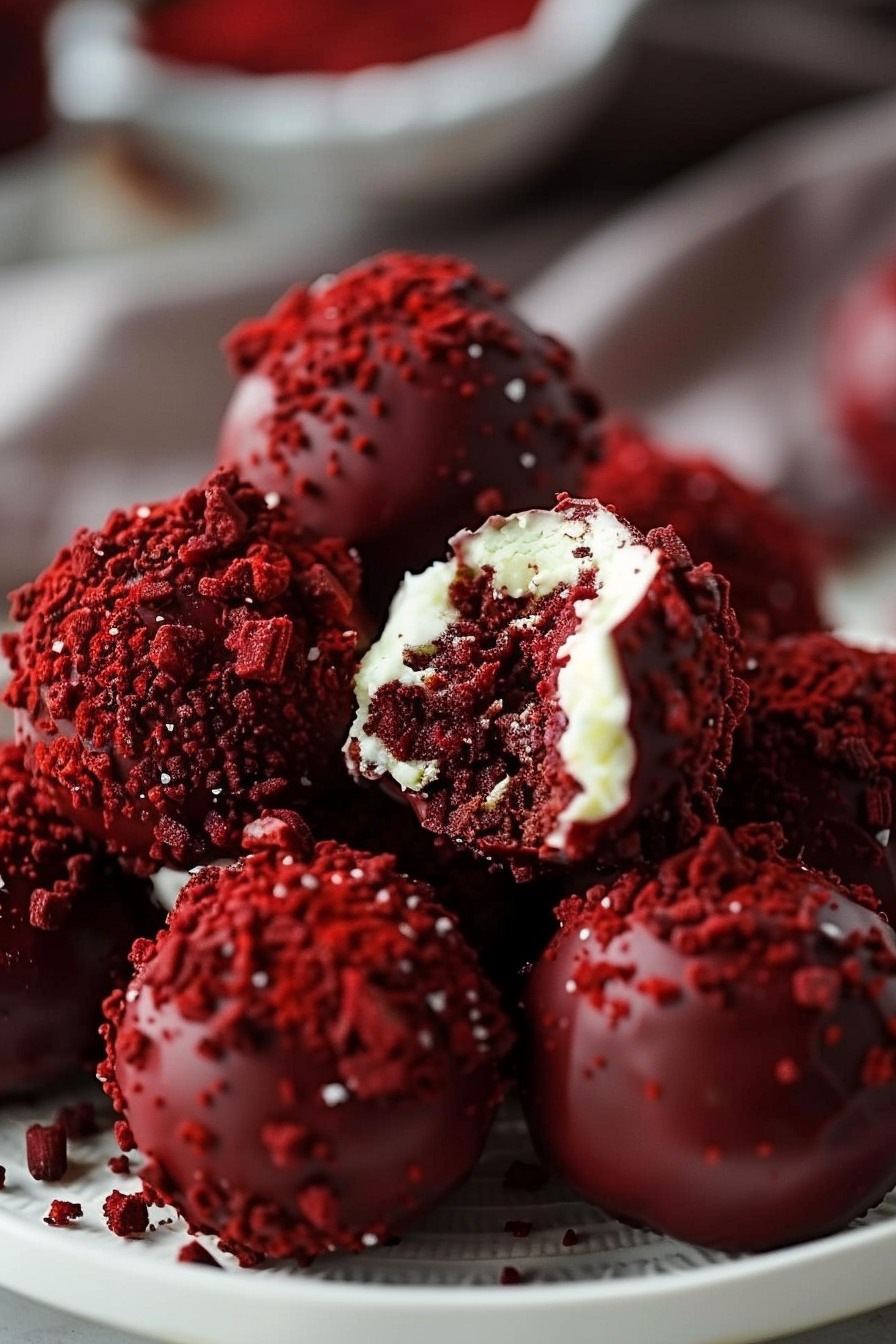
Step 1: Preparing the Red Velvet Cake
- Preheat and Prep: Preheat your oven to 350°F (175°C). Grease and flour a 9×13 inch baking pan.
- Mix Dry Ingredients: In a medium bowl, sift together the flour, sugar, baking soda, cocoa powder, and salt. Set aside.
- Combine Wet Ingredients: In a large mixing bowl, whisk together the oil, buttermilk, eggs, food coloring, vanilla extract, and vinegar until well combined.
- Form the Batter: Gradually add the dry ingredients to the wet mixture, stirring gently until just combined. Be careful not to overmix.
- Bake the Cake: Pour the batter into the prepared pan. Bake for 30-35 minutes or until a toothpick inserted into the center comes out clean. Allow the cake to cool completely on a wire rack.
Step 2: Preparing the Cheesecake Filling
- Cream the Ingredients: In a medium bowl, beat the cream cheese, sugar, and vanilla extract until smooth and creamy. Set aside.
Step 3: Assembling the Cheesecake Balls
- Crumble the Cake: Once the red velvet cake is completely cooled, crumble it into a large bowl, ensuring there are no large chunks.
- Mix with Cheesecake Filling: Add the cream cheese mixture to the crumbled cake. Mix until well combined. The mixture should be moist enough to hold its shape when formed into balls.
- Shape the Balls: Using a tablespoon, scoop out the mixture and roll it into bite-sized balls. Place the balls on a baking sheet lined with parchment paper. Freeze for about 1 hour or until firm.
Step 4: Coating and Decorating
- Melt the Chocolate: Melt the white chocolate in a microwave-safe bowl in 30-second intervals, stirring after each interval until smooth and fully melted.
- Dip the Balls: Remove the cake balls from the freezer. Using a fork or dipping tool, dip each ball into the melted chocolate, ensuring it is fully coated. Allow any excess chocolate to drip off before placing it back on the parchment paper.
- Decorate: Before the chocolate sets, sprinkle the top with red and white sprinkles if desired.
- Set: Allow the coated balls to sit at room temperature until the chocolate is set. You can also place them in the refrigerator for faster setting.
Step 5: Serving
Arrange the Red Velvet Cheesecake Balls on a decorative platter. Watch as your guests’ eyes light up with delight at the sight of these beautiful, bite-sized treats. The rich, velvety texture of the red velvet cake combined with the creamy cheesecake center and the sweet, crunchy white chocolate coating makes for an irresistible combination.
These Red Velvet Cheesecake Balls are not just a dessert; they are an experience. Perfect for any gathering, they will make your guests feel special and appreciated. The best part? They will linger, savoring each bite, sharing stories, and creating memories that revolve around your delicious creation.
Pro Tips for Perfection
- Room Temperature Ingredients: Ensure that all your ingredients are at room temperature before you begin. This helps in achieving a smooth batter and filling.
- Quality Ingredients: Use high-quality chocolate and cream cheese for the best taste and texture.
- Chilling is Key: Don’t skip the chilling step. It helps the balls hold their shape when dipped in the melted chocolate.
Make It a Special Occasion
Consider pairing these cheesecake balls with a cozy tea or coffee setup. A warm cup of coffee or a delicate tea will complement the rich flavors perfectly. Create an inviting atmosphere with soft lighting and comfortable seating to encourage your guests to stay a little longer and enjoy every moment.
We hope you enjoy making and sharing these Red Velvet Cheesecake Balls as much as we do. Here’s to creating delicious memories!
