- Pat Dry: Pat the chicken wings dry with paper towels. Removing excess moisture is key to achieving crispiness.
- Mix the Coating: In a large mixing bowl, combine the baking powder, salt, black pepper, garlic powder, onion powder, and paprika.
- Coat the Wings: Add the chicken wings to the bowl and toss them thoroughly to ensure each wing is evenly coated with the baking powder mixture.
Step 2: Preheat the Oven
- Set the Temperature: Preheat your oven to 250°F (120°C). This initial low temperature will help render the fat in the chicken skin.
Cooking Steps
Step 3: Bake the Wings
- Prepare the Baking Sheet: Line a baking sheet with aluminum foil for easy cleanup. Place a wire rack on top of the baking sheet and lightly spray with non-stick cooking spray.
- Arrange the Wings: Arrange the coated chicken wings in a single layer on the wire rack, ensuring they are not touching each other.
- First Bake: Bake the wings at 250°F (120°C) for 30 minutes. This low temperature will help render the fat from the wings.
- Increase the Temperature: After 30 minutes, increase the oven temperature to 425°F (220°C). Bake for an additional 40-50 minutes, turning the wings halfway through to ensure even cooking and crispiness.
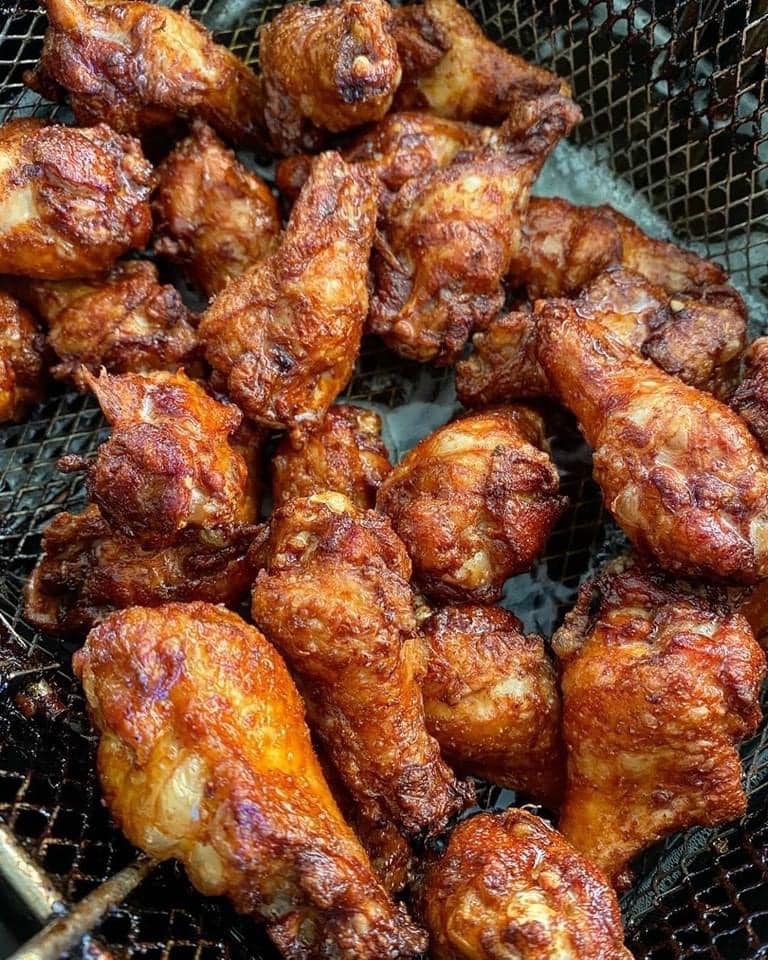
- Check for Doneness: The wings should be golden brown and crispy. You can use a meat thermometer to check that the internal temperature has reached at least 165°F (75°C).
Step 4: Prepare the Sauce (Optional)
- Heat the Sauce: In a small saucepan, combine the melted butter, hot sauce, and honey (if using). Heat over medium heat, stirring until well combined.
- Toss the Wings: Once the wings are done baking, transfer them to a large bowl. Pour the sauce over the wings and toss to coat evenly.
Serving Suggestions
Side Dishes
- Celery and Carrot Sticks: Classic sides that provide a fresh, crunchy contrast to the spicy wings.
- Blue Cheese or Ranch Dressing: Perfect for dipping the wings and veggies.
- Potato Wedges: Crispy potato wedges are a great accompaniment to the wings.
- Coleslaw: A tangy coleslaw can help balance the richness of the wings.
Additional Sauces
- BBQ Sauce: Sweet and smoky BBQ sauce is a favorite alternative to hot sauce.
- Garlic Parmesan: Melt butter with minced garlic and grated Parmesan cheese for a deliciously rich coating.
- Teriyaki Sauce: For an Asian twist, use a sweet and savory teriyaki sauce.
Tips and Tricks
For Extra Crispiness
- Pat Dry Thoroughly: Ensure the wings are as dry as possible before coating with the baking powder mixture.
- Use Baking Powder, Not Baking Soda: Baking powder helps to create a crispy crust, while baking soda will not have the same effect and can leave an unpleasant taste.
- Elevate the Wings: Using a wire rack allows air to circulate around the wings, ensuring even cooking and crispiness.
Cooking Variations
- Grill Method: For a smoky flavor, you can finish the wings on the grill for a few minutes after baking.
- Air Fryer Method: Preheat the air fryer to 400°F (200°C) and cook the wings for about 20-25 minutes, shaking the basket halfway through.
Storing and Reheating
- Storing: Leftover wings can be stored in an airtight container in the refrigerator for up to 3 days.
- Reheating: Reheat in the oven at 350°F (175°C) for about 10-15 minutes to retain crispiness. Avoid microwaving, as it will make the wings soggy.
Conclusion
Crispy baked chicken wings are a delicious and healthier alternative to fried wings, offering all the flavor and crunch without the mess and extra oil. With this detailed guide, you’ll be able to make perfect wings every time, tailored to your taste with your choice of sauces and sides. Whether for a casual snack, a party appetizer, or a game day feast, these wings are sure to be a hit. Enjoy the satisfying crunch and flavor of homemade crispy baked chicken wings!
Key Takeaway
The key to perfect crispy baked chicken wings lies in thorough drying, the use of baking powder, and baking at the right temperatures. By following these steps and tips, you can achieve restaurant-quality wings at home. Experiment with different seasonings and sauces to create your favorite version. Happy cooking!
