Step 1: Prepare the Chocolate Base
Begin by creating your chocolate base. In a medium saucepan, whisk together the cocoa powder and granulated sugarover medium heat. Add the milk and heavy cream gradually, whisking to dissolve the dry ingredients into the liquids. Continue stirring and heating the mixture until it is just about to boil—this is your base for the rich, chocolatey flavor that will infuse your ice cream.
Step 2: Melt the Chocolates
As the milk mixture heats up, place your chopped dark chocolate and milk chocolate chips into a heatproof bowl. Once the milk and cream mixture is hot (but not boiling), pour it over the chocolates in the bowl. Let it sit for a moment to allow the chocolate to soften, then whisk everything together until you have a smooth, glossy mixture. This creates the deep chocolate flavor that will infuse the ice cream.
Step 3: Prepare the Egg Yolks
In a separate bowl, whisk together the egg yolks until they become pale and slightly thickened. This process helps create the smooth and custard-like texture of the ice cream. Take a small amount of the warm chocolate mixture and slowly whisk it into the egg yolks to temper them (this prevents the eggs from scrambling). Once the egg yolks are warmed up, gradually whisk them into the remaining chocolate mixture in the saucepan.
Step 4: Cook the Custard
Place the saucepan back on low heat and cook the custard, stirring constantly with a wooden spoon or heat-resistant silicone spatula. You’ll want to cook it until it thickens enough to coat the back of the spoon (about 5-7 minutes). Be sure to stir continuously to avoid any curdling. When the custard is ready, you should be able to draw a line through it with your finger. This means the mixture is thick enough to form a creamy, rich texture in your ice cream.
Step 5: Chill the Mixture
Once your custard is perfectly thickened, pour it into a clean bowl and add a pinch of sea salt and the vanilla extract. Stir to combine, then cover with plastic wrap, making sure the wrap touches the surface of the custard to prevent a skin from forming. Allow it to cool to room temperature, then place it in the fridge to chill for at least 4 hours, or overnight if you have time. Chilling is crucial for creating that smooth, silky texture.
Step 6: Churn the Ice Cream
Once your chocolate custard is fully chilled, you’re ready to churn it into ice cream. If you have an ice cream maker, pour the custard into the machine and churn according to the manufacturer’s instructions. Most machines will take around 20-25 minutes to achieve the soft-serve consistency that you’ll need for the next stage.
If you don’t have an ice cream maker, don’t worry! Pour the chilled mixture into a shallow dish and place it in the freezer. Every 30 minutes, remove it and use a fork to scrape and stir the mixture. Do this for about 2-3 hours, until it reaches a creamy texture. This method ensures that the ice cream freezes evenly and doesn’t become icy.
Step 7: Add Extra Chocolate (Optional)
For an extra indulgent twist, you can add more chocolate! Chop some additional milk chocolate and dark chocolateinto chunks. Once your ice cream reaches the soft-serve stage (whether from the ice cream maker or freezer method), gently fold the chocolate chunks into the ice cream. This will give you delightful chocolate pieces scattered throughout your ice cream, creating a wonderful texture.
Step 8: Freeze the Ice Cream
Now it’s time to get your ice cream to the perfect, scoopable consistency. Transfer the churned (or hand-scraped) ice cream into a storage container. Cover the top with plastic wrap or parchment paper to prevent ice crystals from forming, then place the container in the freezer. Freeze for at least 4 hours, or until firm.
Serving Your Double Chocolate Ice Cream
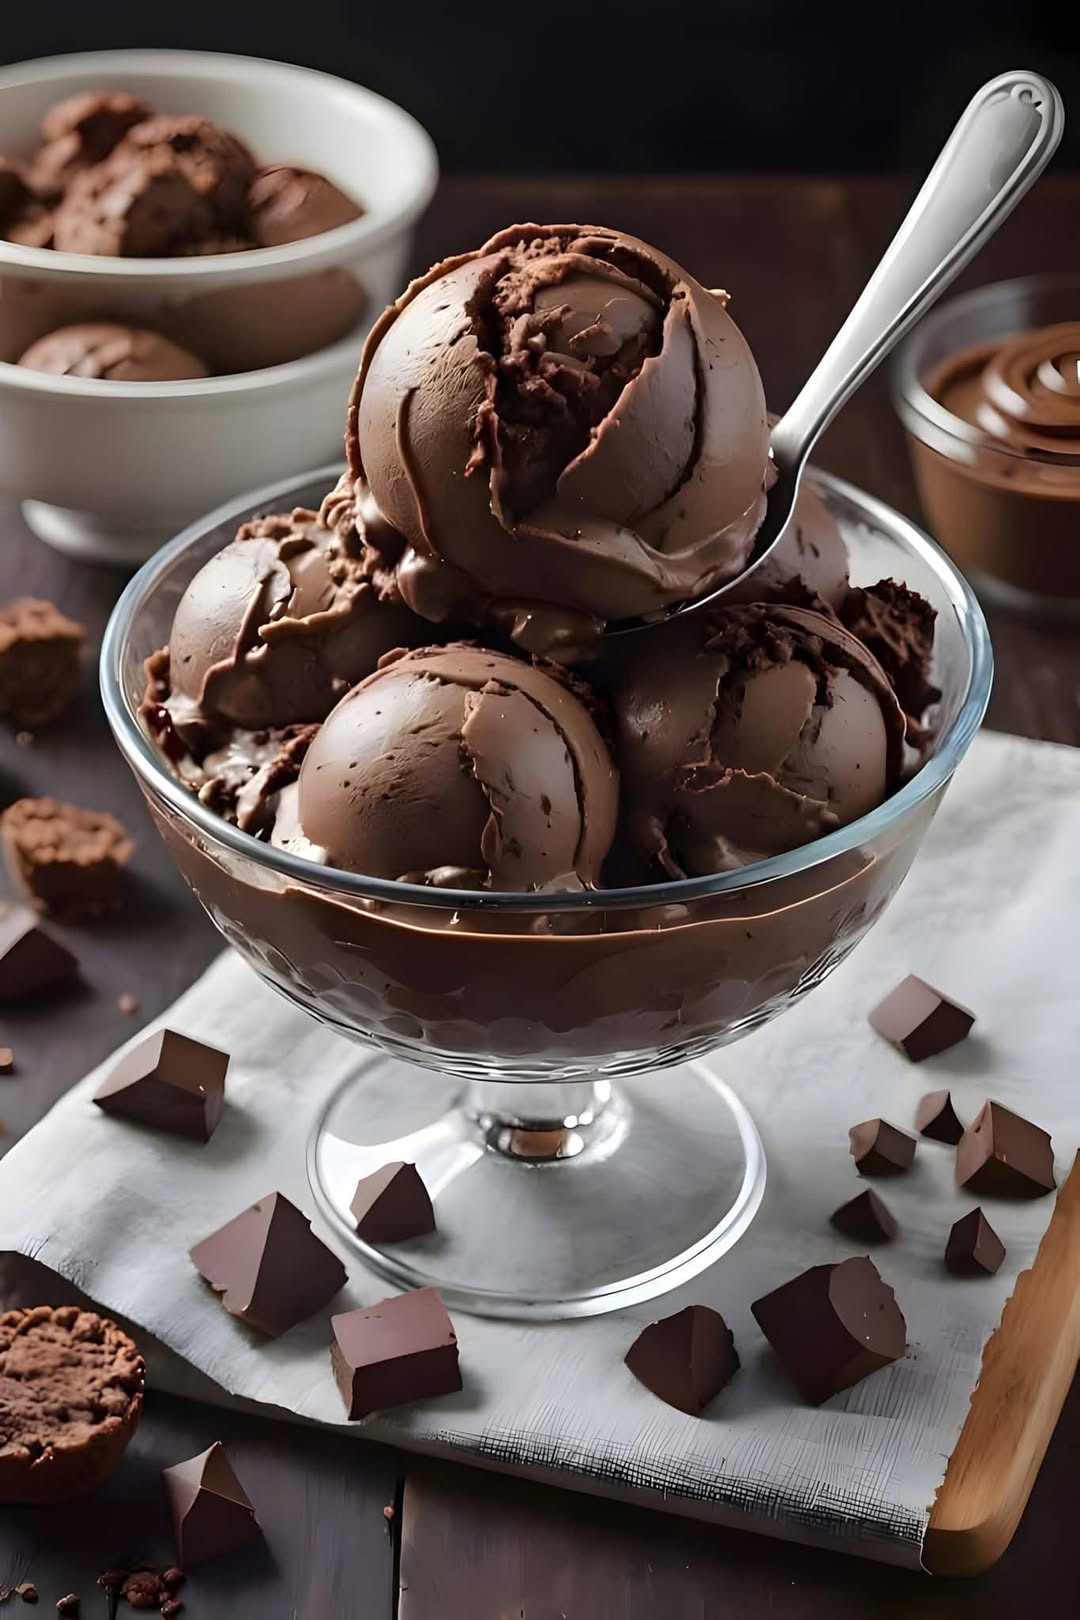
Once your ice cream is frozen and ready to serve, scoop out generous portions into bowls or cones. The deep, chocolatey goodness is sure to satisfy every craving. If you want to make it extra special, drizzle some warm chocolate sauce on top, add a few more chocolate chunks, or even serve it with a fresh fruit compote for a slight contrast to the richness.
Pro Tips for Perfection
- Chill the bowl: If you’re using an ice cream maker, make sure the bowl is well-chilled before churning for the best texture.
- Use high-quality chocolate: The quality of the chocolate will make a huge difference in flavor. Opt for good-quality dark chocolate with a cocoa percentage between 60-70% for the best results.
- Prevent ice crystals: Churning the ice cream properly and covering it while it freezes will help you avoid the dreaded ice crystals that can ruin the creamy texture.
Why This Double Chocolate Ice Cream is So Special
What makes this ice cream stand out is the combination of two types of chocolate, which gives it depth and richness. The dark chocolate brings out a slight bitterness that balances the sweetness of the milk chocolate. The result is an ice cream that isn’t just sweet, but layered with complex, satisfying flavors. And when you make it at home, you control every ingredient, so you know exactly what’s going into each bite. Plus, this homemade ice cream has a wonderfully smooth and creamy texture that you simply can’t get from store-bought versions.
Enjoy your homemade Double Chocolate Ice Cream—a treat that is perfect for any chocolate lover, and the ideal dessert to keep in your freezer for those moments when only the best chocolate will do!
