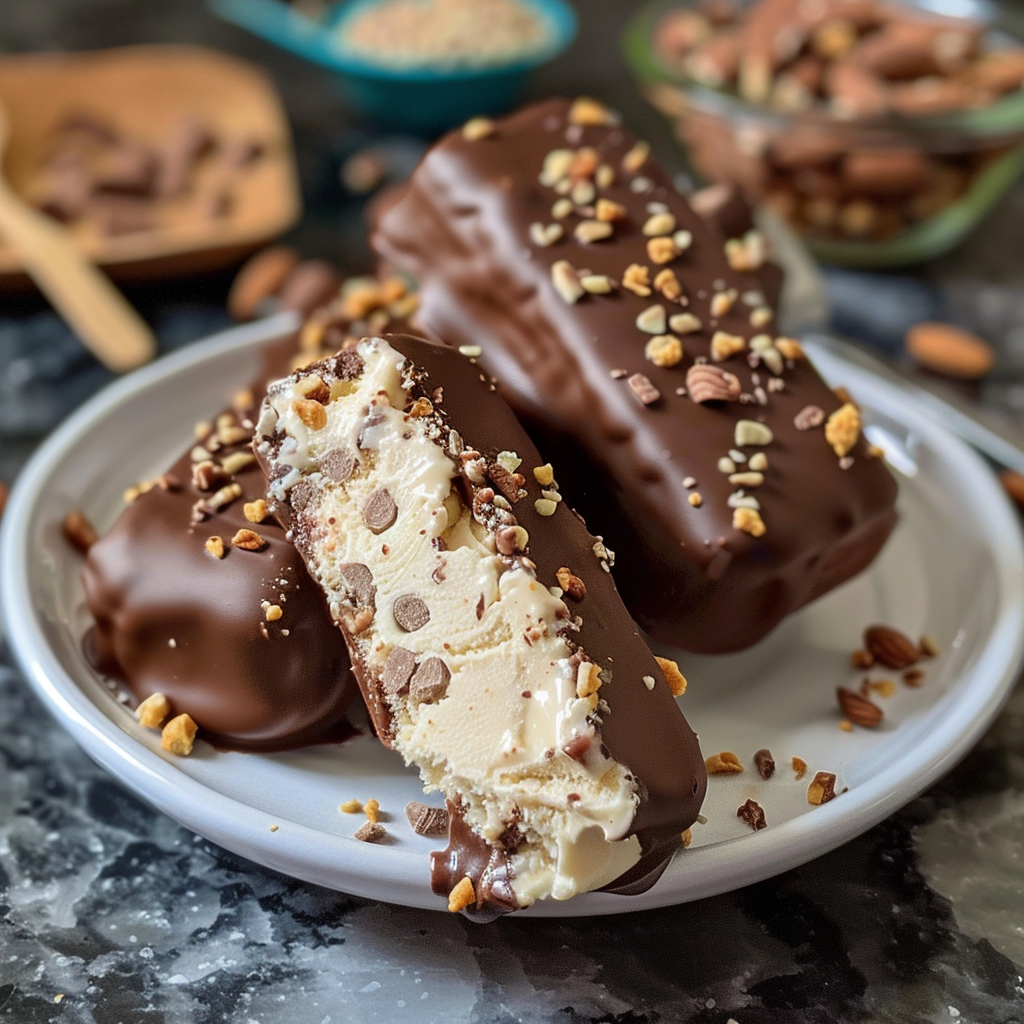
Stage 1: Prepare the Ice Cream Bars
- Freeze the Ice Cream Bars: Line a baking sheet with parchment paper or wax paper. Carefully remove the ice cream from its container and slice it into bars, about 1 to 1 1/2 inches thick. Depending on the size of your ice cream, you may be able to make 6-8 bars.
- Insert the Sticks: Gently insert a wooden craft stick into the center of each bar, making sure it is stable. Place the bars on the prepared baking sheet, and return them to the freezer for at least 1-2 hours to firm up. You want the ice cream to be frozen solid for easy dipping.
Stage 2: Prepare the Chocolate Coating
- Melt the Chocolate: In a heatproof bowl, combine the chocolate chips and coconut oil. Melt the mixture in the microwave, heating in 30-second intervals, stirring each time, until the chocolate is smooth and fully melted. You can also melt the chocolate over a double boiler on the stovetop if preferred.
- Add Optional Toppings: If you’re using chopped nuts, sprinkles, or crushed cookies, place them in a shallow bowl or plate for easy access. These will be added to the chocolate-coated bars for a delightful crunch.
Stage 3: Dip the Ice Cream Bars
- Dip in Chocolate: Once the ice cream bars are fully frozen, remove them from the freezer. Hold each bar by the stick and dip it into the melted chocolate, making sure it is coated evenly. Let any excess chocolate drip off, and place the dipped bar back on the parchment-lined sheet.
- Add Toppings (Optional): Before the chocolate hardens, roll or sprinkle the chocolate-coated bars with your choice of chopped nuts, sprinkles, or crushed cookies to add texture and flavor.
- Freeze to Set: Return the bars to the freezer and allow them to freeze for 30 minutes to an hour or until the chocolate coating is fully set and hard.
Stage 4: Serve and Enjoy
- Serve: Once the chocolate has set, your homemade chocolate-dipped ice cream bars are ready to enjoy! Serve immediately, or store them in an airtight container in the freezer for up to a few weeks.
- Garnish: For an extra special touch, drizzle with extra chocolate sauce or top with whipped cream right before serving.
Additional Tips and Variations:
- Flavor Variations: You can use any ice cream flavor you like, from classic vanilla and chocolate to fruity options like strawberry or mango. You can even layer different flavors of ice cream in the same bar for a fun twist!
- Vegan/Dairy-Free Version: Use dairy-free or coconut milk ice cream and dairy-free chocolate chips to make these bars vegan-friendly.
- Flavorful Coatings: Experiment with different toppings such as shredded coconut, mini marshmallows, or crushed candy bars to create unique variations of the chocolate-dipped ice cream bars.
- Make Them Mini: For smaller treats, make mini versions using a mini ice cube tray or by cutting regular bars in half after freezing.
Conclusion
Chocolate Dipped Ice Cream Bars are a fun, customizable dessert that brings together creamy ice cream, a crisp chocolate coating, and your favorite toppings. They’re a perfect summer treat that will impress family and friends, and they’re so simple to make! Whether you like your ice cream bars plain or loaded with toppings, these sweet, crunchy, and cool treats will leave everyone asking for more. Enjoy!
