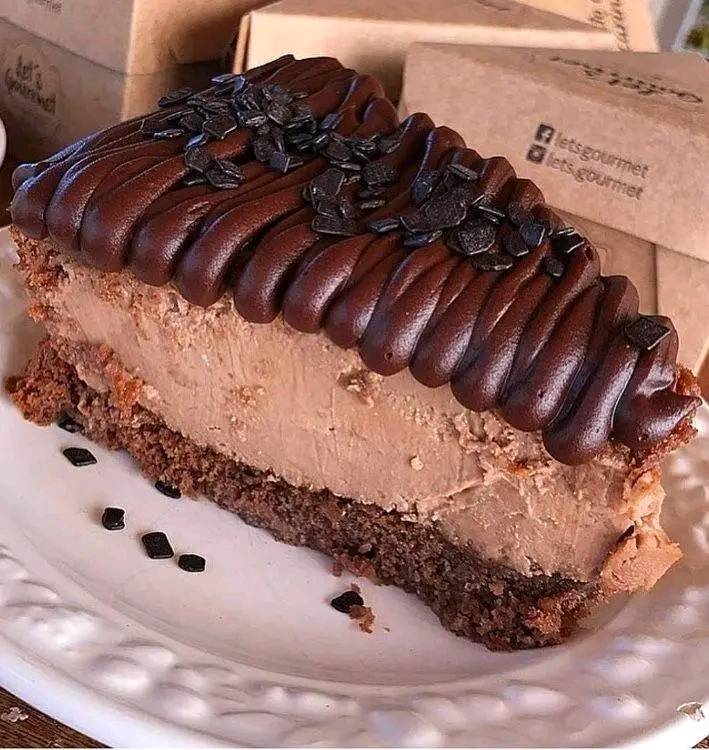
Stage 1: Make the Chocolate Cake Layer
- Prepare the Cake: Preheat your oven to 350°F (175°C). Grease and flour a 9×9-inch baking dish (or a similar size pan). Follow the instructions on the chocolate cake mix box or make your homemade chocolate cake batter by combining the cake mix, water, vegetable oil, eggs, and vanilla extract. Stir until smooth.
- Bake the Cake: Pour the batter into the prepared pan and bake according to the package directions, usually about 25-30 minutes or until a toothpick inserted into the center comes out clean.
- Cool the Cake: Once baked, allow the cake to cool completely. You can even prepare the cake the day before to save time.
- Cut into Pieces: Once the cake is cool, cut it into small cubes (about 1-2 inches in size). Set aside for assembly.
Stage 2: Make the Cheesecake Filling
- Prepare the Cream Cheese Mixture: In a large mixing bowl, beat the softened cream cheese with an electric mixer until smooth and creamy, about 2 minutes.
- Add the Sugar and Vanilla: Add the powdered sugar and vanilla extract. Beat until well incorporated and the mixture is fluffy.
- Add the Sour Cream and Heavy Cream: Mix in the sour cream and heavy cream until the filling is smooth and creamy.
- Incorporate the Melted Chocolate: Gently fold in the melted chocolate until fully combined, creating a rich chocolate cheesecake filling.
Stage 3: Make the Whipped Cream
- Whip the Cream: In a chilled mixing bowl, beat the heavy whipping cream with an electric mixer until soft peaks form.
- Add Powdered Sugar and Vanilla: Add the powdered sugar and vanilla extract, and continue whipping until stiff peaks form. Be careful not to overwhip.
Stage 4: Assemble the Trifle
- Layer the Cake: Start by placing a layer of chocolate cake cubes at the bottom of your trifle dish. Spread them evenly across the bottom.
- Add the Cheesecake Filling: Spoon or pipe a generous layer of the chocolate cheesecake filling over the cake cubes. Spread it out evenly.
- Add the Whipped Cream: Add a thick layer of whipped cream on top of the cheesecake filling, smoothing it out with a spatula.
- Repeat the Layers: Continue layering the chocolate cake, cheesecake filling, and whipped cream until you have filled the trifle dish, finishing with a layer of whipped cream on top.
Stage 5: Garnish and Chill
- Garnish the Trifle: Top the trifle with chocolate shavings, mini chocolate chips, or a light dusting of cocoa powder or grated chocolate for an elegant finish.
- Chill: Refrigerate the trifle for at least 3-4 hours, or preferably overnight. This allows the flavors to meld together and the dessert to firm up.
Stage 6: Serve and Enjoy
- Serve: Once chilled, serve the trifle in individual portions, spooning through the layers for a beautiful presentation of cake, cheesecake filling, and whipped cream.
- Enjoy: Indulge in this rich and decadent dessert. Every bite is a combination of creamy, chocolaty goodness with a perfect balance of texture from the cake and whipped cream.
Additional Tips and Variations:
- Make It a Day Ahead: The trifle tastes even better when made a day ahead, allowing all the layers to soak in the flavors and set.
- Add a Layer of Fruit: For a refreshing contrast, you can add a layer of fresh berries, such as raspberries or strawberries, between the cheesecake filling and whipped cream layers.
- Use Brownie or Pound Cake: If you prefer, you can substitute the chocolate cake with brownies or pound cake for a different texture and flavor.
- Make It Alcoholic: For a more adult version, add a tablespoon of coffee liqueur, Baileys, or dark rum to the chocolate cheesecake filling for an extra layer of depth.
Conclusion
The Heavenly Chocolate Cheesecake Trifle is a show-stopping dessert that combines the richness of chocolate and cheesecake with the lightness of whipped cream and cake. With its layers of indulgence in every bite, this dessert will quickly become a favorite at any gathering. It’s perfect for special occasions or just when you want to treat yourself to something sweet and decadent. Enjoy every creamy, chocolaty bite!
