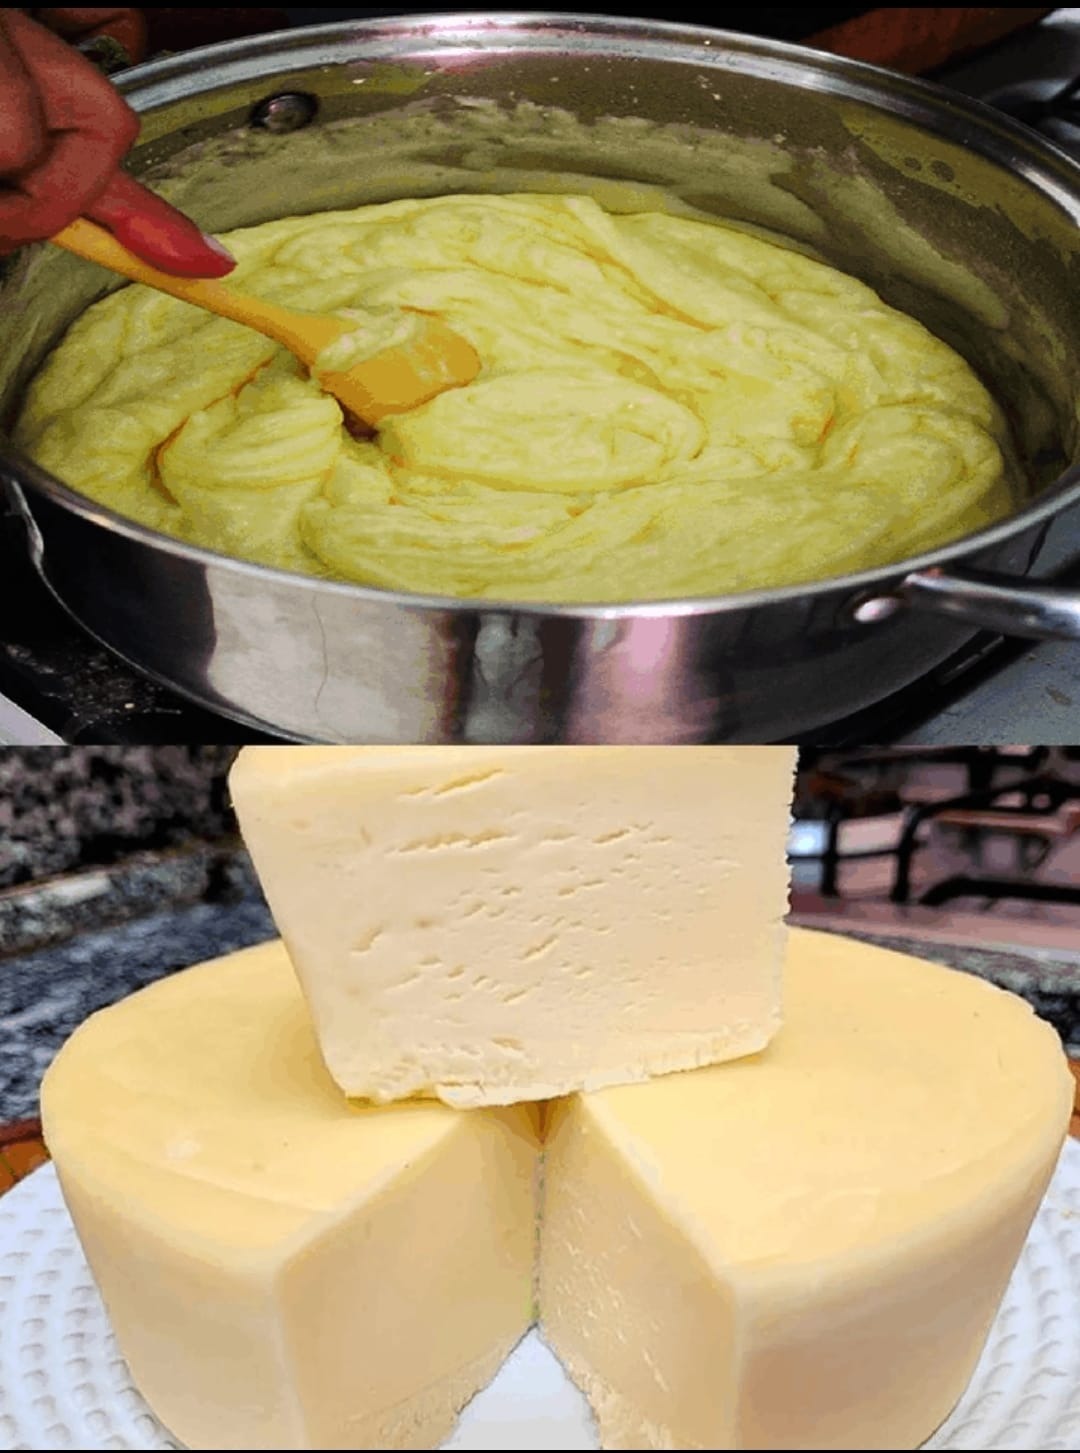
Step 1: Heat the Milk
- Pour the milk into a large, heavy-bottomed pot. Place the pot over medium heat.
- Heat the milk gently, stirring occasionally to prevent scorching, until it reaches 185°F (85°C). If you don’t have a thermometer, heat until the milk starts to steam and small bubbles form around the edges—don’t let it boil.
Step 2: Add the Acid
- Once the milk is hot, slowly add the vinegar (or lemon juice) while stirring gently.
- Watch as the milk begins to curdle. The curds (solid parts) will separate from the whey (liquid). If the milk doesn’t fully curdle, add a little more vinegar, one tablespoon at a time, until it does.
Step 3: Strain the Cheese
- Line a colander with cheesecloth or a clean kitchen towel and place it over a large bowl to catch the whey.
- Pour the curdled milk into the prepared colander. Let it drain for 10-15 minutes for softer cheese, or longer for firmer cheese.
- Sprinkle the salt over the curds and mix gently.
Step 4: Shape and Flavor (Optional)
- For flavored cheese, mix in your choice of chopped herbs, garlic, crushed pepper, or spices before shaping.
- Gather the edges of the cheesecloth and twist them together to form a ball. Squeeze gently to remove excess whey.
- Place the cheese, still wrapped in cheesecloth, on a plate. Set a heavy object (like a pot or a can) on top to press the cheese into a firm shape. Let it sit for 1-2 hours, depending on how firm you want it.
Step 5: Serve and Store
- Unwrap the cheese and serve immediately or refrigerate.
- Store in an airtight container in the fridge for up to one week.
Serving Suggestions
- Spread: Serve with crackers, fresh bread, or as a filling for wraps and sandwiches.
- Crumble: Use over salads, tacos, or pasta.
- Sweet Option: Add honey, nuts, or dried fruit for a dessert-like twist.
Tips for Success
- Use High-Quality Milk: Whole milk produces the best flavor and texture. Avoid ultra-pasteurized milk, as it won’t curdle properly.
- Save the Whey: The leftover liquid is nutrient-rich. Use it in smoothies, soups, or bread dough.
- Customize Flavors: Experiment with fresh herbs, garlic, or spices to create unique flavors.
- Don’t Overheat: Heating the milk too much can make the cheese rubbery.
Why You’ll Love This Recipe
Homemade cheese is fresh, delicious, and endlessly customizable. It’s an excellent introduction to cheesemaking and a fun way to bring farm-to-table flavors into your kitchen. The simplicity of Farmer’s Cheese allows you to enjoy it as is or experiment with different flavors and textures.
Dive into the art of cheesemaking and impress your family and friends with your homemade cheese!
