Step 1: Prepare the Base
- Crush the Biscuits: In a mixing bowl, combine the crushed digestive biscuits, melted butter, granulated sugar, and a pinch of salt. Mix until the crumbs are well coated and resemble wet sand.
- Form the Base: Press the mixture firmly into the bottom of a 9-inch (23 cm) square or rectangular baking dish to form an even layer. Use the back of a spoon or your hands to compact it well.
- Chill: Place the base in the refrigerator for at least 30 minutes to set.
Step 2: Create the Cream Layer
- Whip the Cream: In a separate bowl, beat the heavy whipping cream until soft peaks form. Be careful not to overwhip; it should be smooth and fluffy.
- Mix Cream Cheese: In another bowl, combine the softened cream cheese, powdered sugar, vanilla extract, and lemon zest. Beat until smooth and creamy, ensuring there are no lumps.
- Fold in the Whipped Cream: Gently fold the whipped cream into the cream cheese mixture until fully combined. This creates a light and airy texture for your pave.
Step 3: Assemble the Pave
- Layer the Cream: Spoon the cream layer over the chilled biscuit base, spreading it evenly with a spatula. Make sure to smooth the top for a professional finish.
- Chill Again: Return the dish to the refrigerator and let it chill for at least 4 hours, or preferably overnight. This helps the layers set beautifully.
Step 4: Prepare the Fruit Topping
- Prepare the Fruit: While the pave is chilling, wash and slice the fresh fruits. For strawberries, remove the stems and slice them; for kiwi, peel and slice; and for mango, peel and cut into small cubes.
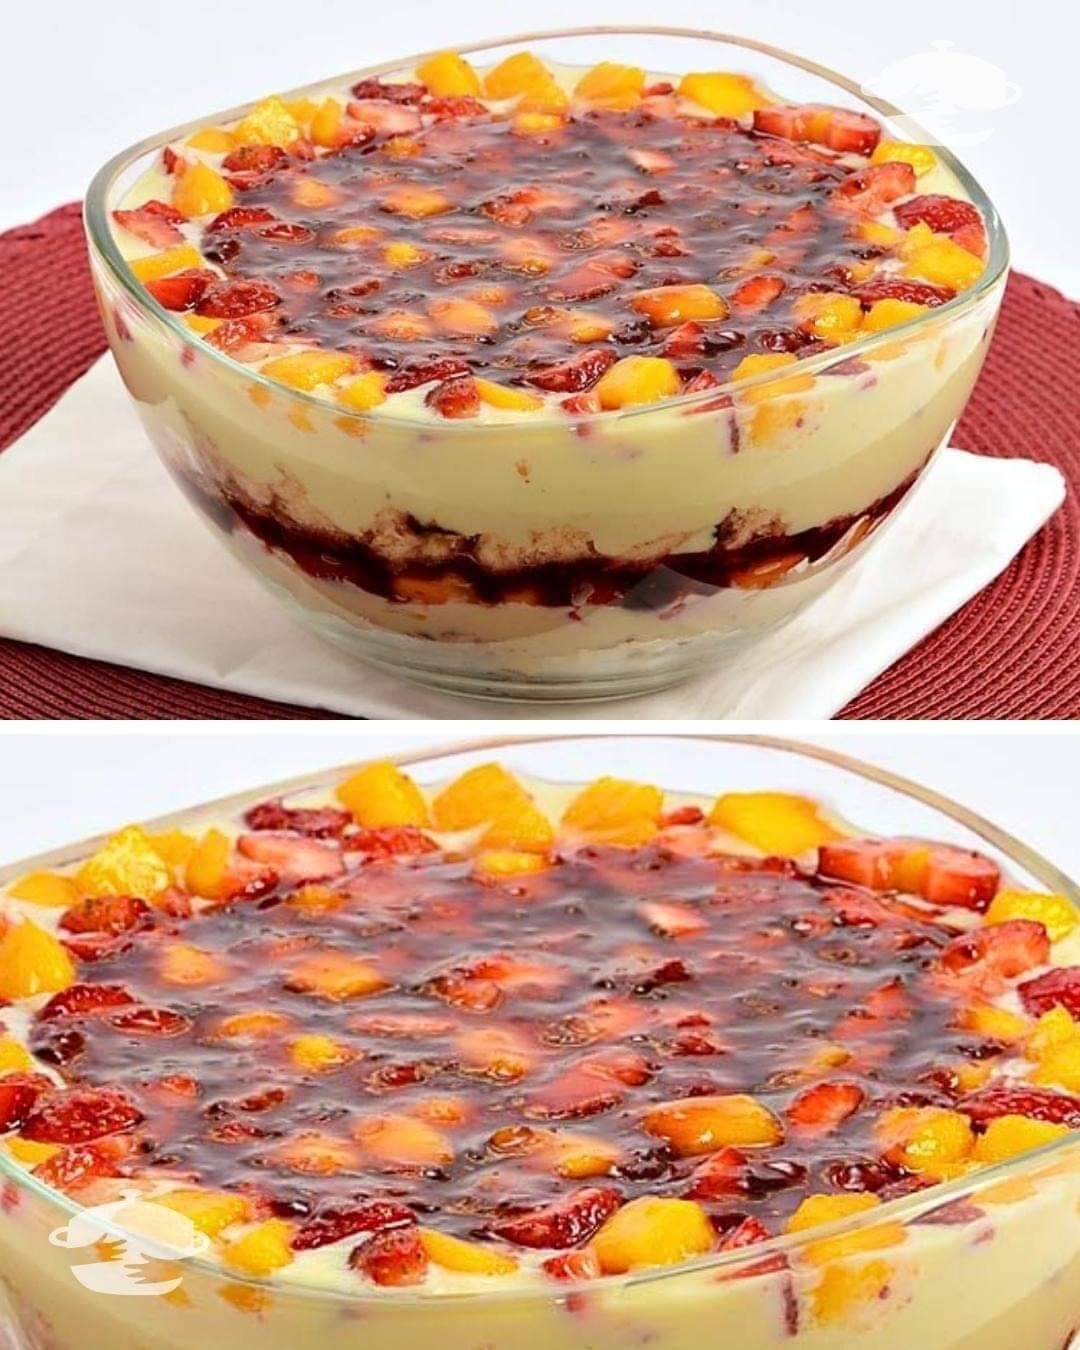
- Arrange the Fruits: Once the pave has set, carefully arrange the sliced fruits on top in a visually appealing pattern. You can create stripes, circles, or a mosaic design—let your creativity shine!
Step 5: Optional Fruit Glaze
- Make the Glaze: In a small saucepan, combine the fruit juice and cornstarch with a tablespoon of water. Heat gently, stirring continuously until the mixture thickens and becomes glossy.
- Apply the Glaze: Brush the glaze over the fruit layer to add shine and a protective coating, enhancing the overall presentation of your pave.
Step 6: Serve and Enjoy!
- Cut into Squares: When ready to serve, use a sharp knife to cut the pave into squares. Wipe the knife between cuts for clean edges.
- Garnish: Add a sprig of fresh mint on each square for a touch of color and freshness.
- Presentation: Arrange the squares on a beautiful platter, and watch as your guests admire this stunning dessert before diving in!
Tips for Success
- Choose Fresh Fruits: Opt for seasonal and ripe fruits for the best flavor. Consider using a mix of colors for a vibrant presentation.
- Customize the Flavors: Feel free to experiment with different flavors by adding citrus zest or extracts to the cream layer or using flavored yogurts for an interesting twist.
- Make it Ahead: This dessert can be made a day in advance, allowing the flavors to meld beautifully while saving you time on the day of your event.
Conclusion
This Special Fruit Pave is not just a dessert; it’s an experience! With its creamy layers and fresh fruit topping, it’s bound to impress your family and friends. The beauty of this recipe lies in its versatility; you can adjust the fruits according to your preferences or the season. So, gather your ingredients, put on your apron, and get ready to create a masterpiece that will have everyone asking for seconds. Enjoy your delicious creation, and remember to savor every bite!
This exclusive recipe not only provides a delightful cooking experience but also encourages your visitors to linger on the page with its rich details and captivating presentation ideas.