- Mix Dry Ingredients: In a large mixing bowl, whisk together the flour and salt.
- Combine Wet and Dry: Make a well in the center of the flour mixture and pour in the activated yeast mixture and olive oil.
- Mix: Using a wooden spoon or your hands, begin mixing the dough until it starts to come together. It will be slightly sticky but should form a cohesive ball.
Step 3: Knead the Dough
- Flour the Surface: Lightly flour your work surface and transfer the dough to it.
- Knead: Knead the dough for about 8-10 minutes, until it becomes smooth and elastic. Add small amounts of flour as needed to prevent sticking, but be careful not to add too much or the dough will become tough.
- Check for Elasticity: You know the dough is ready when you can stretch it without tearing easily.
Step 4: Let the Dough Rise
- Oil the Bowl: Lightly grease a large bowl with olive oil and place the dough inside. Turn the dough so it’s coated in the oil.
- Cover and Rise: Cover the bowl with a damp cloth or plastic wrap and let the dough rise in a warm place for 1-1.5 hours, or until it has doubled in size.
Step 5: Shape the Pita
- Punch the Dough Down: Once the dough has risen, punch it down to release the air.
- Divide: Divide the dough into 8 equal portions and shape each portion into a ball.
- Roll the Dough: On a lightly floured surface, use a rolling pin to roll each dough ball into a round about ¼ inch thick (6-7 inches in diameter). Try to keep them even in thickness for the best puff.
Step 6: Bake the Pita
- Preheat the Oven: Preheat your oven to 475°F (245°C) and place a baking stone or a heavy baking sheet inside to heat up.
- Bake: Once the oven is hot, carefully place 2-3 pieces of dough onto the hot baking stone or sheet. Bake for 3-4 minutes, or until the pitas puff up and are lightly golden around the edges.
- Flip (Optional): For an extra bit of browning, you can flip the pitas halfway through the baking process, but this is optional.
- Cool: Remove from the oven and place the pitas in a clean kitchen towel to keep them soft while they cool.
Step 7: Serve and Enjoy
- Slice and Fill: Once slightly cooled, cut the pitas in half and use the pockets for sandwiches, or simply serve whole with your favorite dips like hummus or tzatziki.
- Store: Leftover pita can be stored in an airtight container for 2-3 days or frozen for up to 3 months.
Final Notes: Tips and Variations
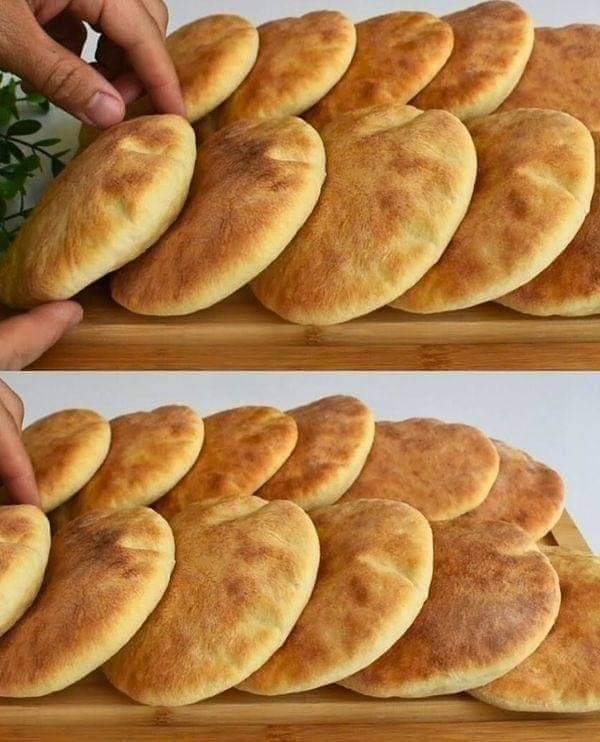
- Achieving the Pocket: The secret to getting the pitas to puff perfectly lies in both the thickness of the dough and the high heat of the oven. Rolling the dough evenly and quickly transferring it to a preheated baking stone ensures a nice pocket.
- Grill Option: You can also cook the pitas on a hot grill or stovetop griddle for a slightly smoky flavor.
- Whole Wheat Version: For a heartier pita, substitute half of the all-purpose flour with whole wheat flour. You may need to add a bit more water to the dough if it feels dry.
- Topping Variations: Add a sprinkle of za’atar or sesame seeds to the dough before baking for a Middle Eastern twist.
Conclusion:
Making your own pita bread at home is a rewarding experience, offering a world of flavor and freshness that store-bought options can’t match. This exclusive recipe breaks down each step to ensure your pita bread puffs perfectly every time, leaving you with soft, delicious bread that’s perfect for sandwiches, dips, or just snacking. Try it once, and you’ll never want store-bought again!