Step 1: Make the Graham Cracker Crust
- Preheat the Oven: Preheat your oven to 325°F (160°C). Grease a 9-inch springform pan and set aside.
- Prepare the Crust: In a medium bowl, combine the graham cracker crumbs, sugar, and melted butter. Stir until the mixture resembles wet sand.
- Press into the Pan: Press the mixture firmly into the bottom of the prepared springform pan, creating an even layer. You can use the bottom of a glass or measuring cup to press it down smoothly.
- Bake: Bake the crust for 8-10 minutes until lightly golden. Remove from the oven and let cool while you prepare the filling.
Step 2: Make the Cheesecake Filling
- Beat the Cream Cheese: In a large mixing bowl, beat the cream cheese with an electric mixer until smooth and creamy, about 2-3 minutes.
- Add Sugar and Vanilla: Gradually add the sugar and vanilla extract, and continue beating until fully incorporated.
- Add the Eggs: Add the eggs one at a time, mixing well after each addition to avoid overbeating.
- Mix in Sour Cream: Stir in the sour cream and, if using, the cornstarch. This will help ensure a firm, stable cheesecake.
- Pour into the Crust: Pour the cheesecake filling over the cooled crust and smooth the top with a spatula.
Step 3: Bake the Cheesecake
- Water Bath (optional but recommended): To prevent cracks, wrap the bottom of the springform pan in aluminum foil and place it in a larger roasting pan. Pour hot water into the roasting pan, filling it halfway up the sides of the springform pan. This water bath will keep the cheesecake from drying out.
- Bake: Bake the cheesecake for 55-65 minutes or until the edges are set, but the center still has a slight jiggle. Avoid opening the oven door while baking to maintain consistent heat.
- Cool: Turn off the oven and crack the door slightly, allowing the cheesecake to cool inside the oven for about 1 hour. Then transfer it to a wire rack to cool completely.
- Chill: Once the cheesecake has cooled, cover it with plastic wrap and refrigerate for at least 4 hours, or preferably overnight, to set.
Step 4: Make the Cherry Topping
- Cook the Cherries: In a medium saucepan, combine the cherries, sugar, and lemon juice. Cook over medium heat until the cherries begin to release their juices, about 5 minutes.
- Thicken the Sauce: In a small bowl, whisk together the cornstarch and water until smooth. Stir the cornstarch mixture into the cherries and continue to cook for another 2-3 minutes until the sauce thickens.
- Add Vanilla: Remove from heat and stir in the vanilla extract. Let the cherry topping cool to room temperature before pouring it over the chilled cheesecake.
Step 5: Serve the Cheesecake
- Release from the Pan: Run a knife around the edge of the springform pan to loosen the cheesecake. Carefully remove the sides of the pan.
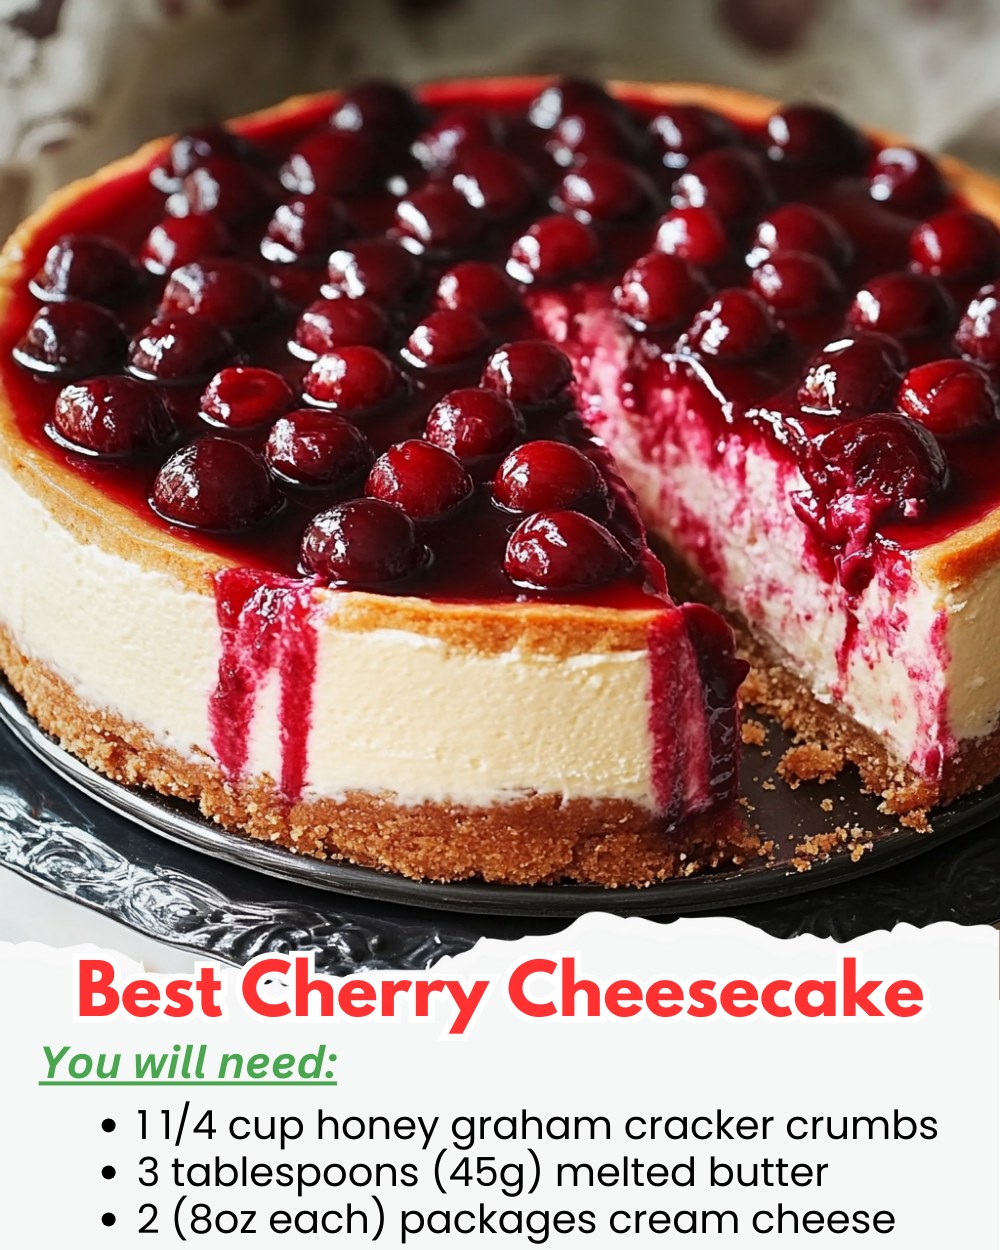
- Top with Cherries: Spoon the cooled cherry topping over the top of the cheesecake, allowing the juices to drip down the sides.
- Slice and Serve: Slice the cheesecake with a sharp knife, wiping it clean between cuts to get neat slices.
Tips for the Perfect Cheesecake
- Room Temperature Ingredients: Ensure all your ingredients (especially cream cheese and eggs) are at room temperature to prevent lumps and create a smooth filling.
- Avoid Overbeating: Overbeating the filling can incorporate too much air, leading to cracks in the cheesecake.
- Chill for Best Results: Let the cheesecake chill for at least 4 hours (or overnight) to set properly. This will give you the best texture.
Conclusion
This Cherry Cheesecake is a classic dessert that never goes out of style. With its rich and creamy filling, buttery crust, and sweet-tart cherry topping, it’s the perfect combination of flavors and textures. Whether you’re serving it for a holiday, birthday, or just because, this cheesecake is sure to impress!
Stay Connected
For more indulgent cheesecake recipes, subscribe to our newsletter and share your Cherry Cheesecake masterpieces with us using #CherryCheesecakeBliss. Enjoy!
Enjoy every creamy, fruity bite of this Cherry Cheesecake—it’s sure to be a crowd-pleaser!
