- Sauté Vegetables: Heat olive oil in a large pot or Dutch oven over medium heat. Add the chopped onion and cook for 3-4 minutes, or until softened. Add the minced garlic, red and green bell peppers, and carrots. Cook for an additional 5 minutes, stirring occasionally.
- Cook Chicken: Add the diced chicken to the pot and cook until the chicken is no longer pink, about 5-7 minutes.
- Add Spices and Liquids: Stir in the chili powder, cumin, paprika, oregano, and cayenne pepper (if using). Cook for 1-2 minutes to allow the spices to bloom. Add the diced tomatoes, tomato sauce, chicken broth, kidney beans, and black beans. Stir well to combine.
- Simmer: Bring the chili to a boil, then reduce the heat to low. Cover and let it simmer for 30-40 minutes, or until the chicken is cooked through and the vegetables are tender. Stir occasionally.
- Season and Serve: Taste and adjust the seasoning with salt and black pepper. If you prefer a thicker chili, you can mash some of the beans against the side of the pot with a spoon.
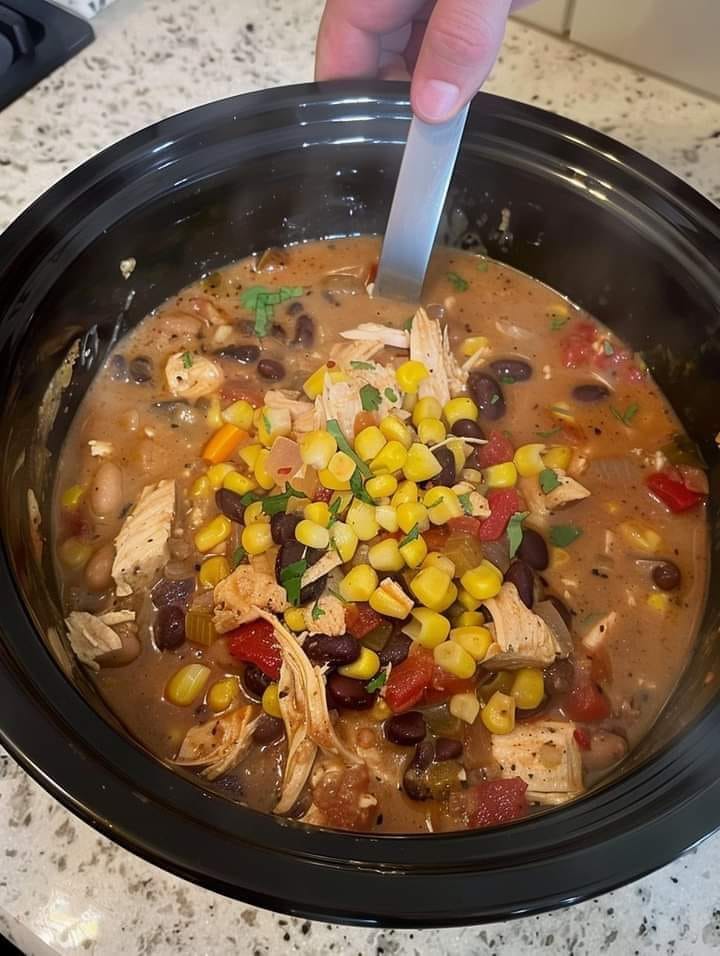
- Garnish: Ladle the chili into bowls and top with your choice of garnishes, such as shredded cheddar cheese, chopped cilantro, a dollop of sour cream, sliced jalapeños, and a squeeze of lime juice.
Tips for Success
- Chicken Options: For a richer flavor, you can use chicken thighs instead of breasts. You can also use pre-cooked or shredded rotisserie chicken for a quicker option.
- Beans: Feel free to use other types of beans, such as pinto or navy beans, depending on your preference.
- Adjusting Heat: Adjust the amount of cayenne pepper and chili powder according to your heat tolerance.
Conclusion
This Chicken Chili is a delicious and satisfying dish that’s perfect for any occasion. It’s packed with flavor and can easily be adjusted to suit your taste. Enjoy it with your favorite toppings and sides for a complete meal that’s sure to please!
This recipe provides a detailed guide for making a flavorful chicken chili that will keep visitors engaged and eager to try it out!