Step 1: Activate the Yeast
- Mix the Yeast: In a small bowl, combine warm water and sugar. Sprinkle the yeast on top and let it sit for about 5-10 minutes until frothy.
Step 2: Prepare the Dough
- Combine Ingredients: In a large mixing bowl, combine 2 cups of flour, salt, and oil. Add the yeast mixture and stir until well combined.
- Add Remaining Flour: Gradually add the remaining flour, one cup at a time, until the dough starts to pull away from the sides of the bowl.
Step 3: Knead the Dough
- Knead: Turn the dough onto a floured surface and knead for about 8-10 minutes until smooth and elastic. If the dough is too sticky, add a little more flour as needed.
Step 4: Let the Dough Rise
- First Rise: Place the kneaded dough in a greased bowl, cover it with a clean kitchen towel or plastic wrap, and let it rise in a warm place for about 1-2 hours, or until doubled in size.
Step 5: Shape the Loaves
- Punch Down the Dough: Once risen, punch down the dough to release the air. Turn it out onto a floured surface and divide it into two equal pieces.
- Shape the Loaves: Shape each piece into a loaf by rolling it into a rectangle and then rolling it up tightly from one end. Pinch the seams to seal.
Step 6: Second Rise
- Prepare for Baking: Place the shaped loaves in greased 9×5-inch loaf pans. Cover them again and let them rise for another 30-60 minutes, or until doubled.
Step 7: Bake the Bread
- Preheat the Oven: Preheat your oven to 350°F (175°C) during the second rise.
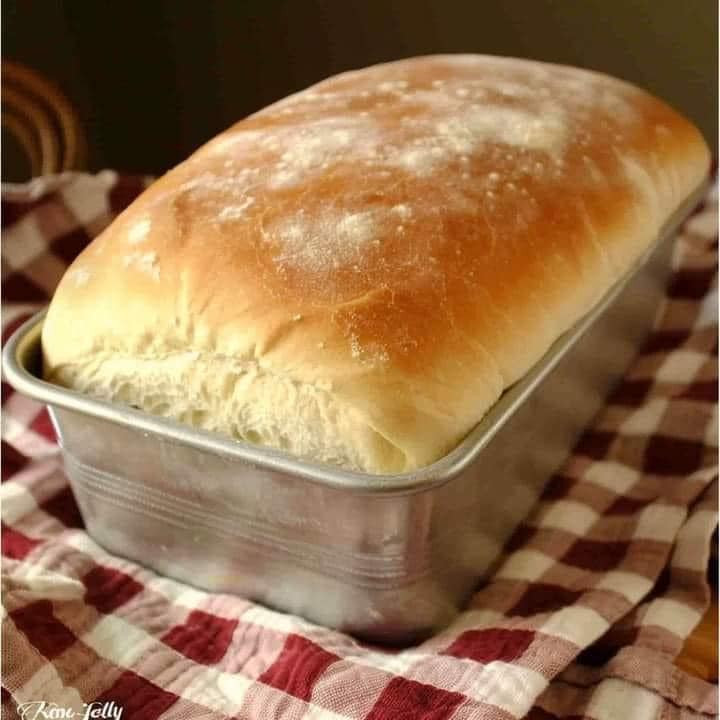
- Bake: Once the loaves have risen, bake them in the preheated oven for 30-35 minutes, or until the tops are golden brown and the bread sounds hollow when tapped on the bottom.
Step 8: Cool the Bread
- Cool: Remove the bread from the oven and let it cool in the pans for about 10 minutes. Then, transfer the loaves to a wire rack to cool completely.
Serving Suggestions
- Toast: Enjoy toasted with butter or your favorite spreads.
- Sandwiches: Perfect for classic sandwiches or as a base for French toast.
- Bread Pudding: Use leftover bread to make a delicious bread pudding.
Tips for Success
- Measure Flour Properly: Avoid packing flour into your measuring cup; spoon it in and level it off for accurate measurement.
- Temperature Matters: Ensure your water is warm but not hot to protect the yeast.
- Experiment with Add-ins: Consider adding herbs, garlic powder, or cheese for unique flavors.
Storage
Store the cooled bread in an airtight container or plastic bag at room temperature for up to 3 days. For longer storage, slice and freeze the loaves in a freezer-safe bag for up to 3 months. Thaw at room temperature when ready to enjoy.
Final Thoughts
Baking Amish white bread is not just about creating a delicious loaf; it’s about the joy of homemade goodness. This recipe provides a simple way to bring warmth and comfort to your kitchen. With its soft texture and delightful flavor, you’ll find yourself coming back to this recipe again and again. Enjoy the process, and happy baking!
