1. Prepare the Pastry:
- In a large mixing bowl, combine the flour and salt.
- Add the cubed butter to the flour mixture and rub it in with your fingertips until the mixture resembles breadcrumbs.
- Gradually add the cold water and mix until a dough forms. Be careful not to overwork the dough.
- Shape the dough into a ball, wrap it in plastic wrap, and refrigerate it for at least 30 minutes.
2. Prepare the Filling:
- In a separate bowl, combine the diced beef steak, potato, onion, carrot, salt, pepper, and Worcestershire sauce (if using). Mix well to combine.
- Preheat the air fryer to 375°F (190°C) for about 3-5 minutes.
3. Assemble the Pasties:
- On a lightly floured surface, roll out the chilled pastry dough to about 1/4 inch thickness.
- Cut the dough into circles using a pastry cutter or a round bowl as a guide.
- Place a spoonful of the filling mixture onto one half of each pastry circle, leaving a border around the edge.
- Fold the other half of the pastry circle over the filling to form a half-moon shape. Press the edges together to seal, then crimp the edges with a fork to create a decorative pattern.
- Brush the tops of the pasties with beaten egg to create a golden crust.
4. Cook the Pasties:
- Place the assembled pasties in the air fryer basket, leaving space between them for air circulation.
- Cook the pasties in the preheated air fryer at 375°F (190°C) for 20-25 minutes, or until the pastry is golden brown and cooked through, and the filling is hot and tender.
5. Serve:
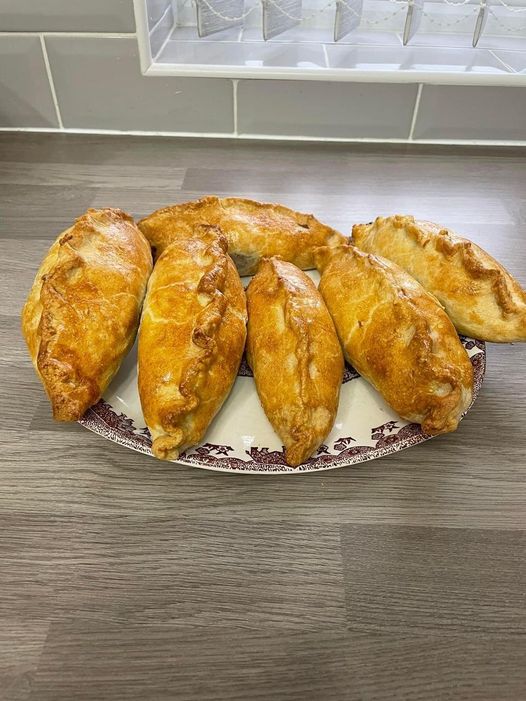
- Remove the cooked pasties from the air fryer and let them cool for a few minutes before serving.
- Enjoy your homemade Cornish pasties warm, either as a snack or a meal, with your favorite condiments or accompaniments.
These air fryer Cornish pasties are deliciously crispy on the outside and filled with flavorful savory goodness on the inside. Adjust the filling ingredients according to your taste preferences, and feel free to customize the recipe with additional herbs and spices.