In a large mixing bowl, cream together the softened butter and granulated sugar using an electric mixer or stand mixer. Beat until the mixture is light and fluffy, which should take about 3-4 minutes.
Add the egg, vanilla extract, and almond extract (if using), and mix until combined.
In a separate bowl, whisk together the flour, baking powder, and salt. Gradually add the dry ingredients to the wet ingredients, mixing until the dough comes together. The dough should be soft and slightly sticky, but not overly wet. If it’s too sticky, add a tablespoon of flour at a time until it’s easier to handle.
Step 2: Chill the Dough
Divide the dough into two equal portions and wrap each portion in plastic wrap. Chill the dough in the refrigerator for at least 30 minutes. This helps the dough firm up, making it easier to roll out and shape the cookies.
Step 3: Roll Out the Dough
After the dough has chilled, preheat your oven to 350°F (175°C). Line two baking sheets with parchment paper or silicone baking mats.
On a lightly floured surface, roll out one portion of dough to about ¼-inch thickness. Use cookie cutters to cut out your desired shapes—stars, trees, snowflakes, or classic rounds. If you have kids, this is the perfect time to get them involved with fun shapes and cookie decorations.
Transfer the cut-out cookies to the prepared baking sheets, spacing them about 1 inch apart.
Step 4: Bake the Cookies
Bake the cookies in the preheated oven for 8-10 minutes, or until the edges are just beginning to turn golden brown. The center of the cookies should still be soft. Be careful not to overbake them, as they will firm up once they cool.
Once baked, remove the cookies from the oven and allow them to cool on the baking sheets for a few minutes before transferring them to a wire rack to cool completely.
Step 5: Decorate the Cookies
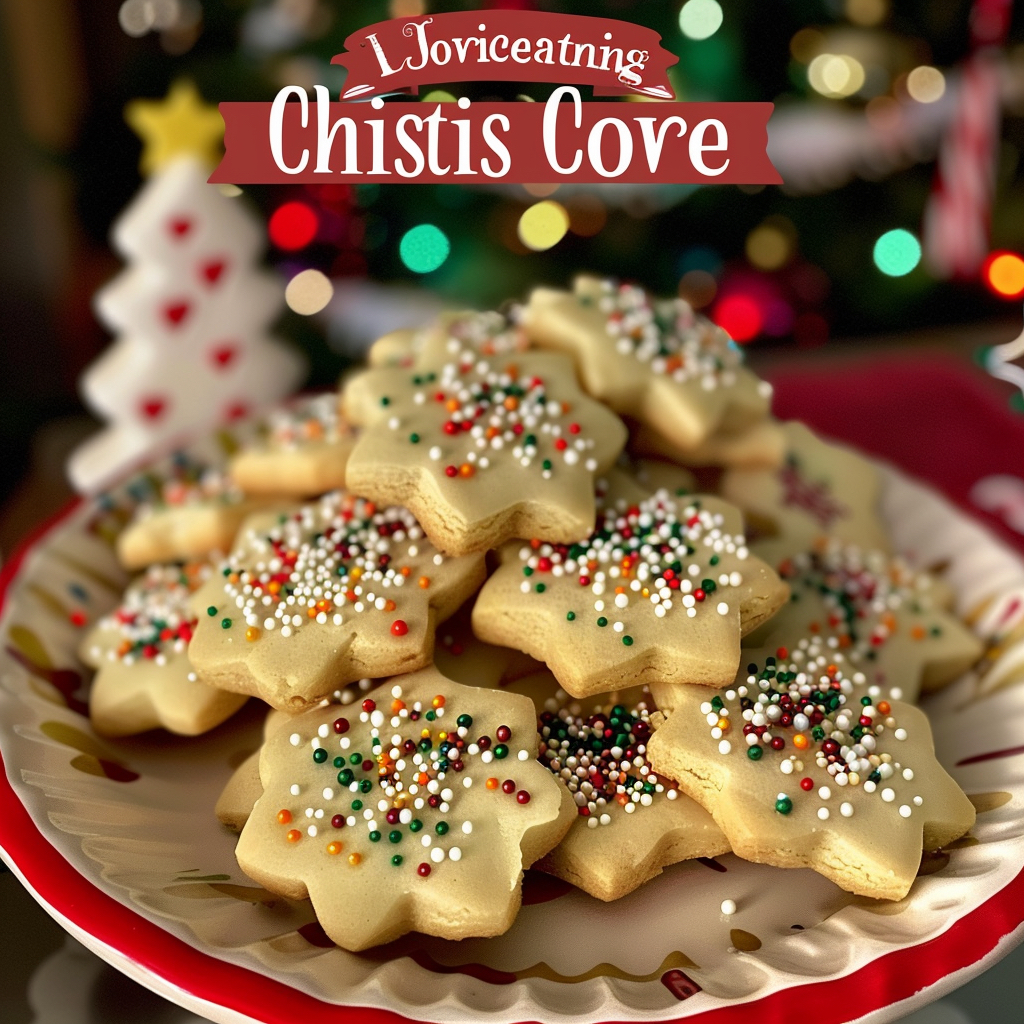
Once the cookies have cooled, it’s time to get creative with your decorations! You can pipe royal icing, drizzle glaze, or simply sprinkle colored sugar or sprinkles on top. If you prefer a classic touch, dust the cookies with powdered sugar for a snow-like effect.
Step 6: Store the Cookies
Once decorated, store the cookies in an airtight container at room temperature for up to one week. If you want them to last longer, you can freeze the cookies before decorating, and then decorate them once thawed.
Tips for Perfect Christmas Butter Cookies:
- Don’t Overmix the Dough: Overmixing the dough can make the cookies tough. Once the dough comes together, stop mixing.
- Chill the Dough: Chilling the dough is essential to prevent the cookies from spreading too much during baking and ensures a crisp edge.
- Use Quality Butter: Since butter is the star of these cookies, make sure to use high-quality unsalted butter for the best flavor.
- Creative Decorations: If you’re feeling extra festive, try adding edible glitter or drizzling some melted chocolate over the top for a decadent touch.
Why You’ll Love These Christmas Butter Cookies:
These cookies are the perfect holiday treat. They have a rich, buttery flavor that melts in your mouth, and the texture is both soft and slightly crisp around the edges. The best part is that they are highly customizable, so you can make them as simple or elaborate as you like.
Whether you’re sharing them at a holiday gathering, baking them with loved ones, or leaving them out for Santa, these Christmas Butter Cookies are a must-have during the festive season. Enjoy the sweet aroma of freshly baked cookies and the joy of spreading holiday cheer with these easy-to-make, beautifully decorated treats!
