Step 1: Prepare the Batter
- Cream butter and cream cheese: In a large mixing bowl, beat the butter and cream cheese together with a hand or stand mixer on medium speed until smooth and creamy, about 2-3 minutes.
- Add sugar: Gradually add the granulated sugar, beating until light and fluffy, about 5 minutes.
- Incorporate eggs: Add the eggs one at a time, mixing well after each addition. Scrape down the sides of the bowl as needed.
- Add vanilla: Mix in the vanilla extract.
- Combine dry ingredients: In a separate bowl, whisk together the sifted flour and salt. Gradually add the dry ingredients to the wet mixture, beating on low speed just until incorporated. Do not overmix.
Step 2: Bake the Cake
- Preheat the oven: Set your oven to 325°F (165°C). Grease and flour a 10-inch bundt pan or tube pan.
- Pour the batter: Transfer the batter into the prepared pan, smoothing the top with a spatula.
- Bake: Bake for 1 hour and 15-30 minutes, or until a toothpick inserted into the center comes out clean.
- Cool: Allow the cake to cool in the pan for 10-15 minutes, then invert onto a wire rack to cool completely.
Tips for Success:
- Room temperature ingredients: Ensure the butter, cream cheese, and eggs are at room temperature for a smoother batter.
- Sift the flour: This helps prevent lumps and ensures a tender crumb.
- Don’t overbake: Check the cake early to avoid a dry texture.
Serving Suggestions:
- Classic: Dust with powdered sugar for an elegant finish.
- Fruit topping: Serve with fresh berries and a dollop of whipped cream.
- Glaze: Drizzle with a simple lemon or vanilla glaze for added flavor.
Storing and Freezing:
- Refrigerate: Store in an airtight container at room temperature for up to 3 days, or in the fridge for up to a week.
- Freeze: Wrap tightly in plastic wrap and aluminum foil, then freeze for up to 3 months. Thaw overnight in the refrigerator before serving.
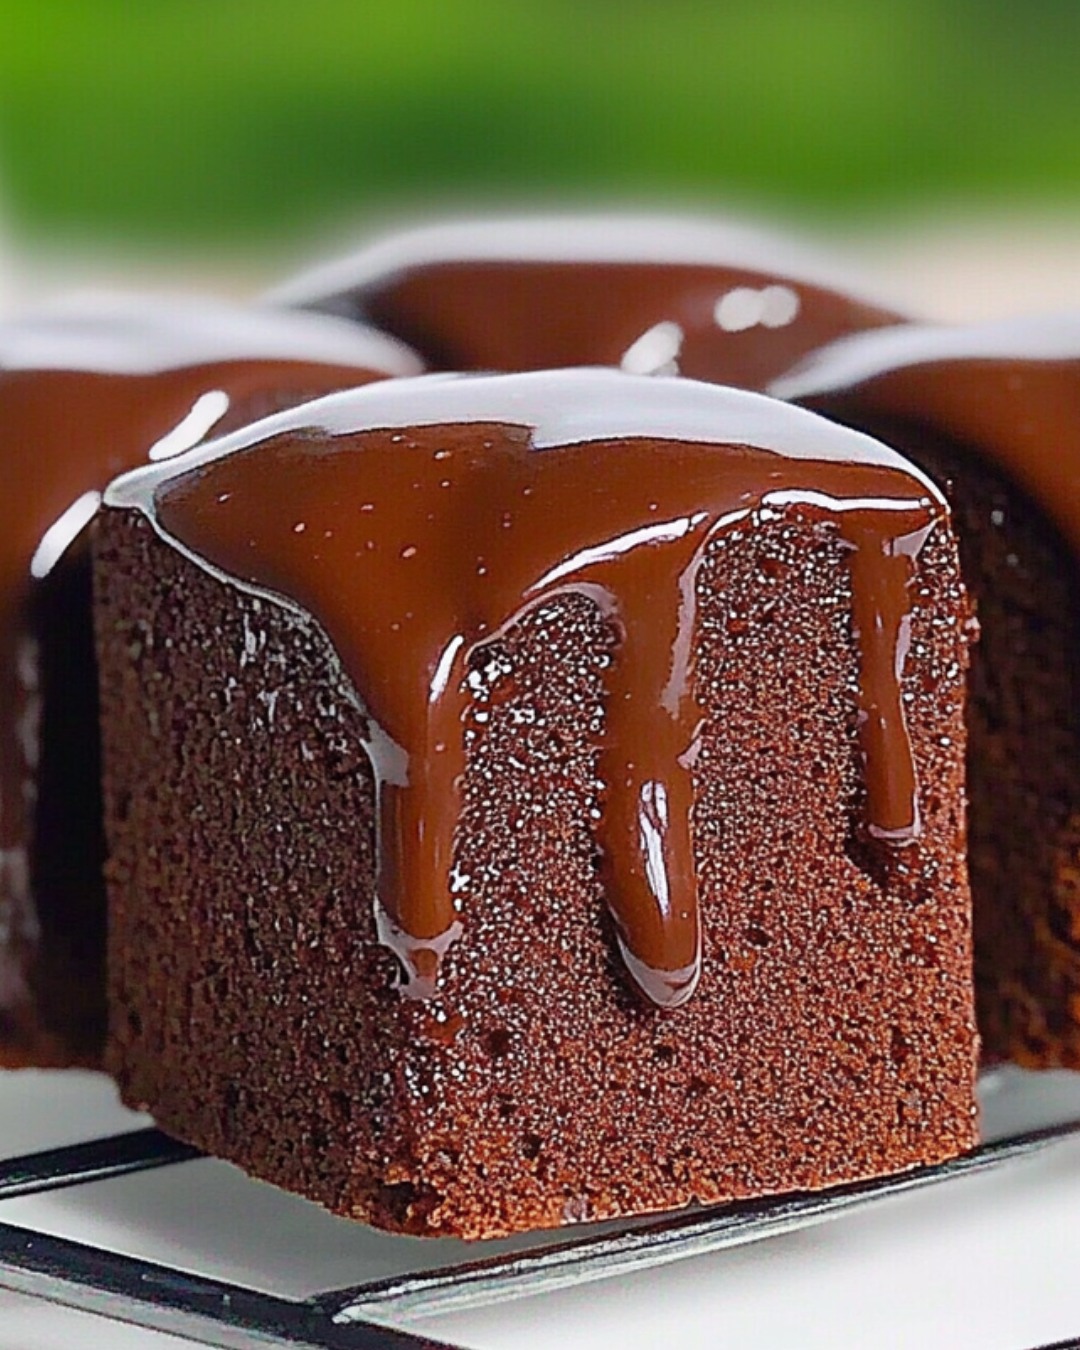
Mini Chocolate Pound Cake Cubes Recipe
Add a fun and indulgent twist to your pound cake repertoire with these Mini Chocolate Pound Cake Cubes. Perfect for dessert platters, parties, or as an on-the-go treat, these bite-sized delights are as versatile as they are delicious.
Ingredients:
- 1 cup (2 sticks) unsalted butter, softened
- 1 3/4 cups granulated sugar
- 5 large eggs, at room temperature
- 2 teaspoons vanilla extract
- 1/2 cup unsweetened cocoa powder, sifted
- 2 cups all-purpose flour, sifted
- 1/2 teaspoon baking powder
- 1/2 teaspoon salt
- 1/2 cup whole milk
Step-by-Step Instructions:
Step 1: Prepare the Batter
- Cream butter and sugar: In a large bowl, beat the butter and sugar together until light and fluffy, about 3-4 minutes.
- Add eggs and vanilla: Beat in the eggs one at a time, followed by the vanilla extract.
- Mix dry ingredients: In a separate bowl, whisk together the cocoa powder, flour, baking powder, and salt.
- Combine wet and dry ingredients: Gradually add the dry ingredients to the wet mixture, alternating with the milk, beginning and ending with the dry ingredients. Mix until just combined.
Step 2: Bake and Cool
- Preheat the oven: Set your oven to 325°F (165°C). Grease and flour a 9×13-inch baking pan.
- Bake: Pour the batter into the prepared pan and bake for 40-45 minutes, or until a toothpick inserted into the center comes out clean.
- Cool: Let the cake cool completely in the pan before cutting.
Step 3: Cut into Cubes
- Slice the cake: Using a sharp knife, cut the cake into 1-inch cubes.
- Optional decoration: Drizzle with melted chocolate, dust with powdered sugar, or dip into a chocolate glaze for extra flair.
Tips for Success:
- Use room temperature ingredients: This ensures a smoother batter and better texture.
- Cut cleanly: Use a serrated knife for neat, even cubes.
- Make ahead: Store the cubes in an airtight container and decorate just before serving.
Final Thoughts:
These Mini Chocolate Pound Cake Cubes are an irresistible addition to any dessert spread. With their rich chocolate flavor and customizable presentation, they’re sure to be a hit with everyone. Try them for your next celebration or as a sweet snack anytime!
