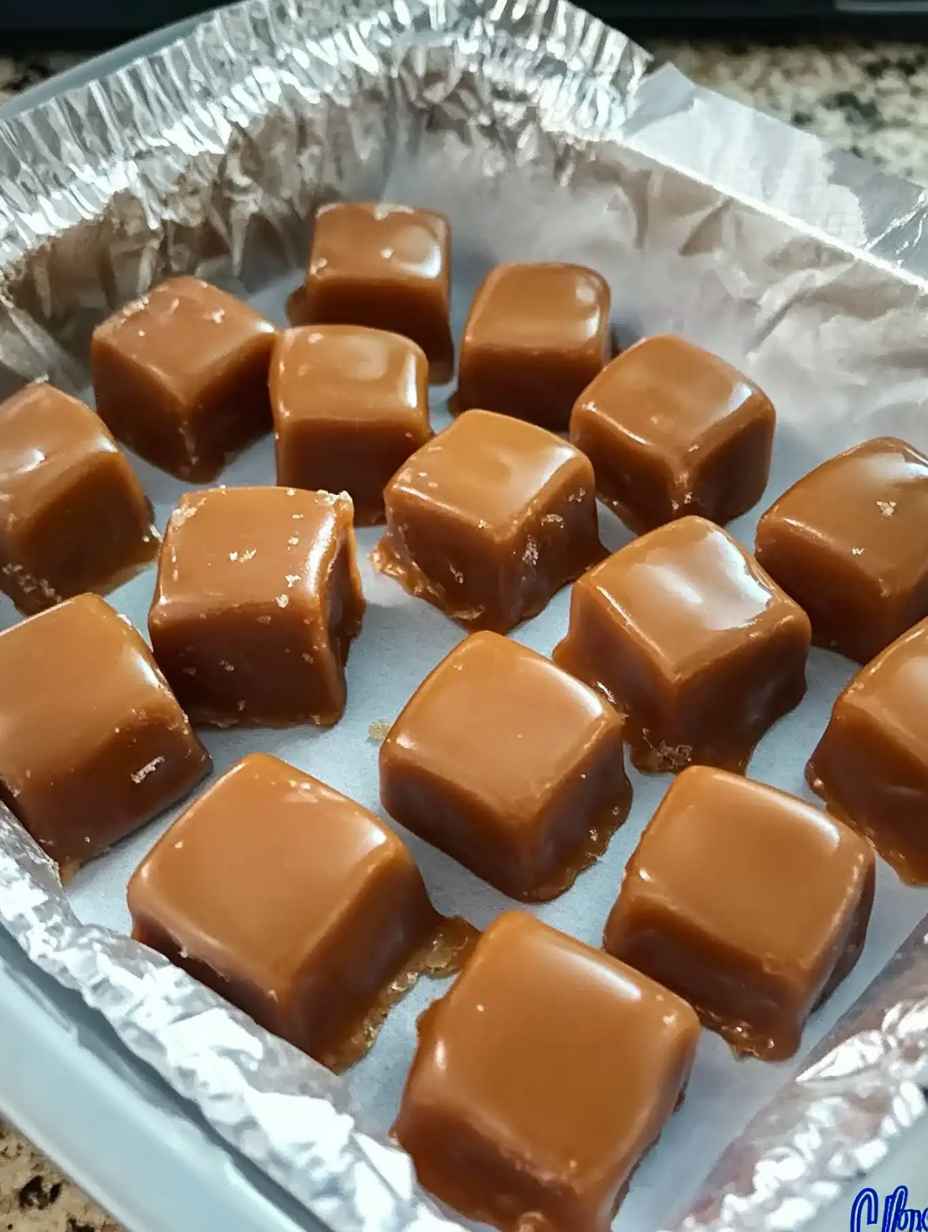
Step 1: Prepare Your Baking Dish
- Line the Dish: Line an 8×8-inch baking dish with parchment paper, leaving some overhang so you can easily lift out the caramels after they set. Lightly grease the parchment paper with butter or non-stick spray to ensure the caramels don’t stick.
Step 2: Melt the Butter
- Melt the Butter: In a medium saucepan, melt the unsalted butter over medium heat. Stir occasionally to make sure the butter melts evenly and doesn’t brown.
Step 3: Add Sugar and Syru
- Add the Brown Sugar: Once the butter has melted, stir in the brown sugar, corn syrup, and salt. Stir well until everything is fully combined.
- Bring to a Boil: Let the mixture come to a gentle boil over medium heat. Stir it constantly to prevent it from scorching.
Step 4: Cook the Caramel
- Add the Cream: Carefully pour in the heavy cream while stirring continuously. The mixture may bubble up a bit, so be cautious.
- Boil and Monitor: Continue to cook the caramel mixture, stirring constantly, for about 5-6 minutes. The mixture should thicken slightly and reach a temperature of 240°F (115°C) on a candy thermometer. This is the soft-ball stage, which gives the caramels their chewy texture.
- Tip: If you don’t have a candy thermometer, you can test the caramel by dropping a small spoonful into a glass of cold water. If it forms a soft, pliable ball, it’s ready.
Step 5: Add Vanilla and Remove from Heat
- Add Vanilla: Once the caramel has reached the right temperature, remove it from the heat. Stir in the vanilla extract. If you like, you can also sprinkle in some sea salt for a salted caramel twist.
Step 6: Pour into Baking Dish
- Pour the Caramel: Carefully pour the hot caramel mixture into the prepared baking dish. Let it spread out evenly. Be cautious, as the caramel will be extremely hot.
- Set the Caramels: Let the caramel cool at room temperature for about 1 hour or until fully set.
Step 7: Cut and Serve
- Lift and Cut: Once the caramels are set and firm, use the parchment paper overhang to lift the block of caramel out of the dish. Transfer it to a cutting board.
- Cut into Pieces: Using a sharp knife, cut the caramel into small squares or rectangles.
- Wrap (Optional): If you want to give them as gifts, wrap each piece in wax paper or cellophane to keep them fresh and easy to handle.
Tips for Success
- Be Mindful of Temperature: The temperature of the caramel is crucial for the right texture. Don’t skip the candy thermometer or testing method to ensure it’s the perfect consistency.
- Stir Consistently: Stir the mixture constantly while boiling to prevent burning or scorching.
- Storage: Store the caramels in an airtight container at room temperature for up to 2 weeks. They can also be refrigerated for longer storage, but they may become slightly firmer.
Variations
- Chocolate Coated Caramels: Once the caramels have cooled, dip them in melted dark or milk chocolate for a decadent treat.
- Nutty Caramels: Stir in chopped pecans, walnuts, or almonds into the caramel mixture before pouring it into the baking dish for a crunchy texture.
- Cinnamon Caramels: Add 1/2 teaspoon ground cinnamon to the caramel mixture for a warm, spicy twist.
Final Thoughts on Six-Minute Caramels
These Six-Minute Caramels are a breeze to make, and the results are absolutely irresistible. Soft, buttery, and perfectly chewy, they offer the kind of sweetness that satisfies every craving. Whether you’re sharing them with friends, giving them as gifts, or indulging in them yourself, these quick caramels will quickly become a favorite treat. Enjoy the magic of homemade candy with ease and speed!
