- Combine the Flour and Salt:
In a large mixing bowl, whisk together the all-purpose flour and salt. Make a well in the center for the wet ingredients.
Step 3: Combine Wet Ingredients
- Add the Milk and Olive Oil:
To the yeast mixture, stir in the room-temperature milk and olive oil (or melted butter, if preferred). - Optional Sweetness:
If you want your bread to have a hint of sweetness, stir in 1 tablespoon of honey or sugar at this point.
Step 4: Make the Dough
- Mix the Dough:
Gradually pour the yeast and milk mixture into the well of the flour mixture. Using a wooden spoon or your hands, mix until the dough starts to come together. The dough should be soft and slightly sticky but manageable. - Knead the Dough:
Turn the dough out onto a lightly floured surface. Knead the dough for 8-10 minutes, adding a little flour as needed, until it becomes smooth, elastic, and no longer sticks to your hands. The dough should be soft but not too sticky.
Step 5: Let the Dough Rise
- First Rise:
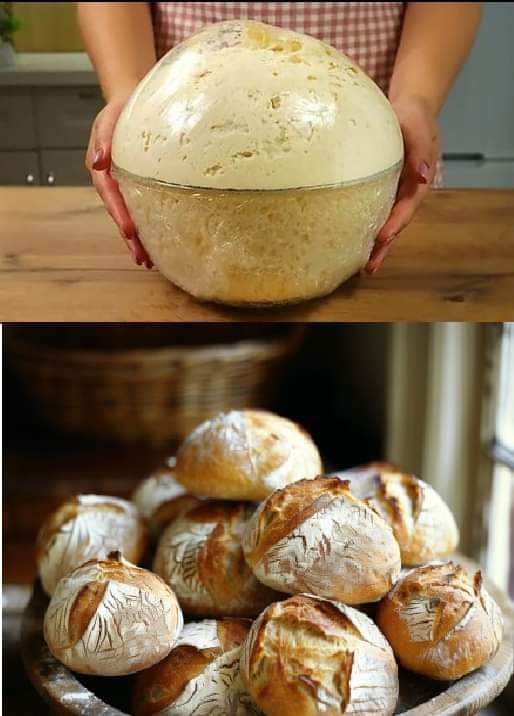
Place the kneaded dough into a large, greased bowl. Cover with a clean kitchen towel or plastic wrap. Allow the dough to rise in a warm, draft-free place for 1 to 1.5 hours, or until it has doubled in size.
Step 6: Shape the Bread
- Punch Down the Dough:
Once the dough has risen, punch it down to release any trapped air. - Shape the Loaf:
On a lightly floured surface, shape the dough into a loaf by folding the sides inward and rolling it into a tight cylinder. Place the shaped dough into a greased 9×5-inch loaf pan.
Step 7: Second Rise
- Second Rise:
Cover the loaf pan with a towel or plastic wrap and let the dough rise again for about 30-40 minutes, or until it has risen slightly above the edges of the pan.
Step 8: Bake the Bread
- Preheat the Oven:
Preheat your oven to 375°F (190°C). - Bake:
Bake the loaf in the preheated oven for 30-35 minutes, or until the top is golden brown and the bread sounds hollow when tapped. If the top is browning too quickly, loosely cover it with aluminum foil.
Step 9: Cool and Serve
- Cool the Bread:
Remove the bread from the oven and let it cool in the pan for 10 minutes. Then, transfer the loaf to a wire rack to cool completely before slicing. - Serve:
Slice the bread and serve it warm with butter, or use it to make sandwiches, toast, or as a side to soups and salads.
Final Notes: Tips and Variations
- Storage:
Store the bread in an airtight container at room temperature for up to 3 days. It can also be frozen for longer storage (up to 3 months). - Whole Wheat Version:
You can substitute half of the all-purpose flour with whole wheat flour for a heartier, more rustic loaf. - Herb-Infused Bread:
For an aromatic twist, add 1 tablespoon of dried herbs (such as rosemary, thyme, or oregano) to the flour mixture before kneading. - Milk Alternatives:
If you prefer, you can use a non-dairy milk such as almond milk, or skip the milk and use water only for a more rustic loaf.
Conclusion:
Grandma’s Flour, Water, and Milk Mix Bread is the perfect recipe for anyone looking to make a timeless, simple loaf at home. With basic ingredients, you’ll create a soft and tender bread that will fill your kitchen with a comforting aroma and bring back memories of homemade baking. This versatile recipe is a must-try for both beginner and experienced bakers, delivering a taste of tradition in every slice!
