1. Prepare the Graham Cracker Crust:
- In a medium-sized bowl, combine the graham cracker crumbs and sugar. Slowly pour in the melted butter, stirring until the mixture resembles damp sand. The key is to make sure it holds together when pressed but isn’t too greasy.
- Press the crumb mixture evenly into the bottom of a 9-inch pie pan, making sure to press up the sides as well. You can use the back of a spoon or a flat-bottomed glass for this step.
- Place the crust in the freezer for about 20 minutes to firm up while you prepare the filling.
2. Create the Dreamy Pumpkin Filling:
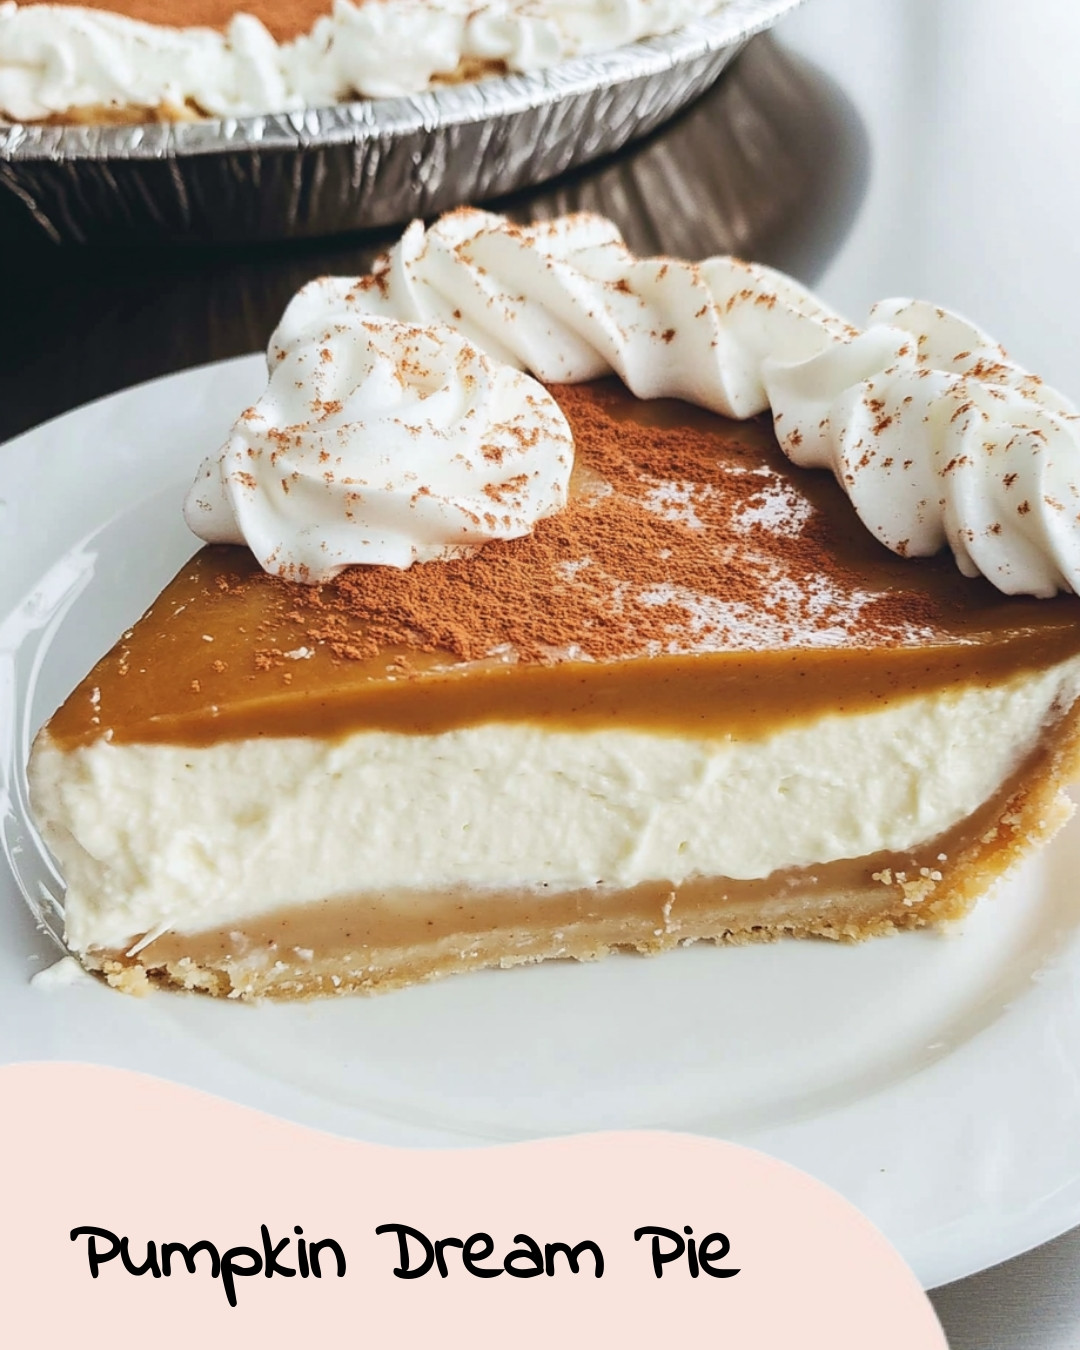
- In a large bowl, beat the softened cream cheese with an electric mixer until smooth and creamy. Add the powdered sugar and continue beating until fully incorporated, creating a velvety base for your pumpkin filling.
- Next, fold in the pumpkin puree, vanilla extract, pumpkin pie spice, and ground cinnamon. Mix gently until everything is well combined, and you’re left with a perfectly spiced pumpkin mixture.
- In a separate bowl, whip the heavy cream to stiff peaks. Once whipped, fold the cream into the pumpkin mixture in batches. Be gentle during this step—you want to maintain the airiness of the whipped cream to keep the filling light and fluffy.
- Once mixed, spread the pumpkin filling evenly over the chilled graham cracker crust.
3. Whip Up the Topping:
- In a clean bowl, whip the remaining heavy cream, powdered sugar, and vanilla extract until soft peaks form. This lightly sweetened whipped cream will add a heavenly, cloud-like layer to your pie.
- Spread or pipe the whipped topping over the pumpkin layer, creating soft peaks or decorative swirls as you like.
4. Garnish and Serve (Optional but Oh-So-Worth-It):
- For a little extra flair, sprinkle some crushed graham crackers over the top of the whipped cream.
- Dust the pie with a light sprinkle of cinnamon for added warmth and visual appeal.
- Drizzle with caramel sauce for an indulgent touch, and top with pecans for a delightful crunch.
Let the Pie Set
While the pie may look irresistible already, it’s crucial to let it chill for at least 4 hours in the refrigerator before slicing. This gives the filling time to firm up and allows the flavors to meld together for a dreamy, cohesive bite. If you’re planning ahead, you can even let the pie chill overnight—trust us, the wait will be worth it!
Tips for Perfecting Your No-Bake Pumpkin Dream Pie
- Room Temperature Cream Cheese: Make sure your cream cheese is softened before mixing. This ensures a smooth filling without any lumps.
- Fold, Don’t Stir: When folding the whipped cream into the pumpkin mixture, use a gentle folding motion to keep the filling airy and light.
- Chill Time is Key: While it’s tempting to dig in right away, give the pie ample time to chill so it slices cleanly and holds its shape.
- Customization Options: If you’re a chocolate fan, you could swap the graham cracker crust for a chocolate cookie crust to create a pumpkin-chocolate contrast!
The Perfect Ending to a Cozy Autumn Day
With its creamy layers, warm spices, and satisfying crunch from the graham cracker crust, this No-Bake Pumpkin Dream Pie delivers a rich, fall-inspired flavor that everyone will adore. Serve it after a cozy meal or as the star dessert at your next fall gathering. No one will believe how simple it was to make—and they’ll certainly be asking for seconds!
This no-bake dessert is not only a time-saver, but it’s also a showstopper that brings the essence of fall to your table. Make it once, and you’ll find yourself returning to this recipe year after year as a fall favorite!