Step 1: Make the Oreo Fluff Base
- Prepare the Pudding: In a large mixing bowl, whisk together 1 package of chocolate pudding mix and 2 cups of cold milk until smooth and thickened (about 2 minutes). Let the pudding sit for a few minutes to fully set.
- Fold in the Cool Whip: Once the pudding has thickened, gently fold in the Cool Whip (whipped topping) until fully combined, creating a light and fluffy texture.
- Add Crushed Oreos: Crush 20 Oreo cookies (you can use a food processor or place them in a ziplock bag and crush with a rolling pin). Gently fold the crushed Oreos into the pudding mixture, ensuring they’re evenly distributed throughout the fluff.
- Flavor Tip: For an extra hint of flavor, add 1/2 tsp of vanilla extract to the pudding mixture before combining with the Cool Whip.
Step 2: Assemble the Dirt Cups
- Crush Extra Oreos: In a separate bowl, crush the additional 10 Oreo cookies to make the dirt topping. These should be finely crushed to resemble real dirt.
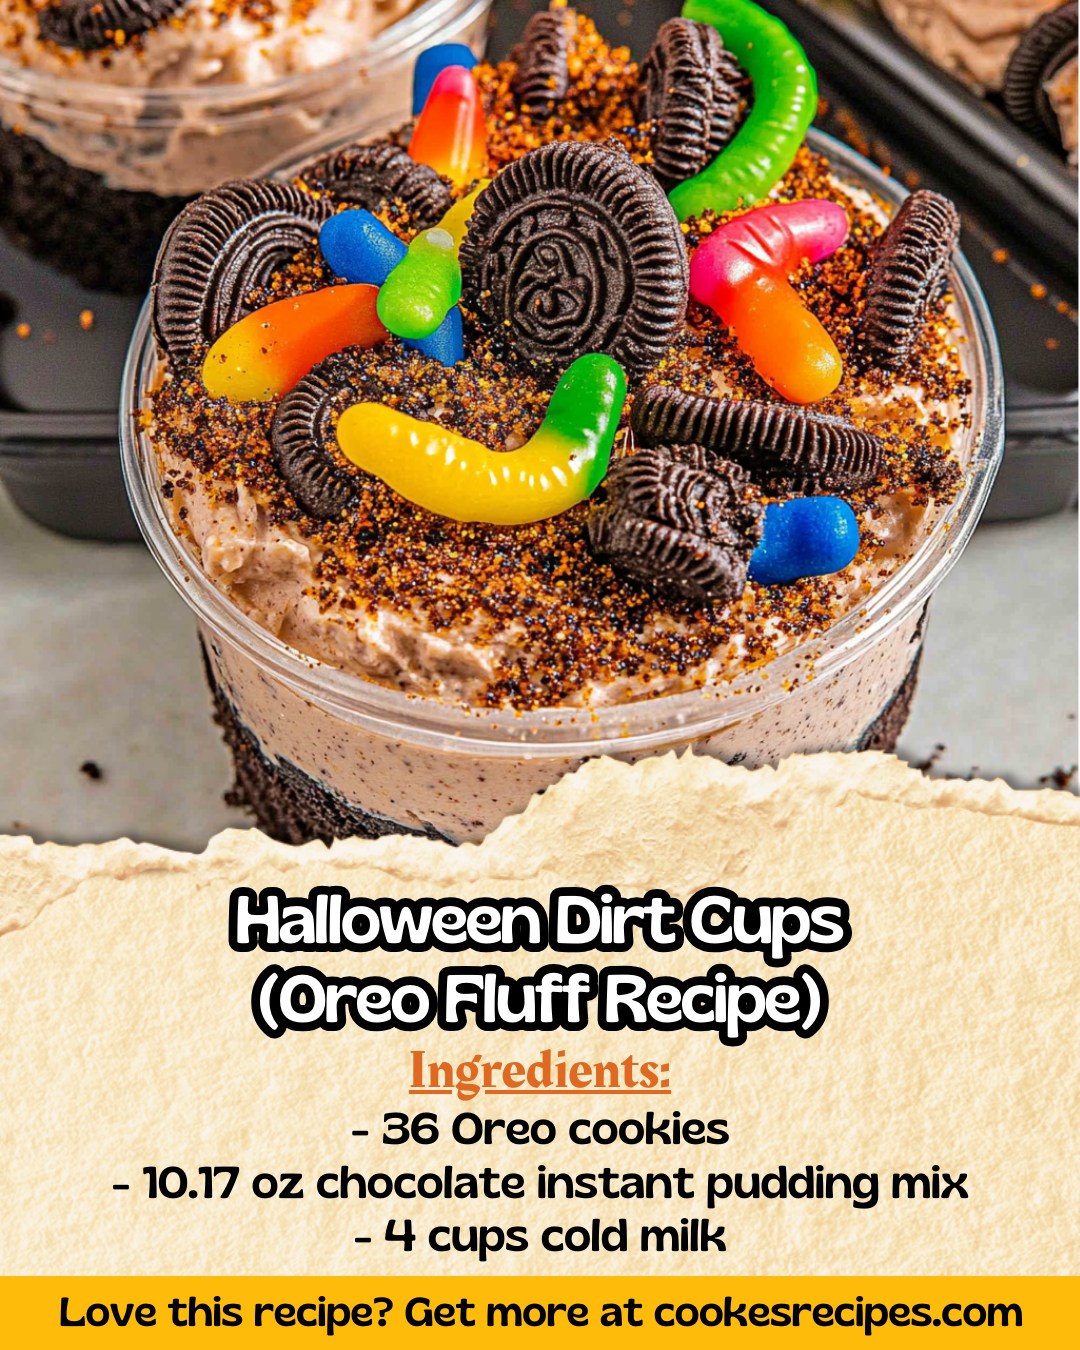
- Layer the Dirt Cups: Spoon a layer of the Oreo fluff mixture into the bottom of individual serving cups (small clear cups work great for presentation). Then, add a layer of crushed Oreo “dirt” on top of the fluff.
- Repeat: Add another layer of Oreo fluff and finish with a final layer of crushed Oreos on top. The “dirt” should cover the entire top surface to create the spooky effect.
Step 3: Decorate with Halloween Candy
- Add Gummy Worms: Stick gummy worms into the dirt so they look like they’re crawling out of the cup. Have them drape over the edges for a creepy effect.
- Add Candy Pumpkins: Place a few candy pumpkins on top for a festive Halloween look. You can also use other spooky candies like candy eyeballs or bones for extra decoration.
- Sprinkle Chocolate Sprinkles: If desired, sprinkle a little bit of chocolate sprinkles over the top for added texture.
Serving Suggestions
- Perfect Party Treat: These Halloween Dirt Cups are great for Halloween parties, trick-or-treating events, or spooky movie nights. Serve them in small clear cups or mason jars for a cute and easy-to-eat dessert.
- Make-Ahead Option: Prepare these cups ahead of time and keep them in the fridge until ready to serve. The dirt cups actually taste even better after chilling for a few hours as the flavors meld together.
- Creative Display: For an extra spooky display, set the cups on a tray filled with crushed Oreos and sprinkle candy eyeballs or bones around them.
Why You’ll Love This Recipe
- Fun for All Ages: This recipe is simple to make and incredibly fun to decorate, making it a perfect project for kids to help with.
- Spooky Presentation: The gummy worms crawling out of the “dirt” make for a creepy yet delicious dessert that will catch everyone’s eye.
- Easy and Quick: With just a few ingredients and no baking required, these dirt cups come together in no time.
- Customizable: Swap the pudding flavor or add other Halloween-themed toppings like crushed pretzels, candy corn, or chocolate chips for your own personal touch.
Pro Tips
- Make it Gluten-Free: To make these dirt cups gluten-free, use gluten-free chocolate pudding mix and substitute gluten-free Oreos or other gluten-free chocolate cookies.
- Vegan Option: For a vegan version, use a dairy-free pudding mix, almond milk, and a vegan whipped topping. Vegan-friendly Oreo cookies can be used as well.
- Create Layers: For extra visual appeal, alternate layers of different colored pudding (such as green for a more “monstrous” look) or add a middle layer of crushed cookies to make it look more like real dirt.
Final Thoughts
These Halloween Dirt Cups (Oreo Fluff Recipe) are sure to be a hit at any Halloween gathering. The combination of creamy Oreo fluff, crunchy cookie dirt, and fun gummy worms will have guests coming back for seconds. With their spooky-cute presentation and easy preparation, they’re the perfect dessert to make your Halloween extra special!