Step 1: Activate the Yeast
- Warm the Water: In a small bowl, warm the water to about 100°F (lukewarm, not hot).
- Activate Yeast: Stir the sugar into the warm water, then sprinkle the yeast on top. Let it sit for 5-10 minutes until the yeast becomes frothy and bubbly. This indicates that the yeast is active.
Step 2: Make the Dough
- Mix Dry Ingredients: In a large mixing bowl, combine the flour and salt.
- Combine Wet and Dry: Slowly pour the activated yeast mixture into the flour, mixing with a wooden spoon or your hands. Add the olive oil as you mix.
- Knead the Dough: Once the dough starts to come together, transfer it to a lightly floured surface and knead for 7-10 minutes, or until the dough is smooth and elastic. Add a little more flour if the dough is too sticky.
- Rest the Dough: Shape the dough into a ball and place it back into the bowl. Cover it with a damp kitchen towel or plastic wrap and let it rise in a warm place for 1 hour, or until it doubles in size.
Step 3: Shape the Bread
- Punch Down and Shape: Once the dough has risen, punch it down to release the air. Transfer it to a floured surface and gently knead it for another minute. Shape the dough into a round or oval loaf, depending on the size of your skillet or pan.
- Second Rise: Place the shaped dough back in the bowl, cover it, and let it rise for another 20-30 minutes.
Step 4: Cook the Bread on the Stovetop
- Heat the Skillet: Preheat a non-stick skillet or deep pan over medium-low heat. Lightly grease the pan with a little olive oil or butter to prevent sticking.
- Place the Dough in the Skillet: Gently transfer the risen dough into the preheated skillet.
- Cover and Cook: Cover the pan with a lid to trap the steam, which will help the bread cook evenly and give it a soft texture. Cook on low heat for 10-12 minutes on the first side.
- Flip the Bread: Carefully flip the bread using a spatula. Cook on the other side for another 10-12 minutes, or until both sides are golden brown and the bread sounds hollow when tapped.
- Check Doneness: You can insert a toothpick or knife into the center of the bread. If it comes out clean, your bread is fully cooked.
Step 5: Cool and Serve
- Cool the Bread: Remove the bread from the skillet and let it cool on a wire rack for 10-15 minutes before slicing. This helps the crumb set and makes slicing easier.
- Serve: Enjoy your stovetop bread plain, with butter, or as the base for sandwiches and toast!
Tips for Perfect Stovetop Bread
- Low and Slow: Cooking the bread on low heat ensures it cooks evenly without burning. If the heat is too high, the outside will cook faster than the inside.
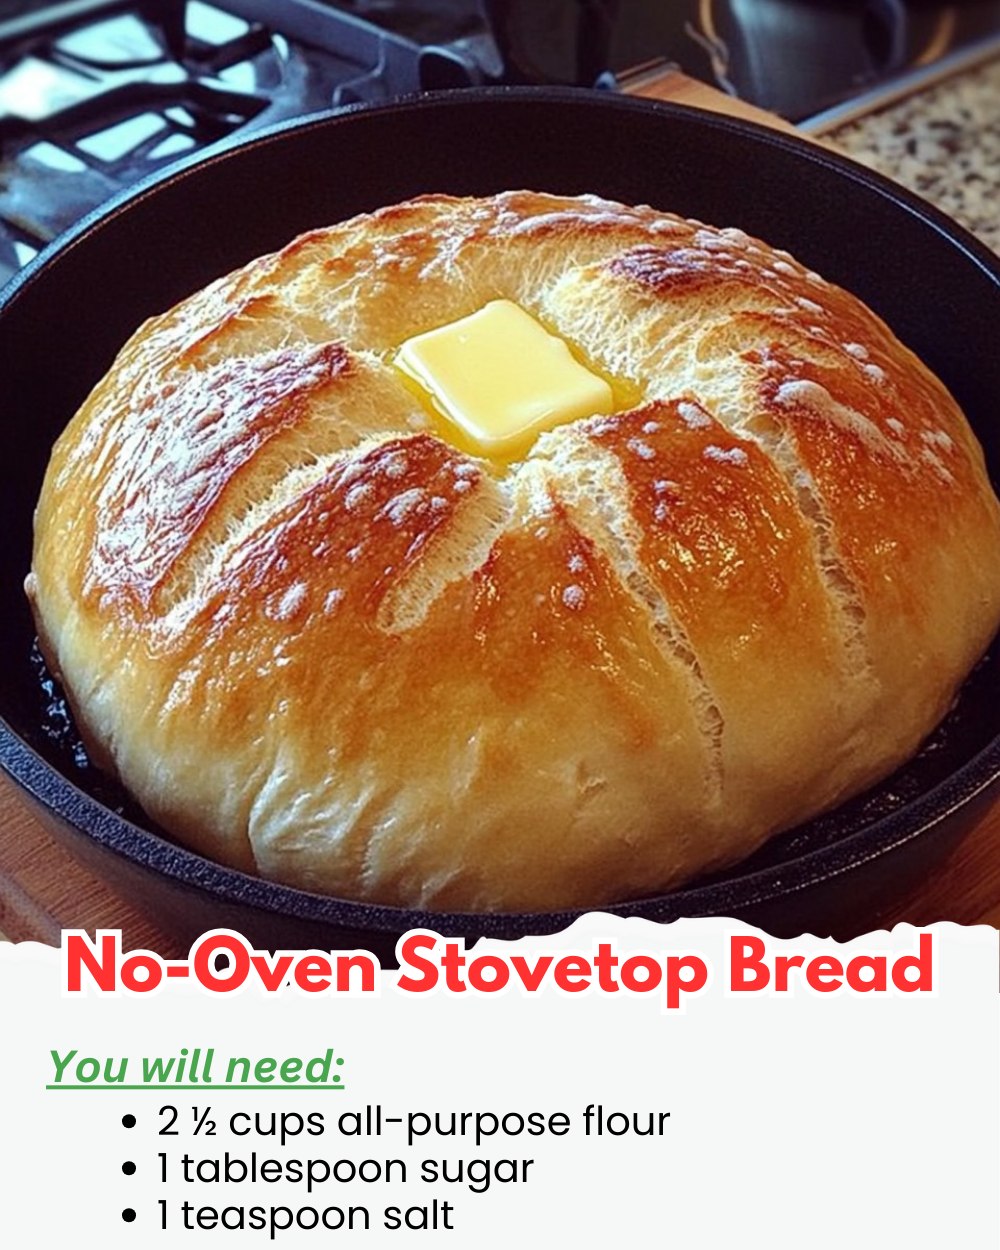
- Pan Choice: A heavy-bottomed, non-stick skillet works best for even heat distribution. If you have a cast iron skillet with a lid, that’s ideal for this recipe.
- Add-ins: Feel free to customize the dough by adding herbs, garlic, or even cheese for a flavored loaf.
- Storage: Store leftover bread in an airtight container at room temperature for up to 2 days. You can also freeze the bread for longer storage.
Conclusion
This No-Oven Stovetop Bread is a simple, delicious solution for homemade bread without the need for an oven. With its soft, fluffy interior and golden crust, it’s a versatile recipe that you’ll want to make again and again. Whether you’re avoiding the oven or just looking for a fun new way to bake bread, this recipe is a must-try!
Stay Connected
For more easy and inventive baking recipes, subscribe to our newsletter, and share your stovetop bread creations with us using #StovetopBreadMagic. Happy baking!
This stovetop bread recipe delivers all the satisfaction of homemade bread without the fuss of using an oven. Perfect for any kitchen setup!