1. Preheat the Oven
Start by preheating your oven to 350°F (175°C). Grease a 9×13-inch baking pan or line it with parchment paper, leaving some overhang for easy removal later.
2. Mix the Wet Ingredients
In a large bowl, whisk together the melted butter, vegetable oil, granulated sugar, and light brown sugar until smooth. The mix should look glossy and thick—this combination of butter and oil is what will give your brownies that classic fudgy texture.
Pro Tip: For a lighter texture and crackly top, make sure to whisk the sugar into the butter really well—this helps create that iconic brownie finish.
3. Add the Eggs & Vanilla
Beat the eggs into the sugar mixture, one at a time, ensuring each one is fully incorporated before adding the next. Stir in the vanilla extract for that rich, comforting flavor.
4. Incorporate the Dry Ingredients
In a separate bowl, sift together the flour, cocoa powder, baking powder, and salt. Gradually add the dry ingredients to the wet mixture, folding it in gently. Be careful not to overmix—just stir until everything is well combined.
Pro Tip: The key to fudgy brownies is not overmixing once the flour is added. Overworking the batter can lead to tough, cakey brownies.
5. Bake
Pour the brownie batter into your prepared 9×13-inch pan, spreading it out evenly with a spatula. Bake in the preheated oven for 25-30 minutes, or until a toothpick inserted in the center comes out with moist crumbs (not completely clean, as you want these to stay fudgy).
Make the Classic Frosting
While the brownies are baking, it’s time to prepare the frosting. This frosting is what really takes these brownies to that nostalgic lunchroom level. It’s simple but oh-so-delicious!
1. Melt the Butter
In a small saucepan, melt the butter over medium heat. Once melted, whisk in the cocoa powder until smooth. Remove from heat.
2. Add the Milk & Powdered Sugar
Gradually add the milk and vanilla extract to the cocoa mixture. Whisk in the powdered sugar, a little at a time, until the frosting is smooth and free of lumps.
Pro Tip: If you prefer a thicker frosting, add more powdered sugar until you reach your desired consistency.
3. Spread the Frosting
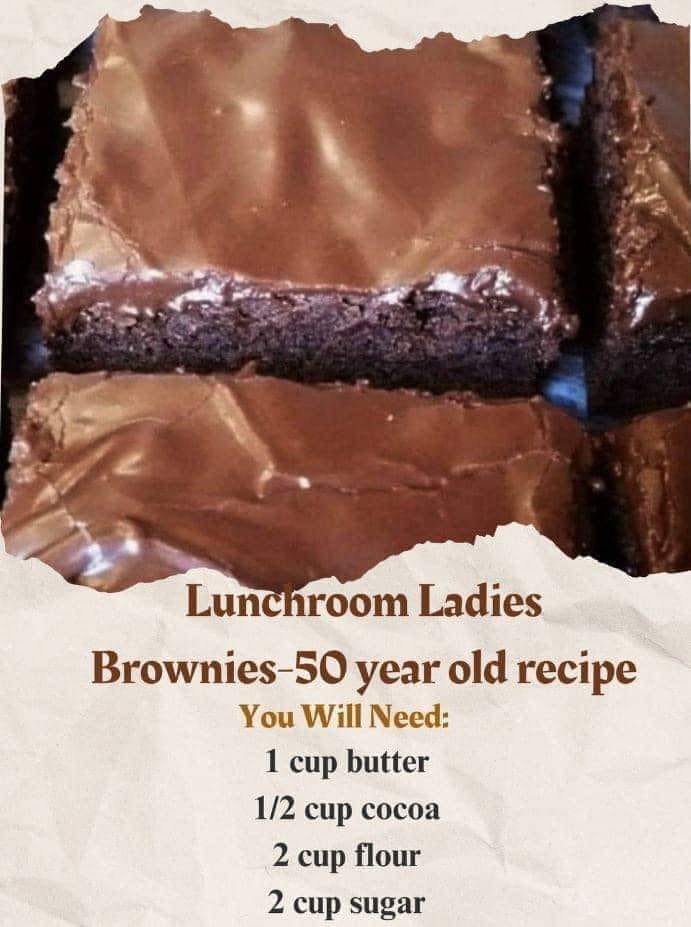
Once the brownies are out of the oven, let them cool for about 15 minutes, but don’t wait until they’re fully cooled. The frosting spreads more easily on warm brownies and will melt just slightly, creating a glossy, smooth top.
Cool, Slice & Serve
Allow the frosted brownies to cool completely in the pan before slicing. For perfect cuts, use a sharp knife and wipe it clean between slices.
Pro Tip: For an extra clean cut, place the brownies in the fridge for about 15 minutes after frosting. This firms them up, making slicing a breeze.
Tips for the Best Lunchroom Ladies Brownies
- Don’t Skip the Oil: The combination of butter and vegetable oil gives these brownies that iconic cafeteria texture—moist, rich, but not overly dense.
- Add Nuts for a Crunch: If you love a little crunch in your brownies, fold in 1 cup of chopped pecans or walnuts before baking.
- Double the Batch: These brownies disappear fast! If you’re baking for a crowd or an event, this recipe doubles easily. Just use a larger pan or two 9×13-inch pans.
- Store Properly: To keep them fudgy, store leftover brownies in an airtight container at room temperature for up to 3 days. You can also freeze them for up to 3 months.
Why These Brownies Have Stood the Test of Time
This 50-year-old recipe is proof that sometimes, simple is best. No fancy ingredients, no tricky steps—just good, old-fashioned brownies made the way lunchroom ladies used to make them. With their fudgy texture, deep chocolate flavor, and that classic frosting, these brownies are sure to bring back memories while creating new ones.
They’re perfect for casual family gatherings, bake sales, or simply when you need a bit of old-school comfort.
Enjoy baking and indulging in these timeless treats! Don’t forget to share the recipe with others who may remember the magic of Lunchroom Ladies Brownies.
