Step 1: Prepare the Filling
- Mix the Filling Ingredients:
- In a large mixing bowl, combine the peanut butter, crushed cornflakes (or graham cracker crumbs), powdered sugar, and vanilla extract. Stir well until the mixture forms a thick, dough-like consistency.
- Shape the Balls:
- Roll the mixture into small balls, about 1 to 1½ inches in diameter. Place the balls on a parchment-lined baking sheet. You should get about 25-30 balls depending on size.
- Chill the Balls:
- Place the baking sheet with the balls in the refrigerator for about 30 minutes to firm up.
Step 2: Melt the Chocolate
- Melt the Chocolate Chips:
- In a microwave-safe bowl, melt the chocolate chips in 30-second intervals, stirring in between, until smooth. If the chocolate seems too thick, stir in 1 tablespoon of coconut oil or vegetable shortening to thin it out.
Step 3: Coat the Butterfinger Balls
- Dip the Balls:
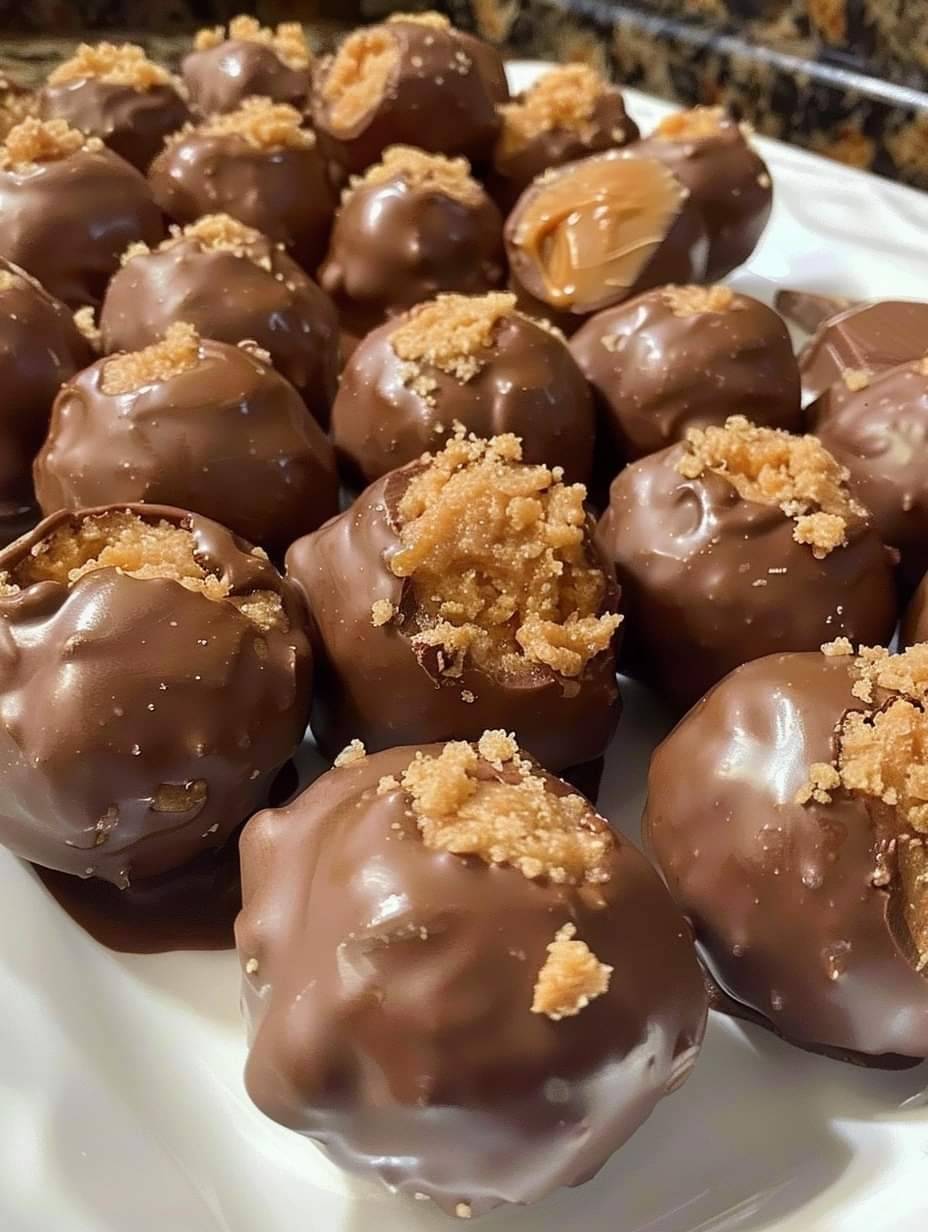
- Remove the chilled peanut butter balls from the fridge. Using a fork or toothpick, dip each ball into the melted chocolate, making sure it’s fully coated. Let any excess chocolate drip off.
- Place on Tray:
- Place the coated balls back on the parchment-lined baking sheet. If desired, sprinkle the tops with crushed Butterfinger candy for added texture and flavor.
- Chill to Set:
- Place the tray back in the refrigerator for about 15-20 minutes, or until the chocolate has hardened.
Step 4: Serve and Enjoy
- Serve the Butterfinger Balls:
- Once the chocolate has set, your Butterfinger Balls are ready to serve! Enjoy them chilled or at room temperature.
Tips for the Best Butterfinger Balls:
- Customize the Texture:
- For a smoother filling, use graham cracker crumbs instead of crushed cornflakes. If you love a crunchier texture, the cornflakes will give you that Butterfinger-like snap!
- Store in the Fridge:
- Keep these Butterfinger Balls in an airtight container in the fridge for up to 1 week. They can also be frozen for up to 2 months—just let them thaw for a few minutes before enjoying.
- Drizzle for Decoration:
- For a decorative touch, drizzle some melted white chocolate or extra milk chocolate over the tops of the balls after coating.
Why You’ll Love These Butterfinger Balls:
- No-Bake and Quick:
- These treats require no baking, so you can whip them up quickly and easily for a last-minute dessert or snack.
- Rich Peanut Butter Flavor:
- The combination of creamy peanut butter and crunchy cornflakes or graham cracker crumbs creates a delicious filling that mimics the iconic Butterfinger flavor.
- Perfect for Parties:
- These bite-sized treats are great for sharing and can be made ahead of time, making them ideal for parties, gatherings, or holiday cookie exchanges.
These Butterfinger Balls are a simple, fun way to enjoy the flavors of your favorite candy bar in an easy-to-make, no-bake form. With their creamy peanut butter filling and crunchy chocolate coating, they’re bound to be a hit with kids and adults alike!