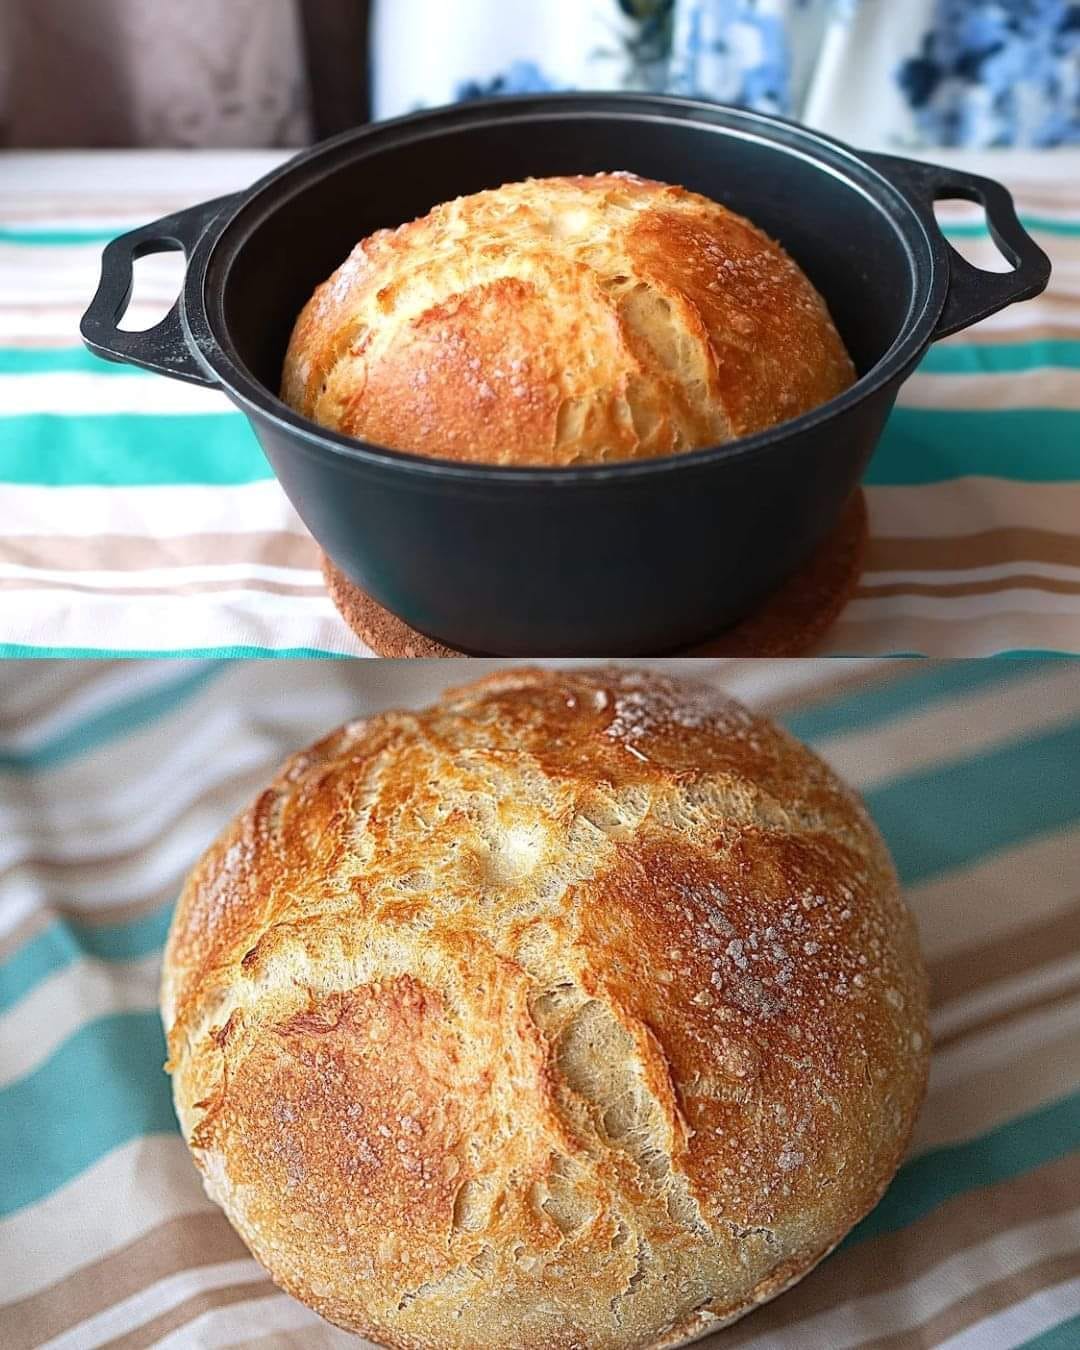
Step 1: Prepare the Dough
- Activate the Yeast:
- In a small bowl, combine warm water and sugar. Stir in the active dry yeast and let it sit for about 5-10 minutes until the mixture becomes frothy. This indicates the yeast is activated.
- Mix Dry Ingredients:
- In a large mixing bowl, whisk together the flour and salt.
- Combine Wet and Dry Ingredients:
- Make a well in the center of the flour mixture. Pour the frothy yeast mixture and melted butter into the well. Using a wooden spoon or your hands, mix until a sticky dough forms.
Step 2: Knead the Dough
- Knead by Hand or Mixer:
- Turn the dough out onto a floured surface and knead for about 8-10 minutes until it becomes smooth and elastic. If using a stand mixer, use the dough hook attachment and knead for 6-8 minutes on medium speed.
- The dough should be soft but not too sticky. Add a little more flour (1 tablespoon at a time) if needed during kneading.
Step 3: Let the Dough Rise
- First Rise:
- Lightly grease a large bowl with butter or oil. Place the dough in the bowl, turning it to coat all sides. Cover with a clean kitchen towel or plastic wrap and let it rise in a warm place for 1-1.5 hours, or until doubled in size.
Step 4: Shape the Dough
- Punch Down and Shape:
- Once the dough has risen, punch it down to release the air. Turn it out onto a floured surface and shape it into a loaf by flattening it into a rectangle, folding the short ends inward, and rolling it tightly from one end to the other.
- Place in a Loaf Pan:
- Grease a 9×5-inch loaf pan with butter or oil, and place the shaped dough seam-side down into the pan. Cover it again and let it rise for another 30-45 minutes, or until it’s risen about 1 inch above the edge of the pan.
Step 5: Bake the Bread
- Preheat the Oven:
- Preheat your oven to 375°F (190°C).
- Bake the Bread:
- Place the loaf in the oven and bake for 25-30 minutes, or until the top is golden brown and the bread sounds hollow when tapped. You can also insert a thermometer into the center of the loaf, and it should register 190°F (88°C) when fully baked.
Step 6: Cool and Serve
- Brush with Butter:
- Remove the bread from the oven and immediately brush the top with melted butter for a soft, shiny crust.
- Cool:
- Let the bread cool in the pan for 10 minutes, then transfer it to a wire rack to cool completely before slicing.
Tips for Success
- Water Temperature: Make sure the water is warm, not hot, to avoid killing the yeast. The ideal temperature is around 110°F (43°C).
- Kneading: Proper kneading develops the gluten structure, which gives the bread its chewiness and helps it rise.
- Rising Environment: Bread dough rises best in a warm, draft-free place. You can place the dough in an oven with just the light on to create a warm environment.
Conclusion
This Traditional Homemade Bread is soft, flavorful, and incredibly satisfying. The process of making bread from scratch can be relaxing and rewarding, with the final result being a delicious loaf that’s far better than store-bought. Serve it warm with butter, make sandwiches, or toast it up for a perfect morning treat.
Enjoy the classic taste of homemade bread that’s easy to make and worth every bite!
