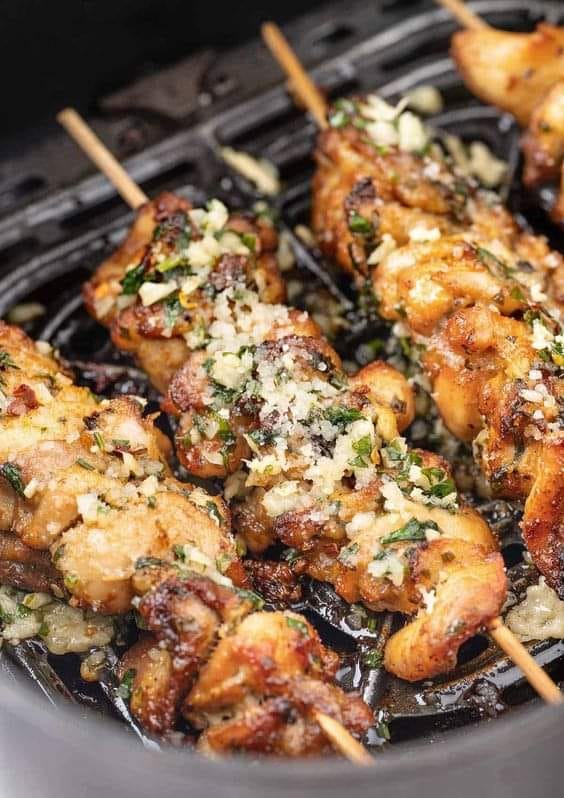
Step 1: Preparing the Chicken
- Trim and Pound: Start by trimming any excess fat from the chicken breasts. For even cooking, place each breast between two sheets of plastic wrap and gently pound with a meat mallet until they are about 1/2 inch thick.
- Season the Chicken: Season both sides of the chicken breasts with salt and black pepper. This initial seasoning layer is crucial for enhancing the flavor of the meat.
Step 2: Creating the Breading Station
- Dry Mixture: In a shallow bowl, combine the grated Parmesan cheese, panko breadcrumbs, garlic powder, onion powder, and paprika. Mix well until all the ingredients are evenly distributed.
- Wet Mixture: In another bowl, beat the eggs with a tablespoon of water. This will help the breading adhere to the chicken.
Step 3: Breading the Chicken
- Dip and Coat: Dip each chicken breast into the egg mixture, ensuring it’s fully coated. Allow any excess egg to drip off before placing the chicken into the breadcrumb mixture. Press the breadcrumbs onto the chicken, making sure it’s thoroughly coated. Repeat this process for all the chicken breasts.
Step 4: Prepping the Air Fryer
- Preheat: Preheat your air fryer to 375°F (190°C). Preheating ensures that the chicken starts cooking immediately upon entering the fryer, giving it a nice, crispy exterior.
- Arrange the Chicken: Lightly spray the air fryer basket with cooking spray. Arrange the chicken breasts in a single layer in the basket. Avoid overcrowding; cook in batches if necessary.
Step 5: Cooking the Chicken
- First Half: Cook the chicken at 375°F for 10 minutes. After the first 10 minutes, carefully flip the chicken breasts using tongs and spray the tops lightly with cooking spray.
- Second Half: Continue cooking for another 5-7 minutes, or until the chicken reaches an internal temperature of 165°F (74°C) and the crust is golden brown and crispy.
Step 6: Final Touches
- Rest and Garnish: Once cooked, transfer the chicken to a plate and let it rest for a few minutes. This helps the juices redistribute throughout the meat, keeping it moist and flavorful. Garnish with freshly chopped parsley.
- Serve: Serve the Air Fryer Garlic Parmesan Chicken with lemon wedges on the side. A gentle squeeze of lemon juice over the chicken just before eating adds a wonderful freshness that balances the rich flavors.
Tips and Tricks for the Perfect Chicken
- Even Coating: Ensure an even coating of breadcrumbs by pressing the mixture onto the chicken firmly.
- Crispy Finish: For an extra crispy finish, you can lightly spray the tops of the chicken with olive oil spray halfway through the cooking process.
- Custom Flavors: Feel free to experiment with additional spices and herbs in the breadcrumb mixture, such as dried oregano or thyme, to suit your taste preferences.
Pairing Suggestions
To complete your meal, consider pairing the Air Fryer Garlic Parmesan Chicken with these sides:
- Garlic Mashed Potatoes: Creamy and full of flavor, they complement the crispy chicken perfectly.
- Steamed Vegetables: A mix of broccoli, carrots, and bell peppers adds a healthy and colorful touch to your plate.
- Caesar Salad: Crisp romaine lettuce, creamy Caesar dressing, and crunchy croutons provide a refreshing balance.
Final Thoughts
We hope this detailed guide has not only given you a fantastic recipe but also inspired you to enjoy the cooking process. Cooking is an art, and every step, from preparation to plating, is a part of that art. Enjoy your delicious Air Fryer Garlic Parmesan Chicken, and remember, the best meals are those made with love and care. Happy cooking!
