1. Preheat the Oven and Prepare the Pan
- Preheat your oven to 350°F (175°C).
- Line a 9×9-inch baking pan with parchment paper, leaving some overhang on the sides for easy removal. Lightly grease the parchment paper.
2. Prepare the Crust
- In a mixing bowl, combine the melted butter, granulated sugar, and flour. Mix until well combined and crumbly.
- Press the mixture evenly into the bottom of the prepared baking pan.
- Bake in the preheated oven for 10-12 minutes, or until the crust is lightly golden. Remove from the oven and let it cool slightly while you prepare the filling.
3. Prepare the Filling
- In a large mixing bowl, beat the softened cream cheese and granulated sugar with an electric mixer until smooth and creamy.
- Add the eggs one at a time, beating well after each addition.
- Mix in the vanilla extract.
- Gently fold in the drained crushed pineapple until evenly distributed.
4. Assemble and Bake
- Pour the pineapple filling over the pre-baked crust, spreading it evenly with a spatula.
- Bake in the preheated oven for 25-30 minutes, or until the filling is set and slightly golden on top.
- Remove from the oven and let the bars cool completely in the pan on a wire rack.
5. Prepare the Glaze
- In a small bowl, whisk together the powdered sugar, pineapple juice, and vanilla extract until smooth and well combined.
- Adjust the consistency by adding more powdered sugar or pineapple juice as needed.
6. Glaze the Bars
- Once the bars are completely cool, drizzle the glaze evenly over the top.
- Let the glaze set for about 15 minutes before slicing.
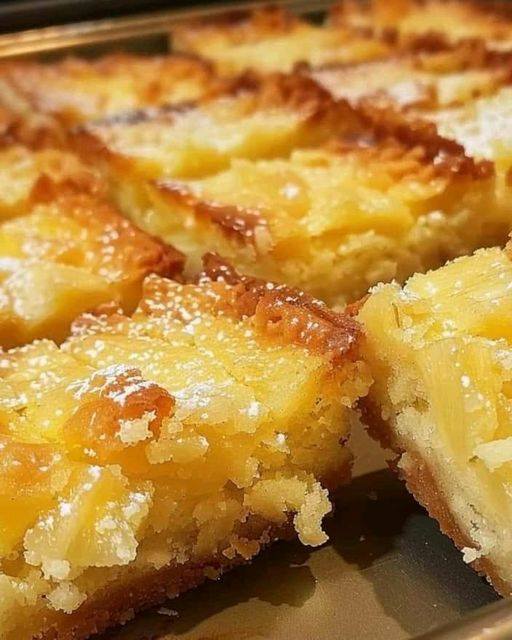
7. Slice and Serve
- Using the parchment paper overhang, lift the bars out of the pan and place them on a cutting board.
- Slice into squares or rectangles and serve.
Serving Suggestions
Pineapple Bliss Bars can be served on their own or with a variety of accompaniments to complete your dessert:
- Whipped Cream: Add a dollop of whipped cream on the side for extra indulgence.
- Fresh Fruit: Serve with additional fresh pineapple slices or mixed berries for a refreshing contrast.
- Mint Leaves: Garnish with fresh mint leaves for a touch of color and freshness.
Nutritional Benefits
While Pineapple Bliss Bars are an indulgent treat, they can be enjoyed as part of a balanced diet when eaten in moderation:
- Vitamins and Minerals: Pineapple is rich in vitamins C and A, potassium, and antioxidants, contributing to overall health.
- Calcium: Cream cheese provides a good source of calcium, essential for bone health.
Tips and Tricks
- Room Temperature Ingredients: Ensure the cream cheese and eggs are at room temperature for a smoother filling.
- Draining Pineapple: Properly drain the crushed pineapple to avoid excess moisture in the filling.
- Customization: Feel free to experiment with different fruits or add coconut flakes for a tropical twist.
Frequently Asked Questions
1. Can I use fresh pineapple?
Yes, you can use fresh pineapple. Simply crush it in a blender or food processor and drain any excess juice.
2. How do I store leftovers?
Store any leftover bars in an airtight container in the refrigerator for up to 5 days. Bring to room temperature before serving.
3. Can I make these bars ahead of time?
Yes, you can make these bars a day in advance. Prepare and glaze them, then refrigerate until ready to serve.
Conclusion: The Joy of Making Pineapple Bliss Bars
Preparing Pineapple Bliss Bars is a rewarding experience that combines simplicity, flavor, and elegance. This versatile dessert allows you to experiment with different ingredients and customize it to your liking. Whether you’re making it for yourself, your family, or entertaining guests, these bars are sure to impress and satisfy.
By following this comprehensive guide, you now have all the knowledge and tips needed to create a delicious and beautiful dessert. Enjoy the process, savor the flavors, and relish the satisfaction of a well-made treat.
Key Takeaway: Pineapple Bliss Bars are a rich, flavorful, and indulgent dessert that can be easily customized and enjoyed by all. Give this recipe a try and experience the joy of making and savoring a homemade tropical delight.