Welcome to our comprehensive guide on creating a decadent and delicious Cinnamon Roll Cheesecake. This dessert combines the creamy richness of a classic cheesecake with the sweet, spicy flavors of cinnamon rolls. Perfect for special occasions or as a show-stopping end to any meal, this cheesecake is sure to impress. In this detailed article, we will walk you through every step of the process, provide helpful tips, and offer variations to suit your preferences. Let’s dive in and create a cheesecake that will become a favorite in your household!
Introduction to Cinnamon Roll Cheesecake
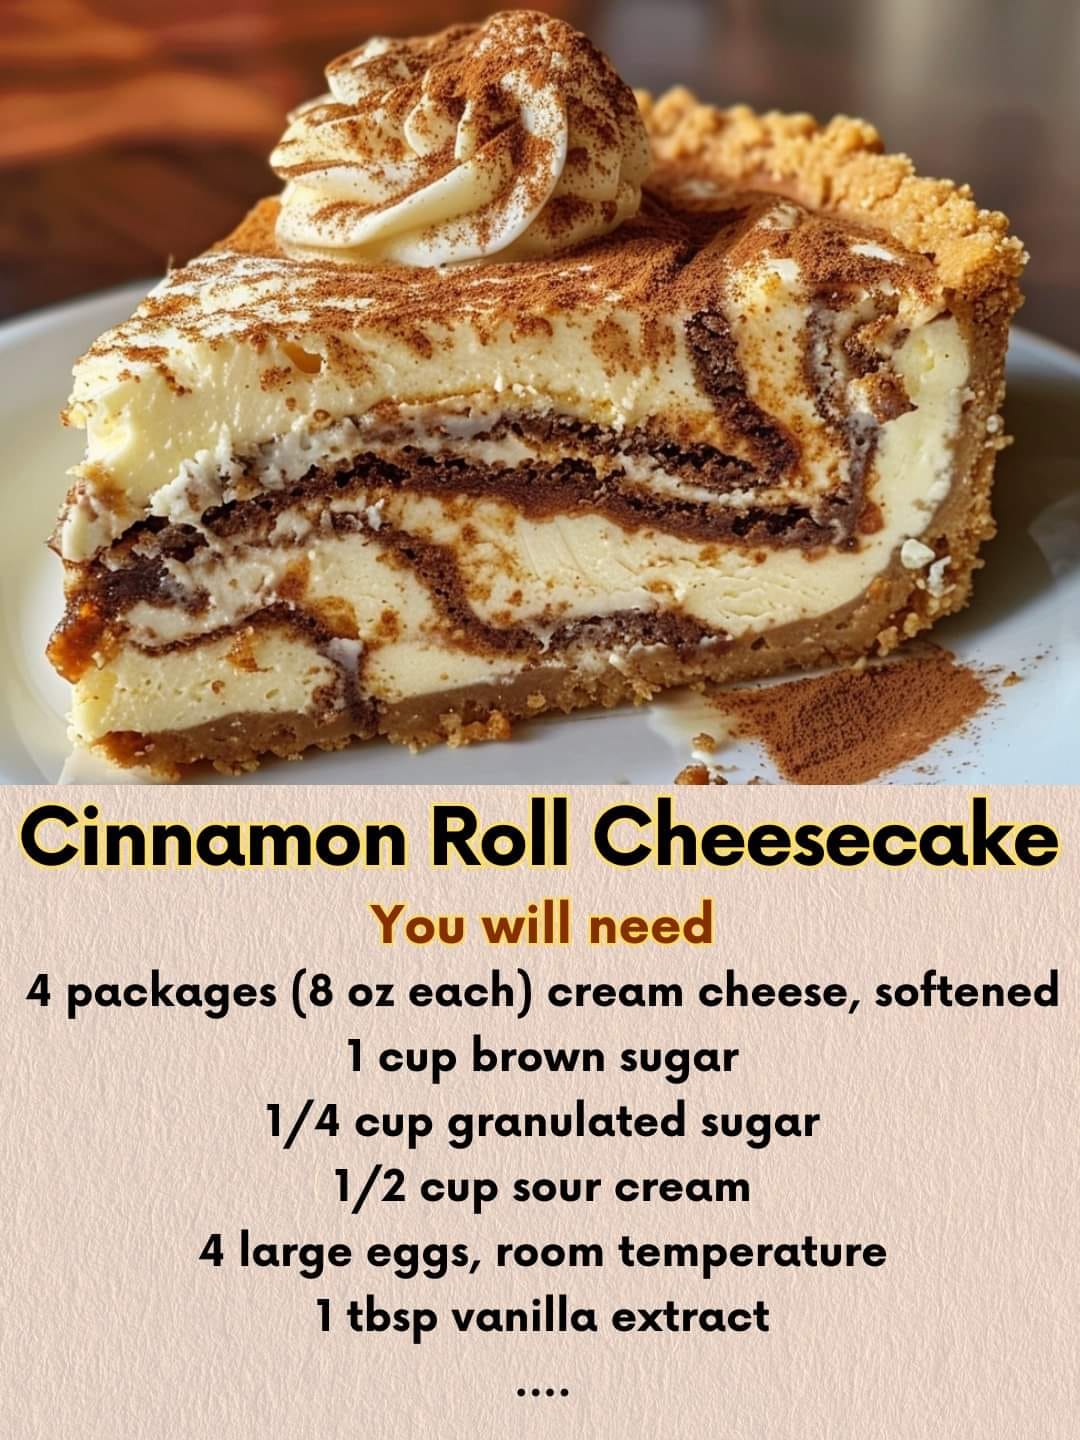
Cinnamon Roll Cheesecake is a luscious dessert that marries the smooth, creamy texture of cheesecake with the sweet, spicy flavors of cinnamon rolls. The cheesecake features a cinnamon-spiced graham cracker crust, a creamy cheesecake filling swirled with cinnamon sugar, and a drizzle of cream cheese icing. This dessert is perfect for those who love the comforting taste of cinnamon rolls and the indulgence of cheesecake.
Ingredients
For this recipe, you will need the following ingredients:
For the Cinnamon Graham Cracker Crust:
- Graham Crackers (1 1/2 cups / 150g, crushed): The base of the crust.
- Granulated Sugar (1/4 cup / 50g): Adds sweetness to the crust.
- Ground Cinnamon (1 teaspoon): Adds a warm, spicy flavor.
- Unsalted Butter (1/2 cup / 115g, melted): Binds the crust together.
For the Cheesecake Filling:
- Cream Cheese (24 ounces / 675g, softened): Adds richness and creaminess.
- Granulated Sugar (3/4 cup / 150g): Sweetens the filling.
- Sour Cream (1 cup / 240ml): Adds tanginess and smoothness.
- Vanilla Extract (2 teaspoons): Enhances the flavor.
- Eggs (3, large): Binds the filling together.
For the Cinnamon Swirl:
- Brown Sugar (1/3 cup / 70g): Adds sweetness and a rich molasses flavor.
- Ground Cinnamon (1 tablespoon): Provides the signature cinnamon roll flavor.
- Unsalted Butter (1/4 cup / 60g, melted): Helps create the swirl.
For the Cream Cheese Icing:
- Cream Cheese (4 ounces / 115g, softened): Adds richness and tanginess.
- Powdered Sugar (1 cup / 120g): Sweetens and thickens the icing.
- Vanilla Extract (1 teaspoon): Enhances the flavor.
- Milk (2-3 tablespoons): Thins the icing to the desired consistency.
Equipment You’ll Need
- Springform Pan (9-inch): For baking the cheesecake.
- Mixing Bowls: Various sizes for mixing ingredients.
- Electric Mixer: For beating the filling and icing.
- Spatula or Spoon: For mixing and spreading the filling.
- Food Processor or Rolling Pin: For crushing the graham crackers.
- Measuring Cups and Spoons: For accurate measurements.