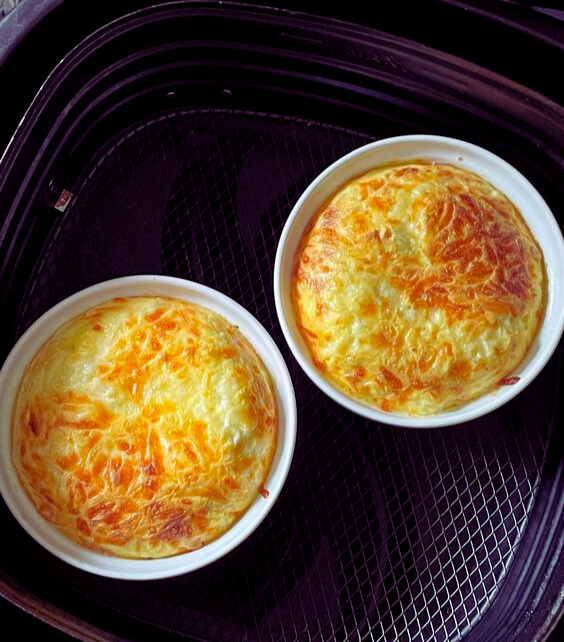
- Prepare the Crust:
- If using a ready-made crust, gently press it into your greased air fryer-safe pan, crimping the edges as needed. If it’s homemade dough, roll it out and fit it into the pan.
- Use a fork to prick some holes in the bottom of the crust to prevent it from bubbling up during cooking.
- Pre-Cook the Crust (Optional):
- For a crisper crust, pre-cook the empty crust in the air fryer at 320°F (160°C) for about 5-7 minutes. Remove and let cool slightly.
- Make the Filling:
- In a mixing bowl, whisk together the eggs, heavy cream, salt, pepper, and nutmeg if using. Stir in the cheese and your choice of fillings (ham, bacon, or vegetables).
- Assemble the Quiche:
- Pour the egg mixture into the pre-cooked crust, making sure the fillings are evenly distributed.
- Cook the Quiche:
- Place the pan in the air fryer basket.
- Set the air fryer to 320°F (160°C) and cook for about 20-25 minutes, or until the quiche is set and the crust is golden brown.
- Check Doneness:
- The quiche is done when the center is set and no longer jiggles. You can test this by inserting a knife in the center; it should come out clean.
- Serve:
- Let the quiche cool for a few minutes before removing it from the pan.
- Slice and serve warm. It can also be enjoyed cold for a snack or quick meal later.
Tips for Perfection:
- Don’t Overfill: Be careful not to overfill the crust with the egg mixture to avoid spilling during the transfer to the air fryer.
- Variety of Fillings: Customize the fillings based on your preference or what you have on hand. Quiche is very versatile and can be adapted to include various meats, cheeses, and vegetables.
- Crispy Crust: Pre-cooking the crust helps achieve a more traditional, crispy quiche crust, especially important in the moist environment of an air fryer.
Air fryer quiche is a straightforward, convenient dish that packs all the traditional flavors and textures of oven-baked quiche but in less time and with less fuss. Enjoy your meal!
