1. Make the Tart Crust:
- Preheat your oven to 350°F (175°C).
- In a food processor or mixing bowl, combine the flour, sugar, and butter. Pulse or rub the mixture together until it resembles breadcrumbs.
- Add the egg yolk and mix until combined. If the dough is too dry, add a tablespoon or two of cold water until it comes together into a dough.
- Turn the dough out onto a lightly floured surface and gently knead it into a ball. Wrap it in plastic wrap and refrigerate for 30 minutes.
- Roll out the chilled dough to about 1/8 inch thickness and use a cookie cutter or a glass to cut out circles large enough to fit your mini tart pans.
- Press the dough circles into the tart pans and trim any excess dough. Prick the bottoms of the tarts with a fork to prevent them from puffing up during baking.
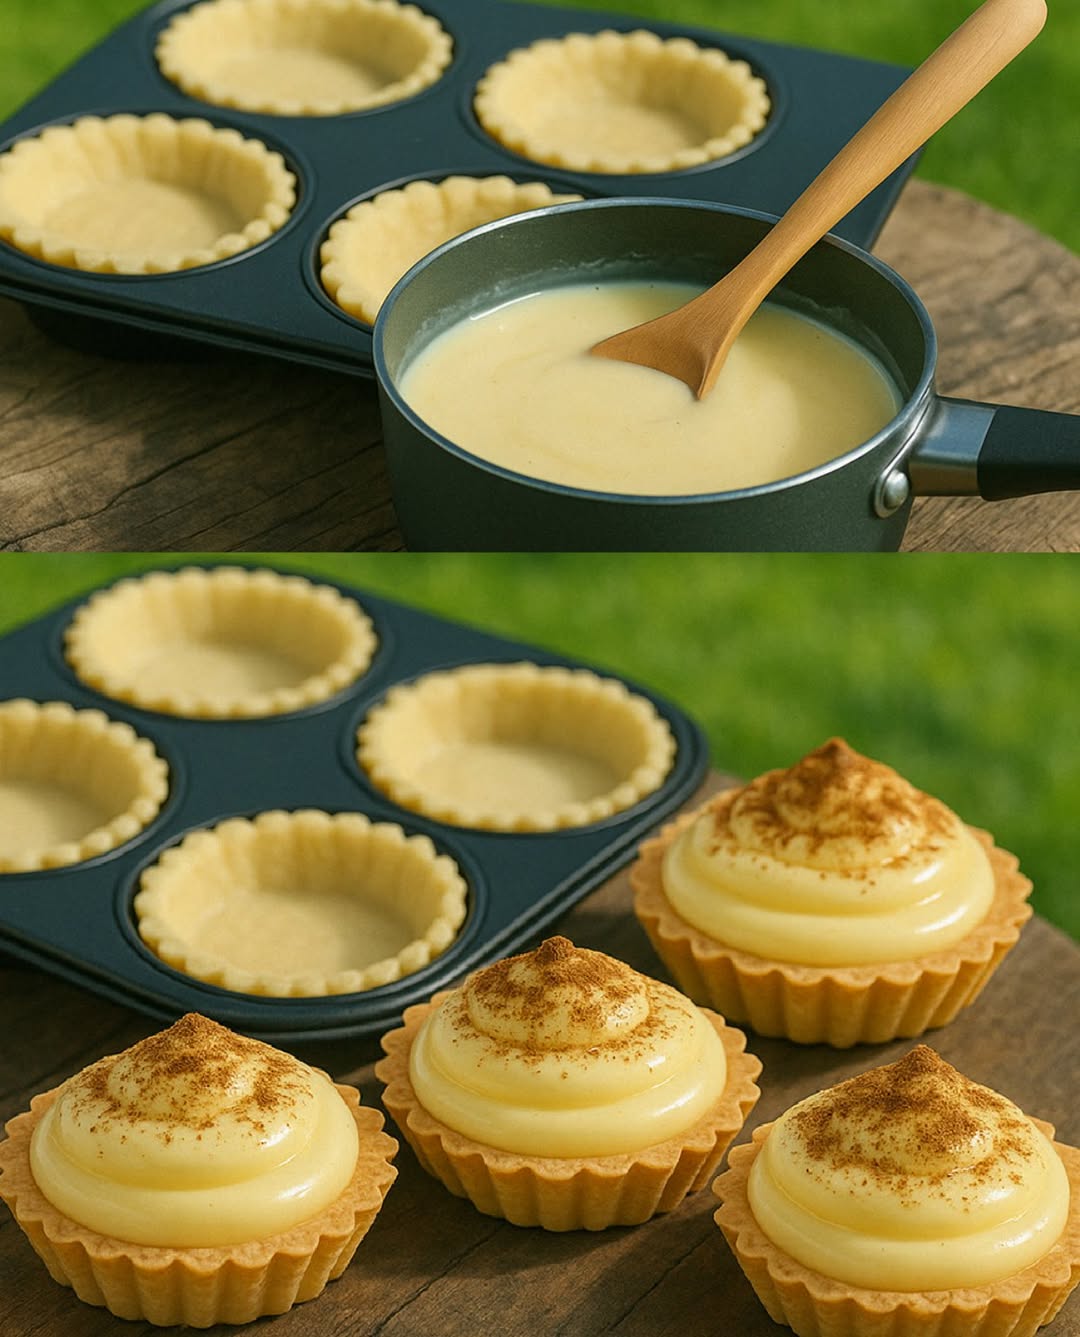
- Bake the tart crusts in the preheated oven for 10-12 minutes, or until lightly golden. Remove from the oven and set aside to cool.
2. Make the Milk Tart Filling:
- In a medium saucepan, heat the milk over medium heat until it is warm, but not boiling.
- In a separate bowl, whisk together the sugar, eggs, cornstarch, and salt until smooth.
- Gradually add the warm milk to the egg mixture, whisking constantly to avoid curdling. Once all the milk has been added, pour the mixture back into the saucepan.
- Cook the mixture over low to medium heat, stirring constantly until it thickens (about 5-7 minutes). Be patient and keep stirring to avoid lumps.
- Once thickened, remove the filling from the heat and stir in the vanilla extract, cinnamon, and butter. Continue to stir until the butter is fully melted and the filling is smooth.
3. Assemble the Mini Milk Tarts:
- Spoon the thickened milk tart filling into the cooled tart crusts, filling each one just below the rim.
- Smooth the tops of the tarts with the back of a spoon.
4. Chill and Serve:
- Let the mini milk tarts cool to room temperature, then place them in the refrigerator to chill for at least 2 hours, or until the filling has fully set.
- Just before serving, sprinkle a little extra ground cinnamon over the tops for a classic milk tart look.
Tips:
- Make ahead: These mini tarts can be made a day ahead and stored in the refrigerator for the best results.
- Custom Crust: If you prefer, you can substitute the traditional buttery shortcrust with a digestive biscuit crust for added texture and flavor.
These Mini Milk Tarts are the perfect bite-sized treat to share with friends and family, and they capture the deliciously creamy, cinnamon-spiced essence of the classic South African milk tart. Enjoy!