- Activate the Yeast: Begin by activating the yeast. In a bowl, combine warm milk and sugar, stirring until the sugar dissolves. Sprinkle the yeast over the mixture and let it sit for 5-10 minutes until it becomes frothy.
- Prepare the Dough: In a large mixing bowl, whisk together the flour, salt, and nutmeg. Create a well in the center and add the activated yeast mixture, softened butter, and eggs. Mix until a soft dough forms.
- Knead and Rise: Transfer the dough to a floured surface and knead for about 5-7 minutes until it becomes smooth and elastic. Place the dough in a lightly oiled bowl, cover with a damp cloth, and let it rise in a warm place for 1 to 1.5 hours or until doubled in size.
- Roll and Cut: Roll out the risen dough on a floured surface to about 1/2-inch thickness. Using a doughnut cutter or round cookie cutters, cut out doughnut shapes and place them on a floured surface to rest.
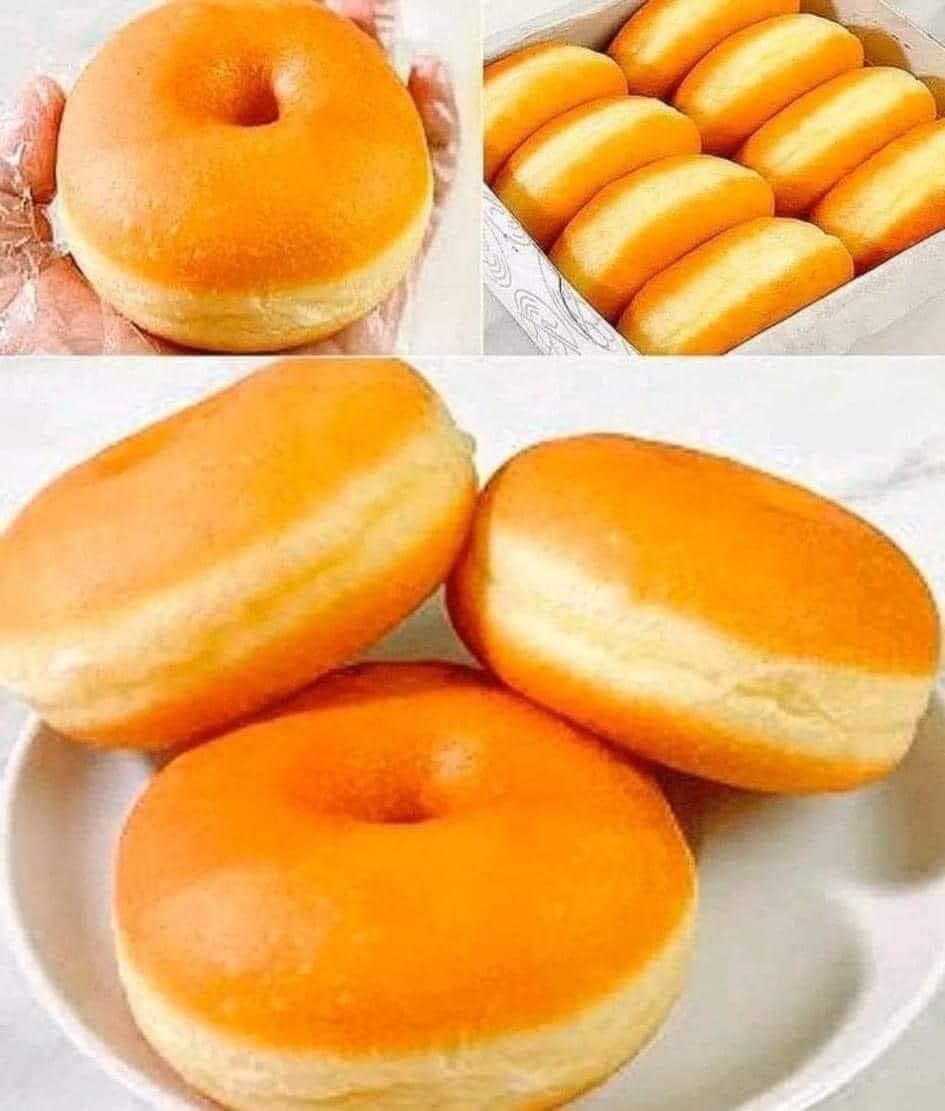
- Fry the Doughnuts: Heat vegetable oil in a deep fryer or large, deep pan to 350°F (175°C). Carefully add the doughnuts, frying for about 1-2 minutes per side or until golden brown. Remove with a slotted spoon and place on paper towels to absorb excess oil.
- Prepare the Glaze: In a separate bowl, whisk together powdered sugar, milk, and vanilla extract until smooth. Adjust the consistency by adding more sugar or milk if needed.
- Glaze the Doughnuts: While the doughnuts are still warm, dip each one into the glaze, ensuring an even coating. Place them on a wire rack to allow excess glaze to drip off.
- Indulge: Allow the glaze to set for a few minutes before sinking your teeth into the freshly made, utterly delightful homemade glazed doughnuts.
Conclusion:
Making homemade glazed doughnuts is not just a culinary endeavor; it’s an experience that brings joy to both the baker and those lucky enough to enjoy the final result. With a pillowy soft interior and a sweet, glossy exterior, these doughnuts are a testament to the magic that happens in your kitchen. So, put on your apron, gather your ingredients, and embark on this delightful journey to create a treat that will undoubtedly become a cherished part of your culinary repertoire.