1. Prepare the Pie Crust:
- In a food processor, combine the flour, sugar (if using), and salt. Add the cold, cubed butter and pulse until the mixture resembles coarse crumbs.
- Gradually add the ice water, one tablespoon at a time, pulsing until the dough begins to form. You may need a little more water depending on the humidity.
- Turn the dough out onto a lightly floured surface and knead it gently to bring it together. Shape it into a disc, wrap it in plastic, and refrigerate for at least 30 minutes.
- Preheat your oven to 375°F (190°C). Roll out the dough to fit a 9-inch pie dish. Line the dish with the rolled dough and trim the edges.
- Use a fork to prick the bottom of the crust, then bake for 10-12 minutes or until golden brown. Let the crust cool while you prepare the filling.
2. Make the Chocolate Filling:
- In a medium saucepan, whisk together the sugar, cocoa powder, flour, and salt.
- Gradually add the milk, whisking constantly to prevent lumps. Cook the mixture over medium heat, stirring frequently, until it begins to thicken and comes to a simmer (about 5-7 minutes).
- Once the mixture is thickened, take it off the heat. Gradually pour a small amount of the hot mixture into the beaten egg yolks, whisking constantly to temper the eggs.
- Slowly whisk the egg mixture back into the hot chocolate mixture. Return the saucepan to the heat and cook for another 2-3 minutes, stirring constantly, until the mixture is thick and smooth.
- Remove from heat and stir in the butter, vanilla extract, and chocolate chips (if using), until the filling is smooth and glossy.
3. Assemble the Pie:
- Pour the chocolate filling into the cooled pie crust, smoothing the top with a spatula.
- Refrigerate the pie for at least 3 hours, or until the filling is set and firm.
4. Make the Whipped Cream Topping:
- In a chilled mixing bowl, beat the heavy cream, powdered sugar, and vanilla extract until soft peaks form.
- Once the pie is set, top it with the whipped cream, spreading it evenly over the surface.
5. Serve:
- Slice the pie and serve chilled, garnished with extra chocolate shavings or a drizzle of chocolate syrup if desired.
Tips:
- Crust Variations: If you’re short on time, you can use a pre-made pie crust, but homemade crust adds a nice touch!
- Storage: Store the pie in the refrigerator for up to 3 days.
- Extra Chocolate: For a richer pie, add more chocolate chips or use a mix of milk and dark chocolate.
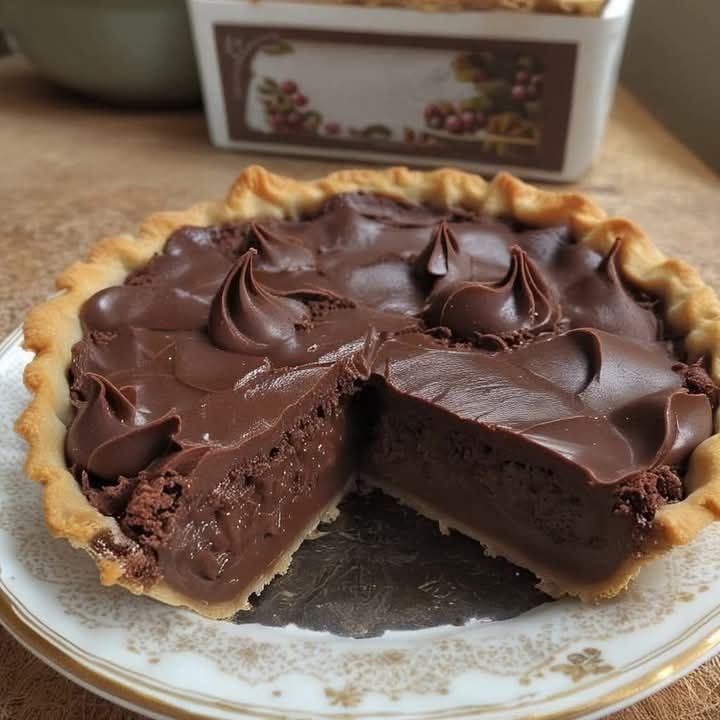
This Old-Fashioned Chocolate Pie is the perfect dessert for anyone who loves the classic, indulgent combination of chocolate and a buttery crust. It’s sure to satisfy any sweet tooth! Enjoy!