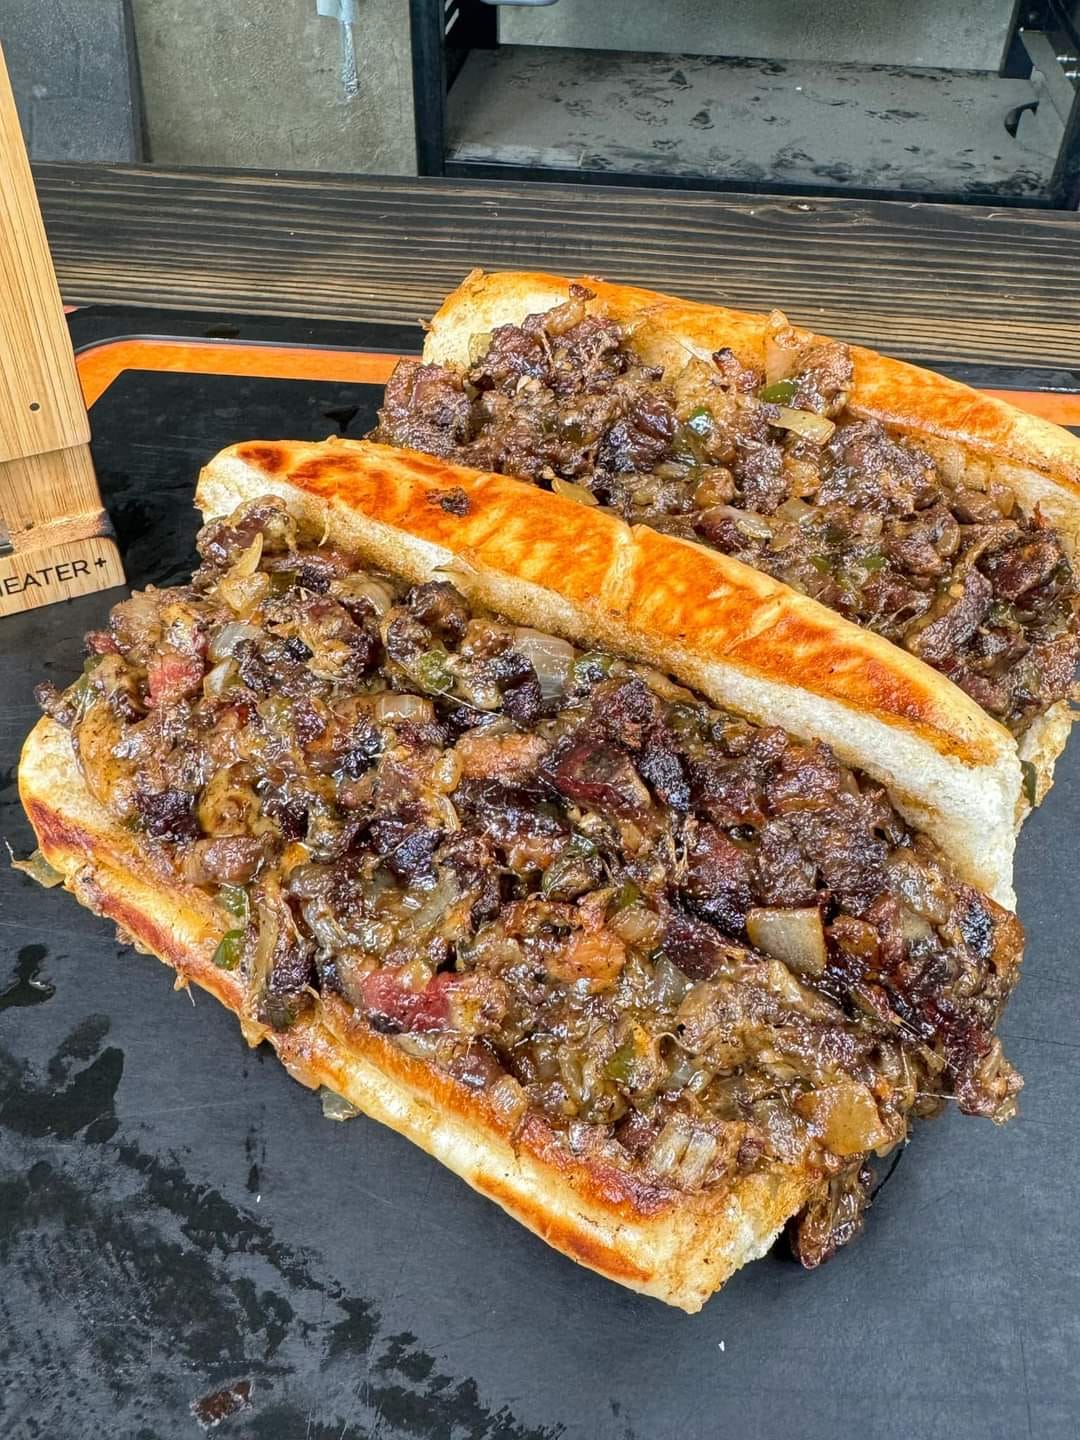
Step 1: Prepare the Brisket
- Season the Brisket
In a small bowl, mix together the salt, black pepper, smoked paprika, garlic powder, onion powder, and cayenne pepper. Rub this seasoning blend all over the brisket, ensuring an even coating. This step is crucial for building flavor. - Sear the Brisket
In a large skillet or Dutch oven, heat the olive oil over medium-high heat. Once hot, add the brisket and sear it for about 4-5 minutes on each side until it develops a nice brown crust. This caramelization adds depth to the flavor. - Slow Cook the Brisket
Transfer the seared brisket to a slow cooker. Pour in the beef broth and cover with the lid. Cook on low for 8-10 hours or until the brisket is fork-tender. Alternatively, you can cook it in the oven at 300°F (150°C) in a covered roasting pan for the same amount of time. The slow cooking process allows the brisket to absorb all the flavors, making it incredibly juicy.
Step 2: Slice the Brisket
- Rest the Brisket
Once cooked, remove the brisket from the slow cooker and let it rest for about 15-20 minutes. This helps the juices redistribute, keeping the meat tender and flavorful. - Slice Thinly
Using a sharp knife, slice the brisket against the grain into thin strips. This technique is essential for ensuring each bite is tender.
Step 3: Caramelize the Onions
- Cook the Onions
In the same skillet you used to sear the brisket, melt a tablespoon of butter over medium heat. Add the thinly sliced onions and a pinch of salt. Cook, stirring occasionally, until the onions are golden brown and caramelized, about 15-20 minutes. If you’re using bell peppers, add them halfway through the cooking time for additional sweetness and texture. - Add Seasoning
Once caramelized, stir in the Worcestershire sauce and season with salt and pepper to taste. This adds an umami depth that complements the brisket beautifully.
Step 4: Assemble the Cheesesteaks
- Toast the Rolls
Preheat your oven to 350°F (175°C). Slice the hoagie rolls in half without cutting all the way through. Spread a little butter on the insides and place them on a baking sheet. Toast in the oven for about 5-7 minutes until lightly golden and crispy. - Layer the Ingredients
Once the rolls are toasted, start layering. Begin with a generous portion of sliced brisket, followed by a handful of the caramelized onions and peppers. Finish off with a layer of provolone cheese. You can use other cheeses like cheddar or American, depending on your preference. - Melt the Cheese
Return the assembled cheesesteaks to the oven and bake for an additional 5-10 minutes, or until the cheese is melted and bubbly. If you prefer a gooey cheese texture, you can broil them for the last minute, keeping a close eye to prevent burning.
Step 5: Serve and Enjoy!
- Garnish and Serve
Remove the cheesesteaks from the oven and let them cool for a minute. If desired, top with pickled jalapeños or a drizzle of hot sauce. Garnish with fresh parsley or cilantro for a burst of color. - Dig In
Serve immediately while warm and melty! Pair these delicious brisket cheesesteaks with a side of crispy fries, a light salad, or your favorite chips.
Tips for the Perfect Brisket Cheesesteaks
- Make-Ahead Option: The brisket can be prepared in advance and stored in the refrigerator for up to 3 days or frozen for up to 3 months. Reheat gently before assembling your sandwiches.
- Customize Your Toppings: Feel free to experiment with toppings like sautéed mushrooms, jalapeños, or different cheese varieties. The beauty of this recipe lies in its versatility!
- Serving Size: This recipe serves about 8, making it perfect for family gatherings or game day parties.
Conclusion
Brisket cheesesteaks are not just a meal; they’re an experience! With each bite, you’ll enjoy the rich, savory flavors of tender brisket, gooey cheese, and sweet caramelized onions. Perfect for any occasion, this recipe is bound to become a favorite in your household. Enjoy your culinary adventure, and don’t forget to share the love by inviting friends and family to join you in savoring this delightful dish!
By diving into this detailed recipe, you not only enhance your cooking skills but also create memories around the dinner table. Happy cooking!
