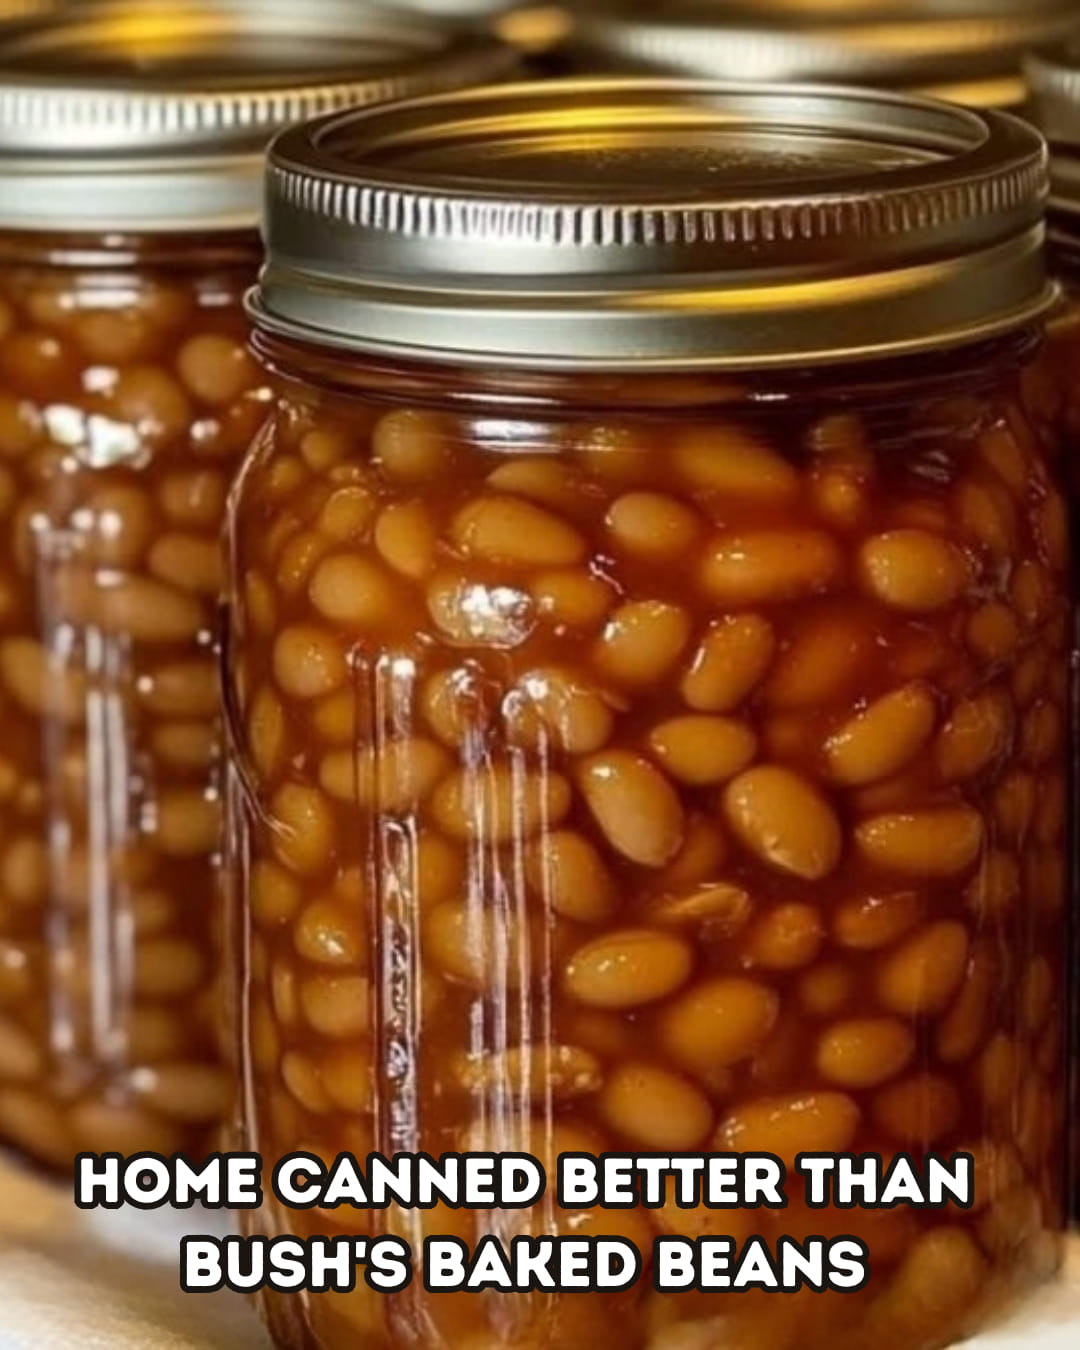
Step 1: Prepare the Beans
- Sort the Beans: Pick through your dried beans to remove any stones or debris. Rinse them thoroughly under cold water.
- Soak the Beans: You have two options for soaking the beans:
- Overnight Soak: Place the beans in a large pot and cover with 12-14 cups of water. Let them soak overnight (at least 8 hours). Drain and rinse before proceeding.
- Quick Soak: If you’re short on time, bring the beans to a boil in the same large pot with water. Boil for 2 minutes, then remove from heat, cover, and let soak for 1 hour. Drain and rinse the beans.
Step 2: Cook the Beans
- Partially Cook the Beans: After soaking, place the beans in a large pot and cover them with fresh water. Bring to a boil, then reduce the heat and simmer for 30 minutes. This helps soften the beans, but you don’t want them fully cooked since they’ll cook more during the canning process.
- Drain the Beans: After simmering, drain the beans and set them aside while you prepare the jars and pressure canner.
Step 3: Prepare Jars and Pressure Canner
- Sterilize the Jars: Wash your canning jars, lids, and rings in hot soapy water. Sterilize them by placing the jars in boiling water for 10 minutes. Keep the jars hot until ready to use.
- Prepare the Pressure Canner: Follow the manufacturer’s instructions for setting up your pressure canner. Fill it with the recommended amount of water and begin heating the water on low heat while you fill your jars.
Step 4: Fill the Jars
- Pack the Beans: Using a funnel, pack the partially cooked beans into the hot, sterilized jars. Leave 1 inch of headspace at the top.
- Add Salt (Optional): If desired, add 1 teaspoon of canning salt per quart jar (or ½ teaspoon for pint jars) for flavor. This step is optional but helps preserve the flavor during storage.
- Add Fresh Water: Pour boiling fresh water over the beans, making sure to cover the beans completely. Leave 1 inch of headspace at the top.
- Remove Air Bubbles: Use a bubble remover or a butter knife to gently remove any trapped air bubbles. Adjust the water level if needed to maintain the 1-inch headspace.
- Wipe and Seal the Jars: Wipe the rims of the jars with a clean, damp cloth to ensure a proper seal. Place the lids on top and screw on the rings until just fingertip-tight (don’t overtighten).
Step 5: Process the Jars in a Pressure Canner
- Place the Jars in the Canner: Using a jar lifter, carefully place the jars into the pressure canner.
- Seal the Canner: Follow the manufacturer’s instructions for sealing the pressure canner.
- Process the Beans: Process the jars at 10-11 PSI (pounds per square inch) for the following times:
- Quart Jars: Process for 90 minutes.
- Pint Jars: Process for 75 minutes.
- For altitudes above 1,000 feet, increase the pressure by 1 PSI for every additional 2,000 feet.
Step 6: Cool and Store
- Cool the Jars: Once the processing time is complete, turn off the heat and allow the pressure to return to zero naturally. Do not rush this process—wait until the canner is fully depressurized before removing the lid.
- Remove the Jars: Using the jar lifter, carefully remove the jars from the canner and place them on a towel-lined surface. Allow the jars to cool undisturbed for 12-24 hours.
- Check the Seals: Once the jars are completely cool, check that the lids have sealed properly. The lids should be slightly concave and should not pop when pressed. If any jars haven’t sealed, refrigerate them and use the beans within a week.
- Store the Beans: Label the jars with the date and store them in a cool, dark place. Properly canned beans will last for 12-18 months.
Tips for Success:
- Choose Your Beans: You can can different types of beans, but keep in mind that smaller beans (like black beans and navy beans) will cook faster than larger ones (like kidney beans or chickpeas).
- Don’t Overcook the Beans: The beans should be only partially cooked before canning, as they will continue to soften during the pressure canning process.
- Adjust for Altitude: It’s essential to adjust the canning pressure for your altitude to ensure the beans are safely preserved.
- Use Clean Equipment: Proper sanitation is key to successful canning. Ensure your jars, lids, and equipment are thoroughly cleaned and sterilized before use.
Serving Suggestions:
- Salads: Use your homemade canned beans in salads, like black bean salad or a three-bean salad, for a quick and healthy meal.
- Soups and Stews: Add the beans to soups, stews, or chilis for a hearty protein boost.
- Tacos or Burritos: Include them in tacos, burritos, or quesadillas for an easy Mexican-inspired dinner.
Final Thoughts:
Homemade canned beans are a versatile pantry staple that can be used in a variety of dishes. By making them yourself, you control the quality and ingredients, ensuring no unnecessary additives. Plus, you’ll have the satisfaction of knowing you’ve preserved food for future meals!
