- Melt the Butter and Cream Cheese:
In a heatproof bowl over a pot of simmering water (double boiler method), melt the cream cheese, butter, and milk together. Stir until smooth and combined. Remove from heat and allow the mixture to cool slightly. - Add Egg Yolks:
Once the cream cheese mixture has cooled slightly, whisk in the egg yolks one at a time. Mix until smooth and creamy. - Add Vanilla and Lemon:
Stir in the vanilla extract and lemon juice (if using) for a hint of citrus flavor. - Sift in Dry Ingredients:
Sift the cake flour and cornstarch into the cream cheese mixture. Whisk until the batter is smooth and free of lumps.
Step 3: Whip the Egg Whites
- Beat Egg Whites:
In a clean, dry bowl, use an electric mixer to beat the egg whites with a pinch of salt until frothy. - Add Sugar Gradually:
Gradually add the ¼ cup of sugar while continuing to beat the egg whites. Beat until soft peaks form (the peaks should curl over when the beaters are lifted).
Step 4: Fold the Egg Whites into the Batter
- Lighten the Batter:
Gently fold one-third of the beaten egg whites into the cream cheese mixture to lighten the batter. - Fold Gently:
Add the remaining egg whites in two more batches, folding gently after each addition. Be careful not to overmix, as you want to retain as much air in the batter as possible.
Step 5: Prepare the Water Bath
- Pour Batter into Pan:
Pour the cheesecake batter into the prepared cake pan. Tap the pan gently on the counter to remove any large air bubbles. - Set Up the Water Bath:
Place the cake pan in a larger, deep baking dish. Pour boiling water into the larger dish, filling it until the water reaches halfway up the sides of the cake pan. This will create a steam effect, helping the cheesecake bake evenly.
Step 6: Bake the Cheesecake
- Bake:
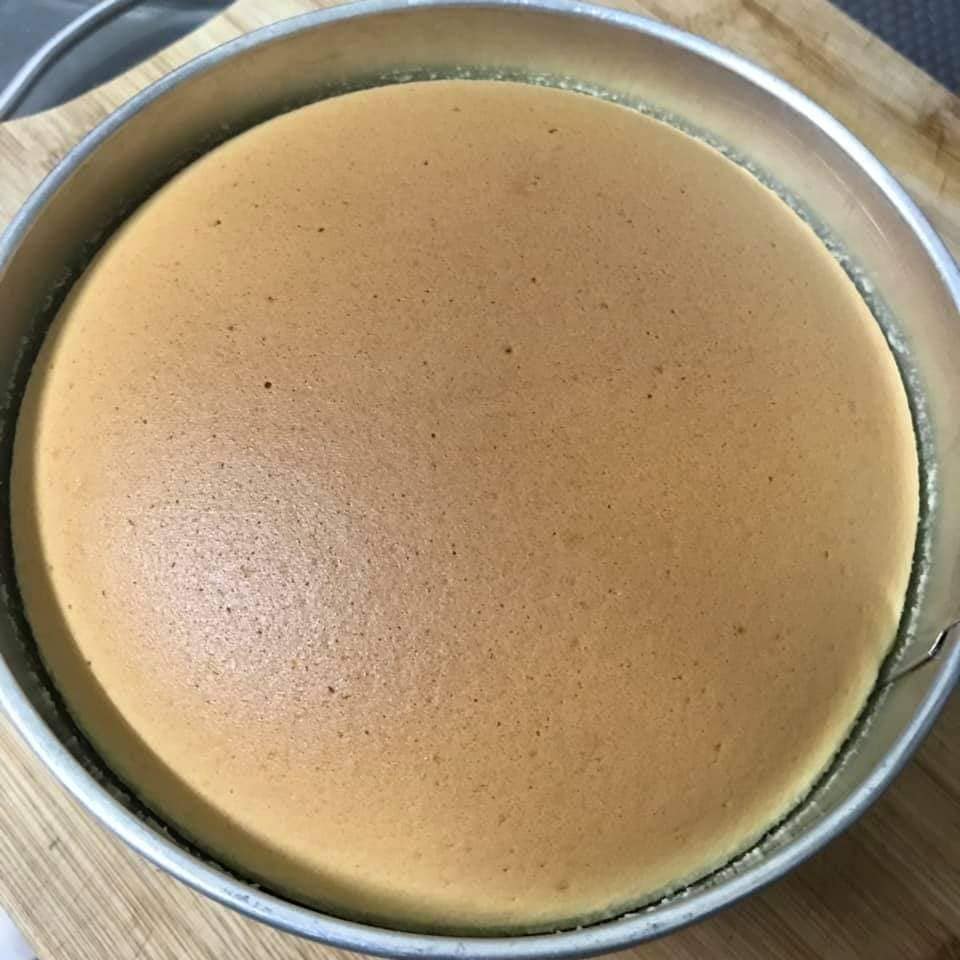
Carefully transfer the baking dish to the oven and bake for 60-70 minutes at 320°F (160°C). The cheesecake is done when the top is golden brown and a toothpick inserted into the center comes out clean. - Cool Gradually:
Turn off the oven and leave the cheesecake inside with the oven door slightly ajar for 10-15 minutes. This gradual cooling prevents the cheesecake from collapsing. Remove from the oven and cool completely on a wire rack.
Step 7: Serve and Enjoy
- Chill:
Once cooled to room temperature, refrigerate the cheesecake for at least 2 hours (or overnight) for the best texture. - Dust with Powdered Sugar:
Before serving, dust the top of the cheesecake with powdered sugar for a beautiful finish. - Slice and Serve:
Slice the cheesecake with a sharp knife, wiping the blade clean between cuts for smooth slices. Enjoy the light, airy texture and the delicate sweetness of this Japanese classic.
Final Notes: Tips and Variations
- Adding Flavor:
For additional flavor, you can swirl in raspberry or blueberry jam into the batter before baking for a fruity twist. - Storage:
Store the cheesecake in the refrigerator for up to 4 days. You can also freeze individual slices wrapped tightly in plastic wrap for longer storage (up to 1 month). - Whipped Cream:
For an extra indulgent touch, serve each slice with a dollop of freshly whipped cream or a side of fresh berries.
Conclusion:
Japanese Cotton Cheesecake is a delightful dessert that impresses with its elegant, fluffy texture and delicate sweetness. Whether you’re serving it for a special occasion or enjoying it as a treat for yourself, this cheesecake’s light-as-air texture will make it an unforgettable favorite.
