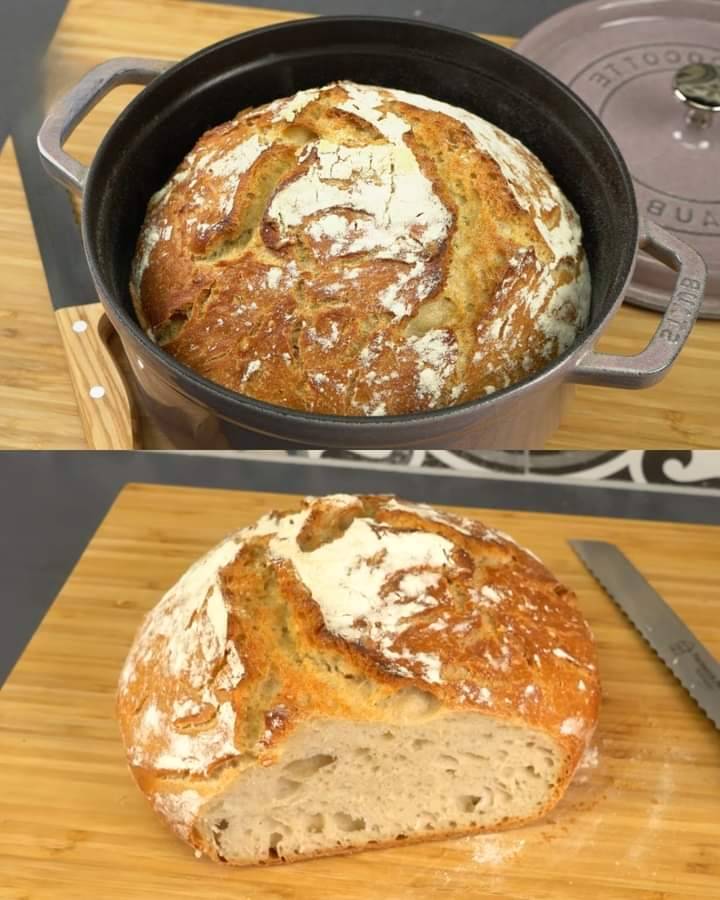
Step 1: Preheat Your Oven
- Preheat your oven to 425°F (220°C). Line a baking sheet with parchment paper or lightly grease it to prevent the bread from sticking.
Step 2: Mix the Dry Ingredients
- In a large mixing bowl, combine the flour, baking powder, salt, and sugar (if using). Stir everything together until evenly mixed.
Step 3: Add Water and Olive Oil
- Make a well in the center of the dry ingredients and add the water and olive oil.
- Stir the mixture together with a spoon or your hands until a rough dough forms. It should be slightly sticky but still hold its shape.
Step 4: Shape the Dough
- Dust your hands with a little flour and gently shape the dough into a round or oval loaf. Transfer it to the prepared baking sheet.
- Use a knife to make a few shallow slashes on top of the dough—this helps the bread expand as it bakes and gives it a rustic look.
Step 5: Add Extra Crunch
- For an extra-crunchy crust, lightly brush the top of the dough with olive oil. This step is optional but adds a beautiful golden color and a satisfying crunch.
Step 6: Bake the Bread
- Bake in the preheated oven for 25–30 minutes, or until the bread is golden brown and sounds hollow when tapped on the bottom.
- If you like an even crunchier crust, let it bake for an additional 5 minutes.
Step 7: Cool and Enjoy
- Once baked, remove the bread from the oven and let it cool on a wire rack for about 10 minutes before slicing. This helps the crust stay crisp and the inside settle.
Tips for Success:
- Don’t overmix: Once the dough comes together, avoid overmixing as this can make the bread dense.
- Customize your loaf: Add in herbs like rosemary, thyme, or oregano for extra flavor, or sprinkle the top with coarse sea salt for added crunch.
- For a softer inside: If you prefer a softer, more tender crumb, add a tablespoon of yogurt or milk to the dough along with the water.
Variations to Try:
- Garlic and Herb Bread: Add 1 tsp of garlic powder and 1 tbsp of chopped fresh herbs (like rosemary or thyme) to the dough for a fragrant twist.
- Cheese Bread: Mix in ½ cup of shredded cheese (such as cheddar or Parmesan) into the dough for a cheesy, savory loaf.
- Whole Wheat Version: Swap half of the all-purpose flour for whole wheat flour for a heartier loaf.
Storing and Serving Suggestions:
- Storage: This bread is best eaten fresh but can be stored in an airtight container at room temperature for up to 2 days. For longer storage, freeze the bread in a zip-top bag and reheat in the oven before serving.
- Serving: This quick bread pairs wonderfully with soups, salads, or as a side to any main dish. It also makes great toast for breakfast!
Frequently Asked Questions
Q: Can I use self-rising flour instead of all-purpose flour?
A: Yes! If using self-rising flour, omit the baking powder and salt, as self-rising flour already contains these ingredients.
Q: Can I make this bread gluten-free?
A: Absolutely! Just substitute the all-purpose flour with a gluten-free flour blend. Be sure it’s one designed for baking to ensure the best texture.
Q: Can I add seeds or nuts to the dough?
A: Yes, you can mix in sesame seeds, sunflower seeds, or chopped nuts for added texture and flavor.
This Quick and Crunchy Bread is the perfect solution when you need fresh bread fast. With its beautifully crispy crust and soft, flavorful crumb, you’ll be amazed at how simple and satisfying it is to make. Whether you’re serving it with dinner, using it for sandwiches, or just slathering it with butter straight from the oven, this recipe is bound to become a staple in your kitchen!
