1. Heat the Milk:
Pour the milk into a large pot and slowly heat it over medium heat, stirring occasionally to prevent scorching. Use a thermometer to monitor the temperature and aim for about 185°F (85°C). This is just below boiling point.
2. Add the Acid:
Once the milk reaches 185°F, remove the pot from heat. Stir in the vinegar or lemon juice gradually while gently stirring. You will notice the milk curdling almost immediately, separating into curds (solid) and whey (liquid). Let the mixture sit for about 10-15 minutes to fully curdle.
3. Strain the Curds:
Place a strainer lined with cheesecloth or a clean kitchen towel over a large bowl. Carefully pour the curdled milk into the strainer to separate the curds from the whey. Let the whey drain off for about 5-10 minutes.
4. Season and Press the Curds:
Once most of the whey has drained, sprinkle the curds with salt and any other flavorings (herbs, garlic, etc.) you like. Gently mix the seasonings into the curds.
To shape your cheese block, gather the edges of the cheesecloth and press the curds into a ball or block shape. If you have a cheese mold, place the curds inside and press them down with a weight (like a can or heavy object) to compact the cheese.
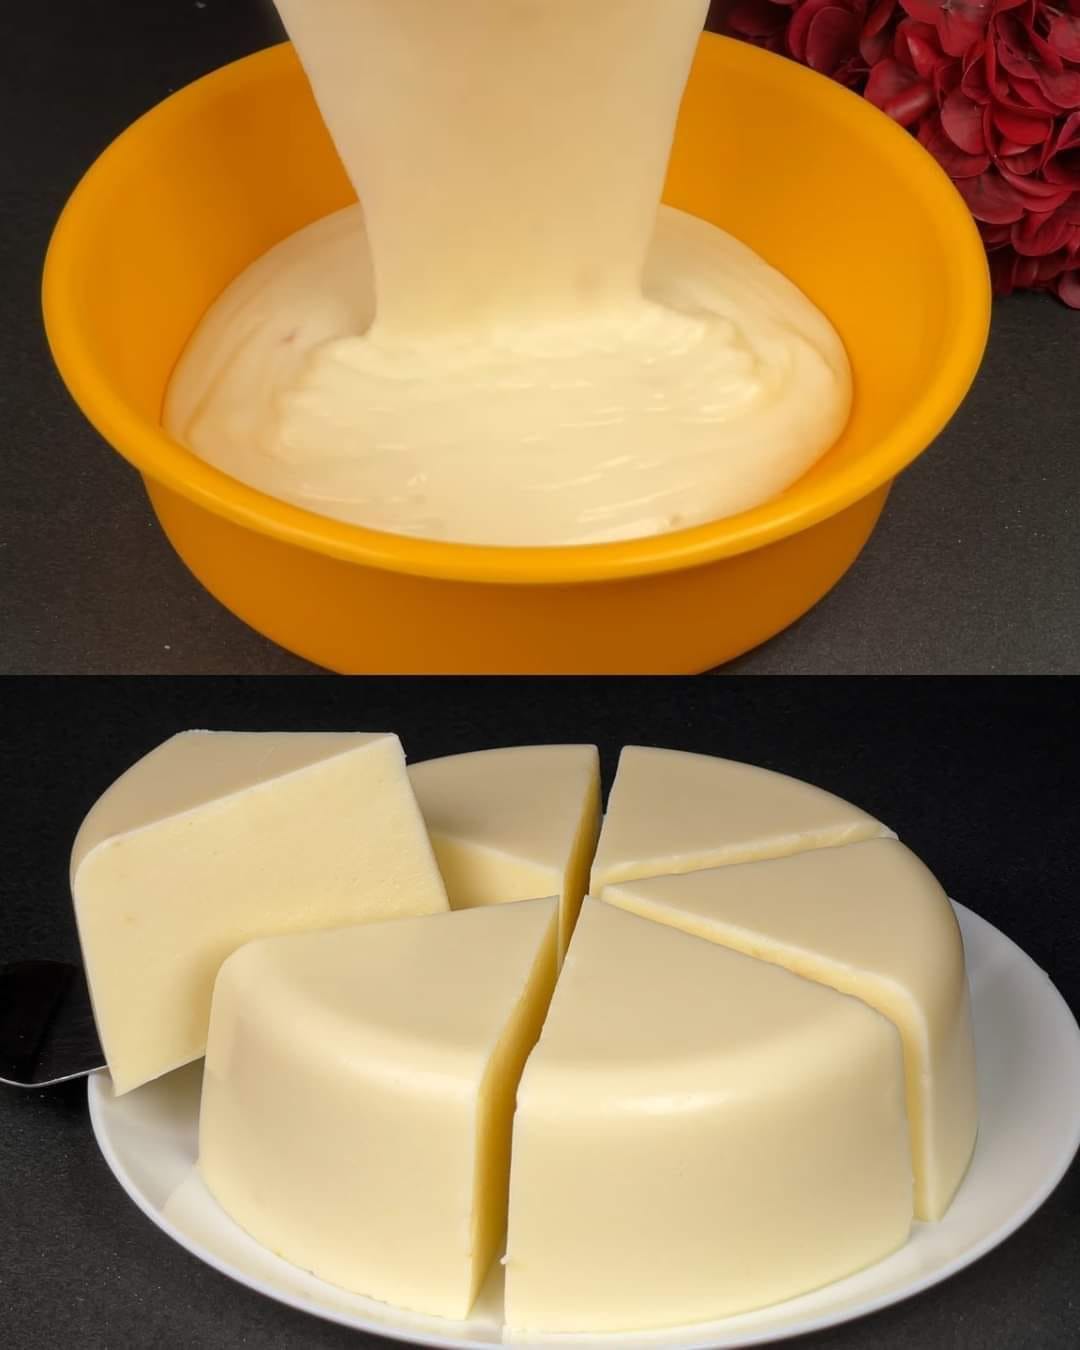
5. Let the Cheese Set:
Leave the pressed cheese to sit for 1-2 hours at room temperature. If you prefer a firmer texture, you can place the cheese in the fridge with the weight still on for an additional few hours or overnight.
6. Unwrap and Enjoy:
Once the cheese has set and firmed up to your liking, unwrap it from the cheesecloth. Slice or cube it and enjoy fresh, homemade cheese! Store in the fridge, where it will last up to a week.
Optional Add-ins for Extra Flavor:
- Herb Cheese: Add chopped fresh herbs like basil, thyme, or parsley.
- Garlic Cheese: Mix in finely minced garlic for a savory twist.
- Spicy Cheese: Add chili flakes or ground pepper for a kick of heat.
This homemade cheese block is perfect for slicing onto sandwiches, melting into sauces, or enjoying as part of a cheese platter. With this easy-to-follow recipe, you can make a delicious and customizable cheese block at home!