Step 1: Activate the Yeast
- Mix the Yeast: In a small bowl, combine the warm water, sugar, and yeast. Stir gently and let it sit for 5-10 minutes until the mixture becomes frothy. This means the yeast is activated and ready to go.
Step 2: Prepare the Dough
- Combine Dry Ingredients: In a large mixing bowl, combine 3 1/2 cups of flour and salt. Make a well in the center.
- Add Wet Ingredients: Pour the activated yeast mixture and the melted butter into the flour mixture.
- Form the Dough: Stir until a soft dough forms. If the dough is too sticky, gradually add the remaining 1/2 cup of flour, one tablespoon at a time, until the dough begins to pull away from the sides of the bowl.
Step 3: Knead the Dough
- Knead: Turn the dough onto a lightly floured surface. Knead the dough for about 8-10 minutes until it becomes smooth and elastic. Add a bit more flour if necessary to keep it from sticking, but be careful not to add too much.
- First Rise: Shape the dough into a ball and place it in a lightly oiled bowl, turning it once to coat. Cover with a clean kitchen towel and let it rise in a warm place for about 1 to 1 1/2 hours, or until it doubles in size.
Step 4: Shape the Bread
- Punch Down the Dough: Once the dough has doubled in size, punch it down to release the air.
- Shape the Loaf: Turn the dough out onto a lightly floured surface again. Roll it into a rectangle, then tightly roll it up from the short end to form a loaf. Pinch the seams to seal.
- Second Rise: Place the shaped loaf seam-side down into a greased 9×5-inch loaf pan. Cover and let it rise again for 30-45 minutes until it’s about 1 inch above the edge of the pan.
Step 5: Bake the Bread
- Preheat the Oven: While the dough is rising for the second time, preheat your oven to 375°F (190°C).
- Brush with Milk: Just before baking, brush the top of the loaf with milk to give it a soft, golden-brown crust.
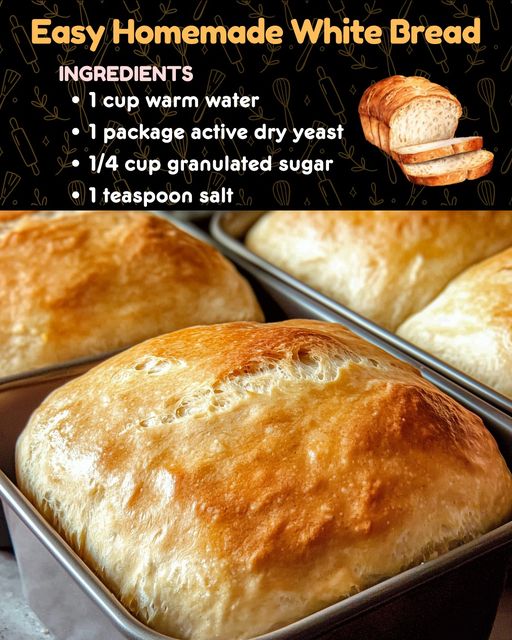
- Bake: Bake the bread for 30-35 minutes, or until the top is golden brown and it sounds hollow when tapped. The internal temperature should be around 190°F (88°C).
Step 6: Cool & Serve
- Cool the Bread: Remove the loaf from the oven and immediately brush the top with melted butter to keep the crust soft and give it a lovely sheen. Allow the bread to cool in the pan for 10 minutes before transferring it to a wire rack to cool completely.
- Slice & Enjoy: Once the bread has cooled, slice it up and serve. It’s perfect with butter, jam, or your favorite sandwich fillings!
Tips for Perfect White Bread
- Yeast Activation: Make sure the water is warm, not hot. Water that’s too hot will kill the yeast, while water that’s too cold won’t activate it properly.
- Kneading: Proper kneading develops the gluten, giving your bread its structure and chewy texture. Don’t skip this step!
- Check for Doneness: If you’re unsure if the bread is fully baked, insert a thermometer into the center. If it reads 190°F (88°C), your bread is ready.
Why This Recipe Will Keep Your Visitors Hooked
- Simple Ingredients: Made with pantry staples, this recipe is accessible to everyone.
- Soft & Fluffy Texture: The bread comes out light, airy, and with just the right amount of chew.
- Endless Uses: Whether for sandwiches, toast, or alongside soups, this bread is as versatile as it is delicious.
- Detailed Steps: Each part of the process is broken down, giving visitors confidence to stay and try the recipe themselves.
Conclusion
This Easy Homemade White Bread recipe is a must-try for anyone looking to bake a delicious loaf from scratch. The simple ingredients and clear steps make it perfect for beginners, while the satisfying result will impress even seasoned bakers. From the rich aroma of baking bread to the soft, pillowy slices ready to be devoured, this recipe will keep visitors glued to every detail and eager to make their own loaf.
