Step 1: Prepare the Batter
- Mix Ingredients: In a mixing bowl, whisk together the flour, eggs, milk, melted butter, salt, and sugar (if using). If you prefer sweet crepes, add the vanilla extract.
- Blend for Smoothness: For a super smooth batter, you can blend all the ingredients in a blender until well combined. Let the batter rest for about 30 minutes for the best results.
Step 2: Cook the Crepes
- Heat the Pan: Preheat a non-stick skillet or crepe pan over medium heat. Lightly grease the pan with a bit of melted butter.
- Pour the Batter: Pour about 1/4 cup of the batter into the center of the pan. Quickly swirl the pan to spread the batter evenly into a thin layer.
- Cook: Cook for about 1-2 minutes until the edges start to lift and the bottom is lightly golden. Flip the crepe using a spatula and cook for another 30 seconds to 1 minute on the other side.
- Repeat: Remove the crepe from the pan and place it on a plate. Repeat with the remaining batter, stacking the cooked crepes on the plate. You can cover them with a clean kitchen towel to keep warm.
Step 3: Serve
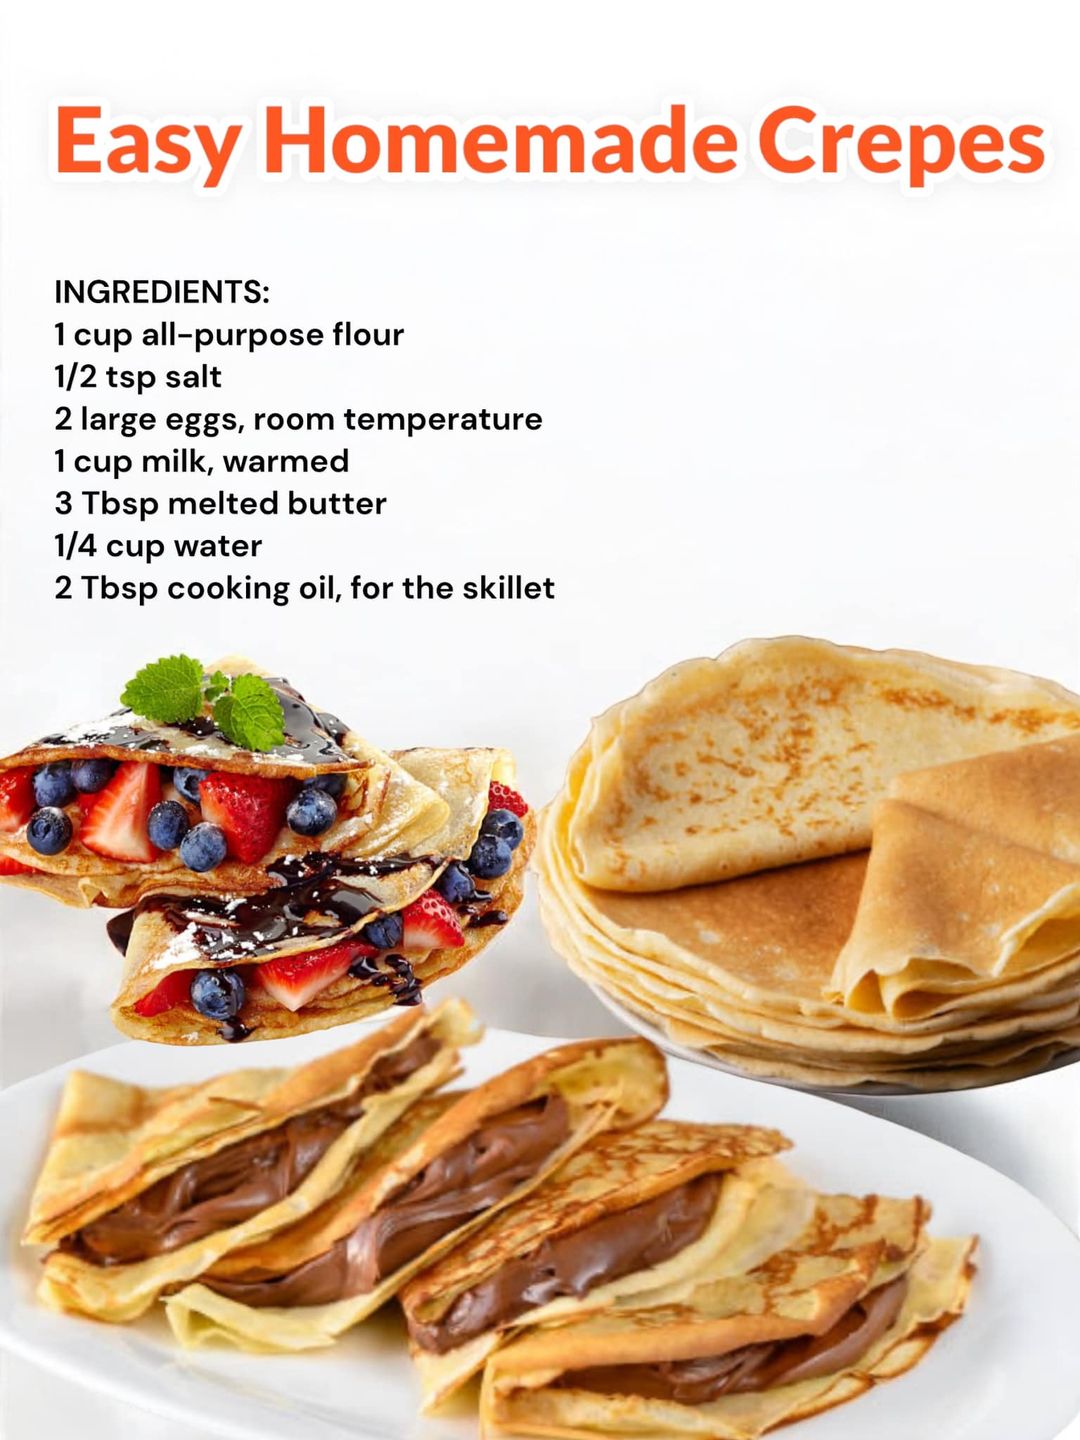
- Fill and Enjoy: Fill your crepes with your favorite fillings! For sweet crepes, try Nutella, fresh fruits, whipped cream, or a sprinkle of powdered sugar. For savory crepes, consider ham, cheese, sautéed vegetables, or eggs.
- Fold or Roll: Fold or roll the crepes as desired and serve warm.
Tips for Perfect Crepes
- Adjust Consistency: If the batter is too thick, add a bit more milk until you reach the desired thin consistency.
- Flavor Variations: Experiment by adding cocoa powder for chocolate crepes or lemon zest for a citrusy twist.
- Storage: Cooked crepes can be stored in the refrigerator for up to 2 days or frozen for longer storage. Reheat in a skillet or microwave before serving.
Conclusion
These easy homemade crepes are a delightful treat that can be enjoyed any time of day. With their light and airy texture, they’re perfect for breakfast, dessert, or even a fancy brunch! Enjoy getting creative with your fillings and toppings!